Paul.
Moderator
- Messages
- 7,052
- Location
- Northampton. UK
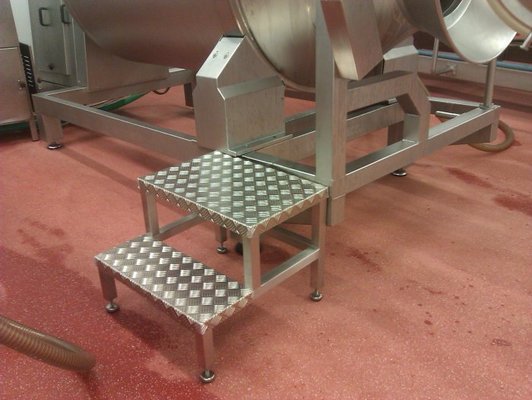
Ive been making a couple of stainless steel steps to enable operators to reach a filling hatch on a meat tenderising machine, I thought it might be of interest to some on here to see how a simple fabrication job comes together, no rocket science here just basic metalworking using simple methods and equipment,
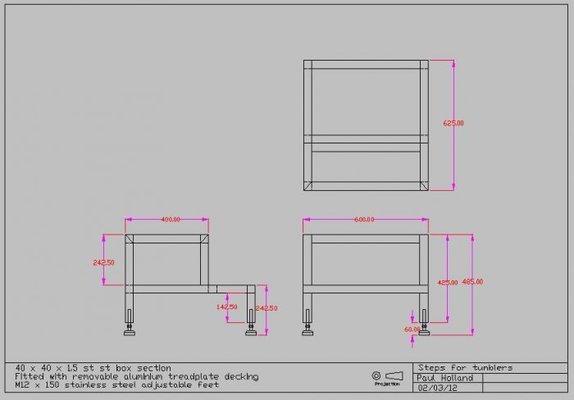
It helps to have a plan, I've drawn this in autocad, stuff I do for this customer has a habit of coming round again so its useful to have a record of even the simplest of jobs, but a pencil sketch is good enough, just for something to refer to and compile a cutting list from.
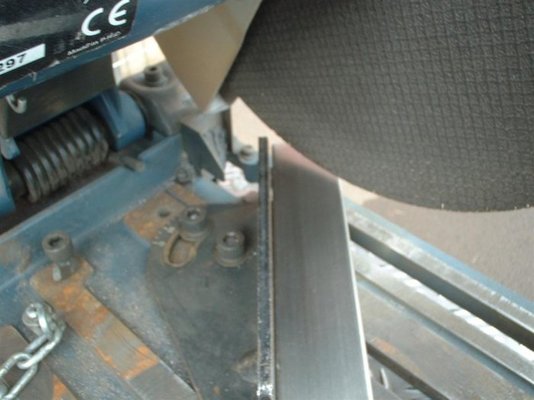
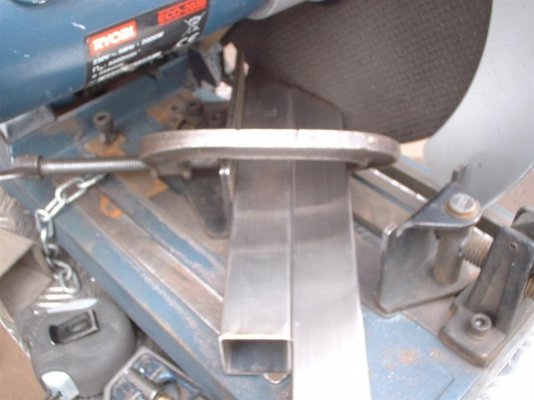
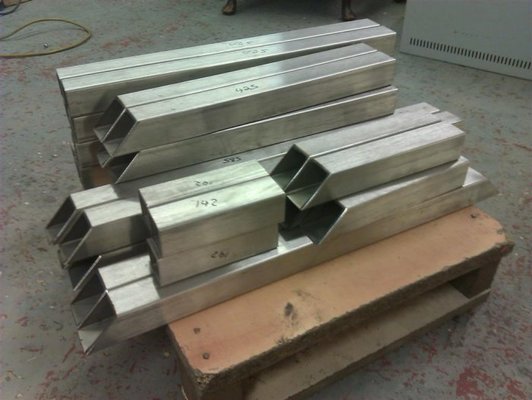
Getting the job cut up, this is all 40 x 40 x 1.5 stainless steel box section, nice and sturdy for the environment it will be used in, all this was cut and mitred on an abrasive cut off saw, noisy but set up and used properly can give quick and accurate results.
These will have adjustable feet fitted so some plates for the bottom of the legs drilled and with M12 nuts welded on
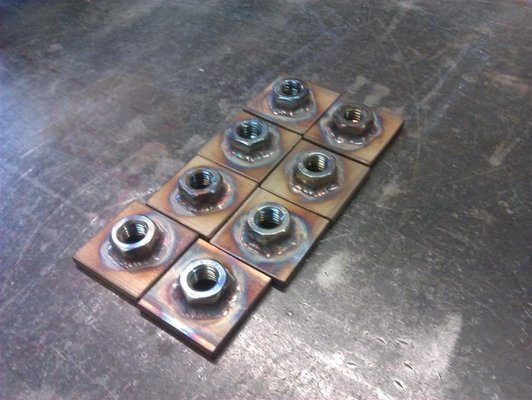
Smaller parts are best assembled beforehand.
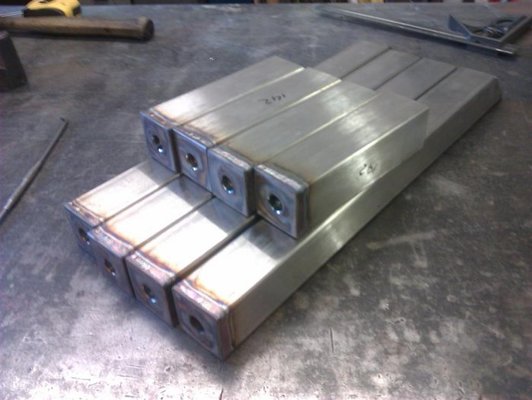
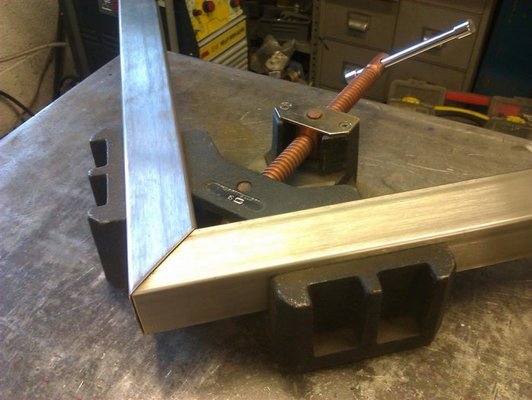
Start to build it up, mitre clamps are handy but not essential, just as easy to clamp it down on a flat bench, keep checking for square as you go.
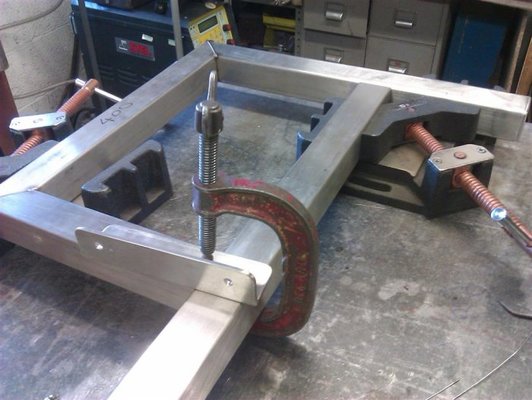
Side frames tacked up ready for welding
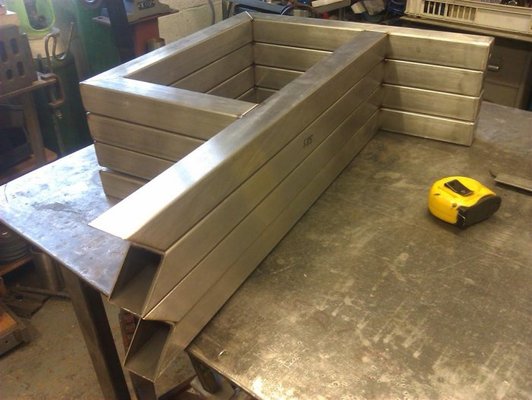
Pre weld the side frames, sequence the welds to keep things square and flat, then put it all together, clamps and bits of plate keep the faces flush.
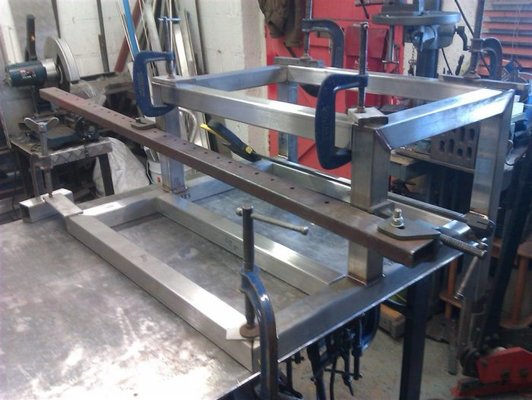
Then as before weld up planning the weld sequence to control distortion.
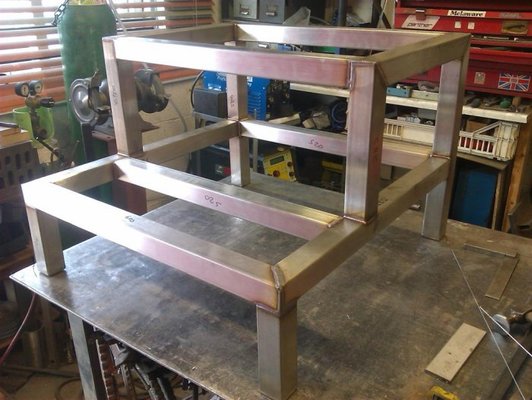
A bit of pickling paste, followed by soapy water and scotchbrite, fit the adjustable feet and that part of the jobs finished.
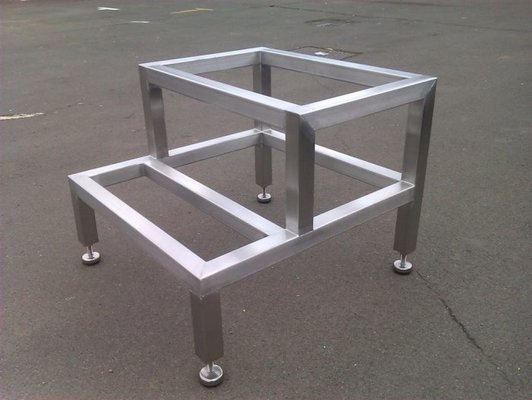
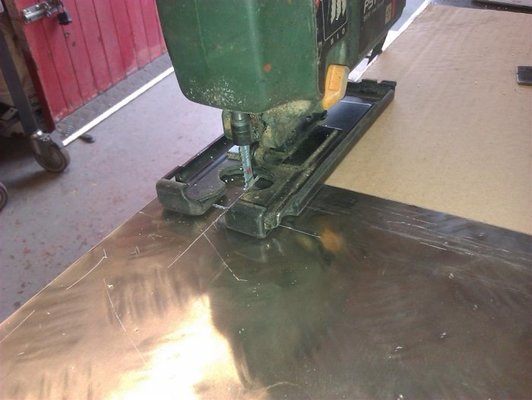
Next the aluminium tread plates for the steps, cut out and notched
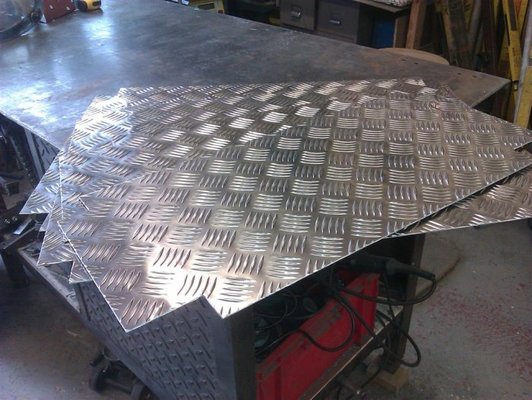
Ready for bending
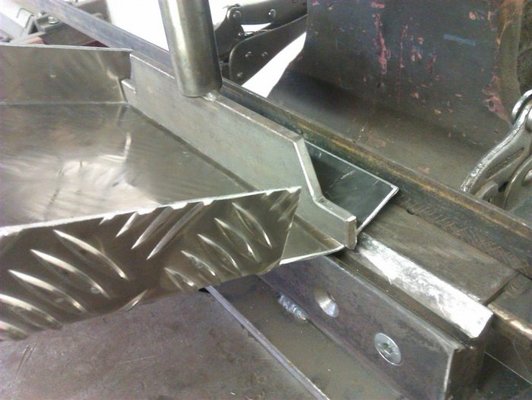
Only a small job so just pulled them up on the flypress.
Weld the corners and drop them on, and the jobs finished,
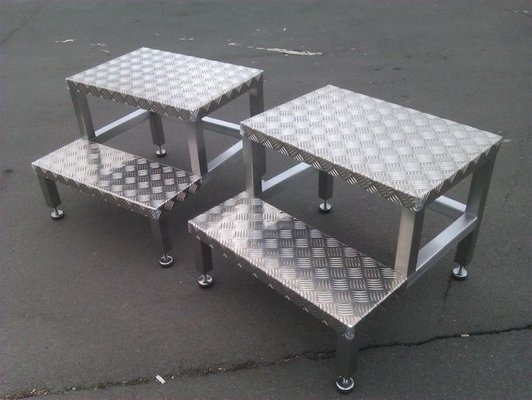
In use
It helps to have a plan, I've drawn this in autocad, stuff I do for this customer has a habit of coming round again so its useful to have a record of even the simplest of jobs, but a pencil sketch is good enough, just for something to refer to and compile a cutting list from.

Getting the job cut up, this is all 40 x 40 x 1.5 stainless steel box section, nice and sturdy for the environment it will be used in, all this was cut and mitred on an abrasive cut off saw, noisy but set up and used properly can give quick and accurate results.

These will have adjustable feet fitted so some plates for the bottom of the legs drilled and with M12 nuts welded on

Smaller parts are best assembled beforehand.

Start to build it up, mitre clamps are handy but not essential, just as easy to clamp it down on a flat bench, keep checking for square as you go.


Side frames tacked up ready for welding

Pre weld the side frames, sequence the welds to keep things square and flat, then put it all together, clamps and bits of plate keep the faces flush.

Then as before weld up planning the weld sequence to control distortion.

A bit of pickling paste, followed by soapy water and scotchbrite, fit the adjustable feet and that part of the jobs finished.

Next the aluminium tread plates for the steps, cut out and notched

Ready for bending

Only a small job so just pulled them up on the flypress.

Weld the corners and drop them on, and the jobs finished,

In use

Last edited:


 one thing I did notice, was the nuts fully welded to the plates, I'm used to high volume/speed production where nuts would get a couple of welds, just enough to do the job

