Macro Etch
Macro etch testing allows the tester to see a cross section of the weld, and see the arrangement of the grains in the parent metal and the weld material. This is known as its Macrostructure. Its can also show up defects such as porosity, inclusions and poor fusion. You need minimal equipment to perform a macro etch test. Firstly, it involves cutting a sample from the welded joint. Cold cutting methods are best for this, such as a bandsaw.
Then the surface needs to be polished. File away any burrs and rough marks, then use progressively finer grades of emery until a smooth even polish is obtained.
Once prepared, an acid solution is applied with a soft clean cloth, wiping over the test piece. The acid used is nitric acid, dissolved in distilled water. The solution is 10% Nitric acid, and 90% water. Nitric acid is used because of its rapid oxidising properties. After a short time, the parent metal and weld areas will begin to discolour. If it doesn't, it is possible to clean and re-apply the acid solution. If it discolours too much, it may require re-polishing and reapplication of the acid. Once results are visible, the sample is rinsed off and carefully dried.
The results should show distinctive colour difference between the actual weld metal and the parent metal in the immediate area. The weld will show up lighter, and the darker material next to it is the rearranged grain structure, due to the heating and cooling cycle. In multiple run welds, the one that is done first shows up slightly darker, due to the root run being reheated during the second pass.
|
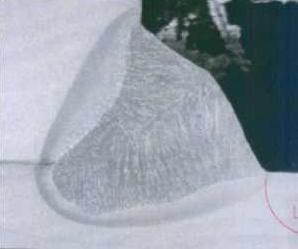
Viewing under a magnifier is sometimes required to see sufficient detail in small samples. These examples are magnified samples that shows the grain structure quite clearly. The first is steel, the second is stainless steel. |
|
|
These ones show very high levels of penetration, attributed to the Lorch Speedarc and Speedpulse processes. Thanks to Lorch and matt1978 for the pictures. |

