
Cris B
Every day welding is a school day
- Messages
- 506
- Location
- Sefton
Having lurked here for some time following Davenport's small french hatchback restoration and other work I felt suitably inspired to tackle the work needed on mine. So over the last few months I've been doing my research and getting kitted up and finally started welding just before Christmas 2010. My project is also a 106 Rallye, but mine is a phase 2 model and at age 12 is about 5 years newer than most of the phase 1 models.

It's currently a trackday car, but I'd like to do some hill climbs in it in future. The reinforcements and mountings for the Safety Devices 12 point cage and some chassis repair was done last year by a friend who competes in rallying. It's the only work I've ever paid to have done on the car, but when I've looked at it closely on return I know I would have done certain things differently. So I decided that the best thing was to learn how to do further jobs in the long run.

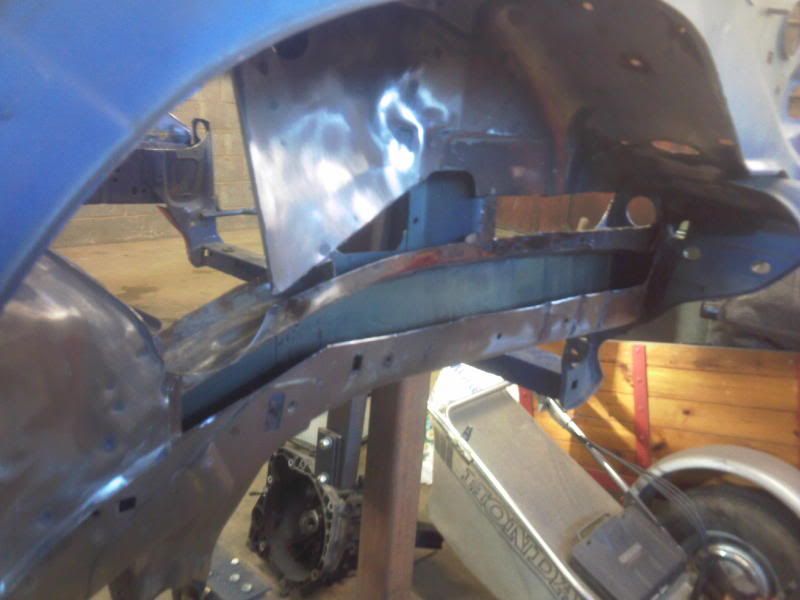
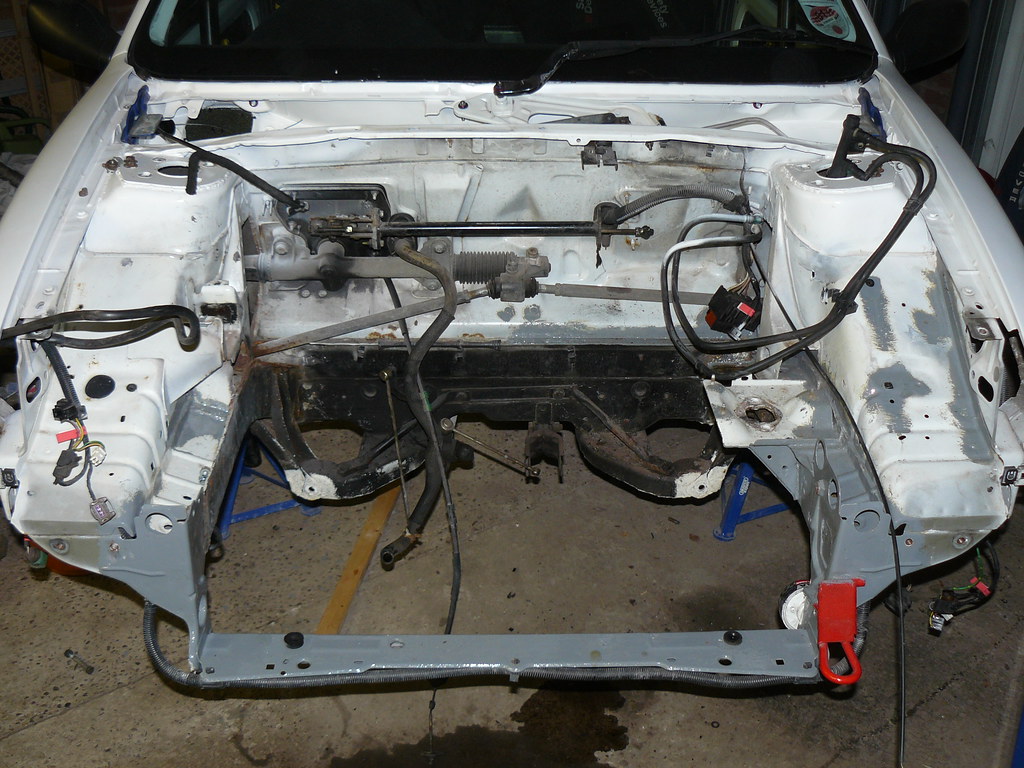
So with the welding gear on order I stripped the car down and started looking at the bodywork. Surface rust indicated problems, but gave no indication of the state of things under the paint and behind the underseal.
Engine bay stripping in progress...
Stripping back the paint
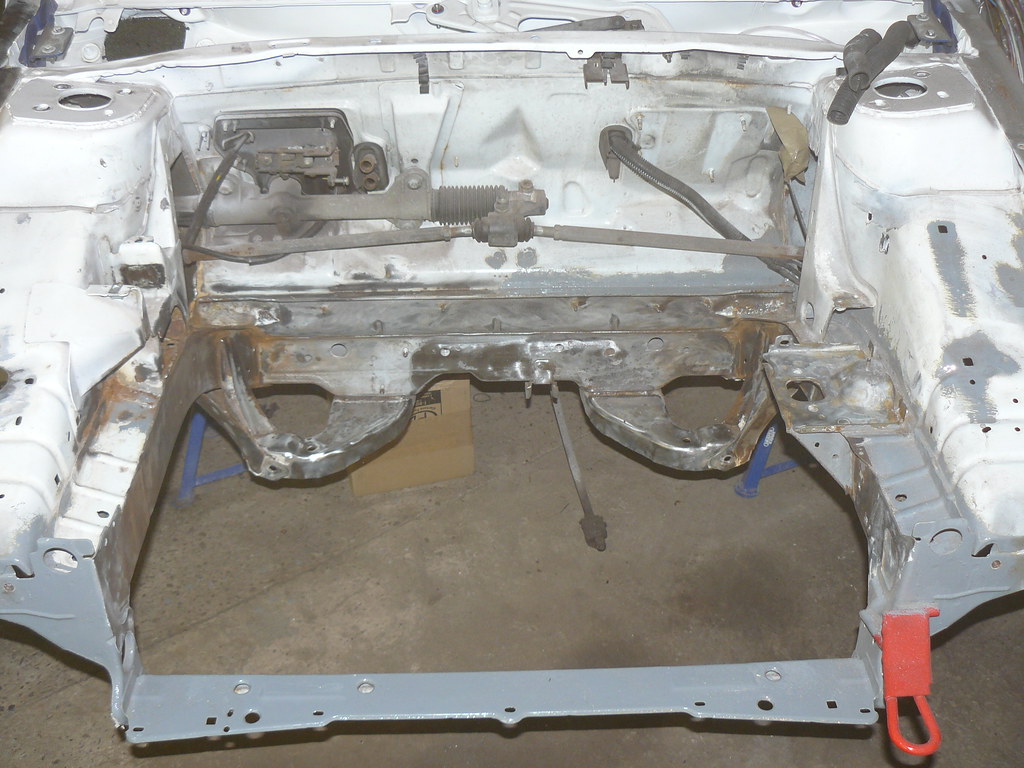
Starting to reveal problems...

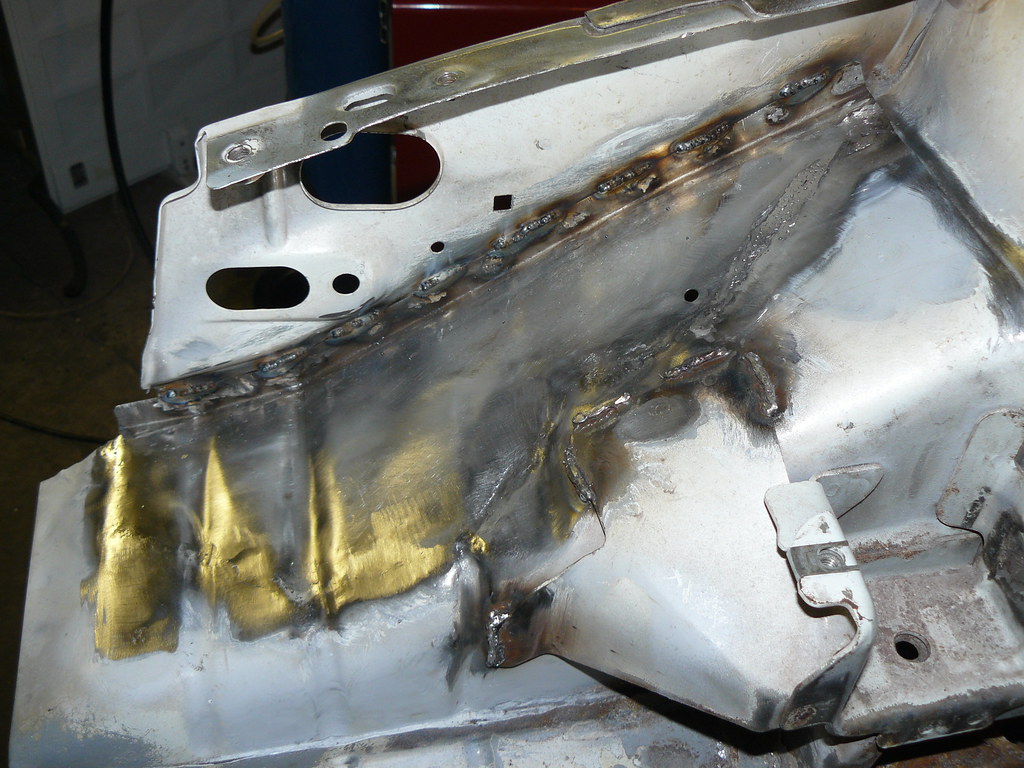
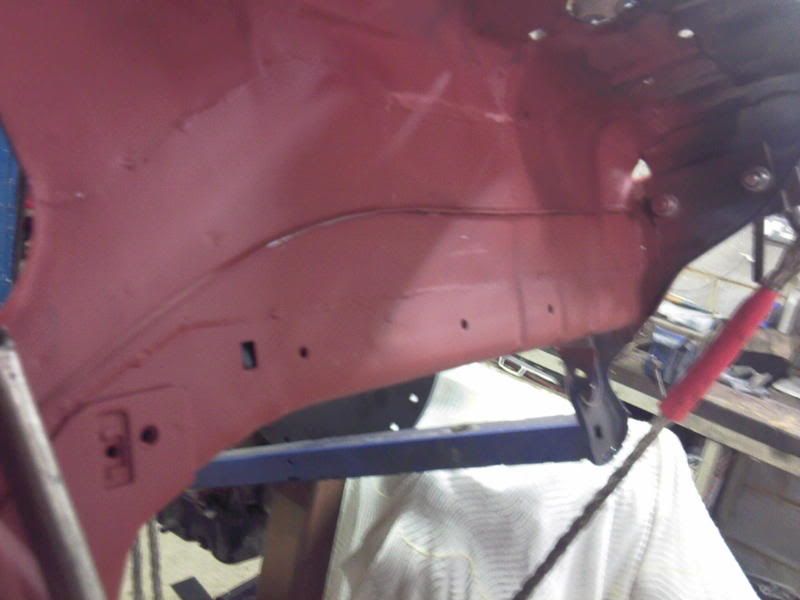
When I first bought the car in 2008 I did some tidying up of the inner wing and essentially buried some pretty ropey metal work in filler. Today it was time to reveal the true extent of the rot! On a positive note the repair job had held up pretty well in the interim
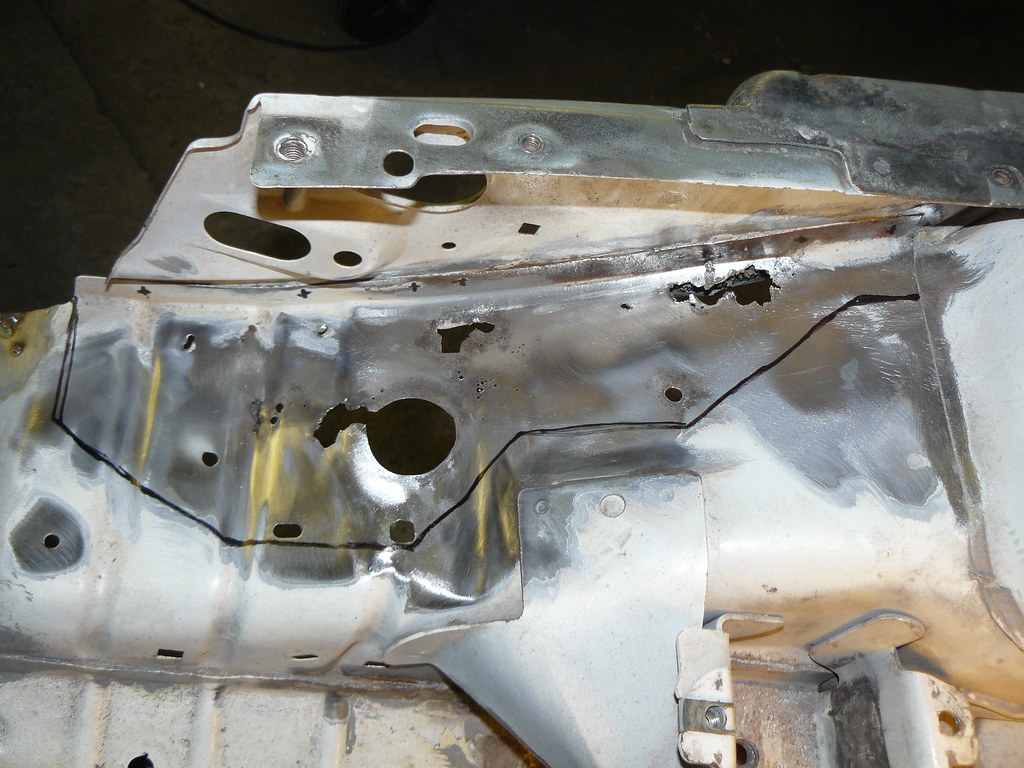
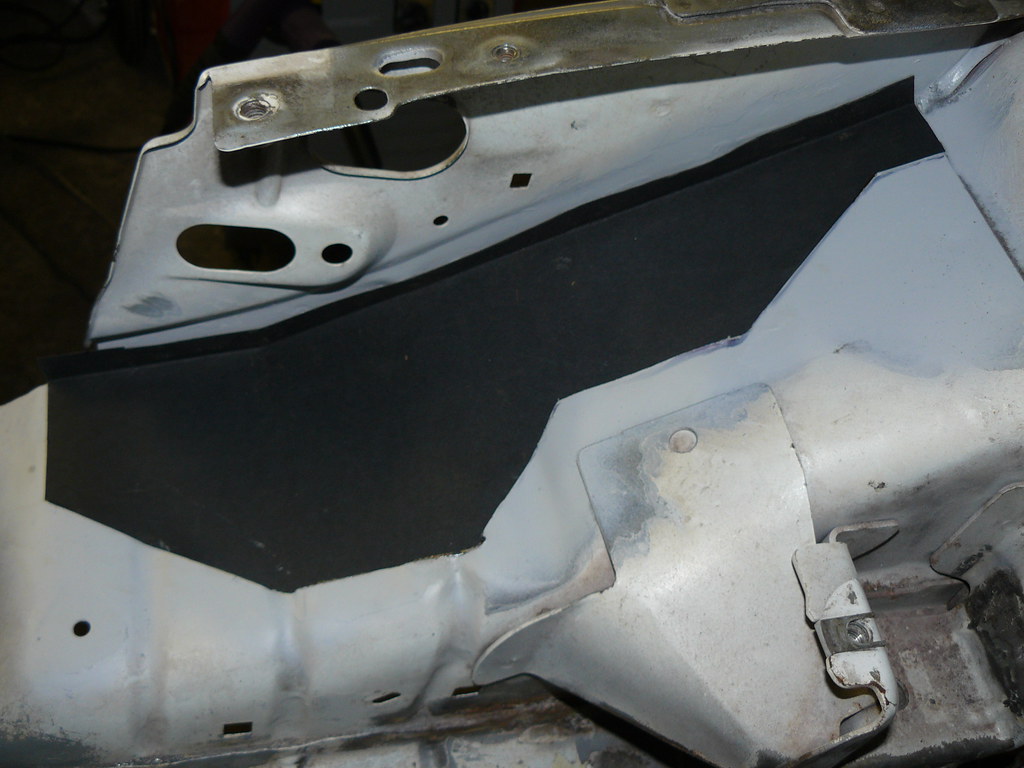
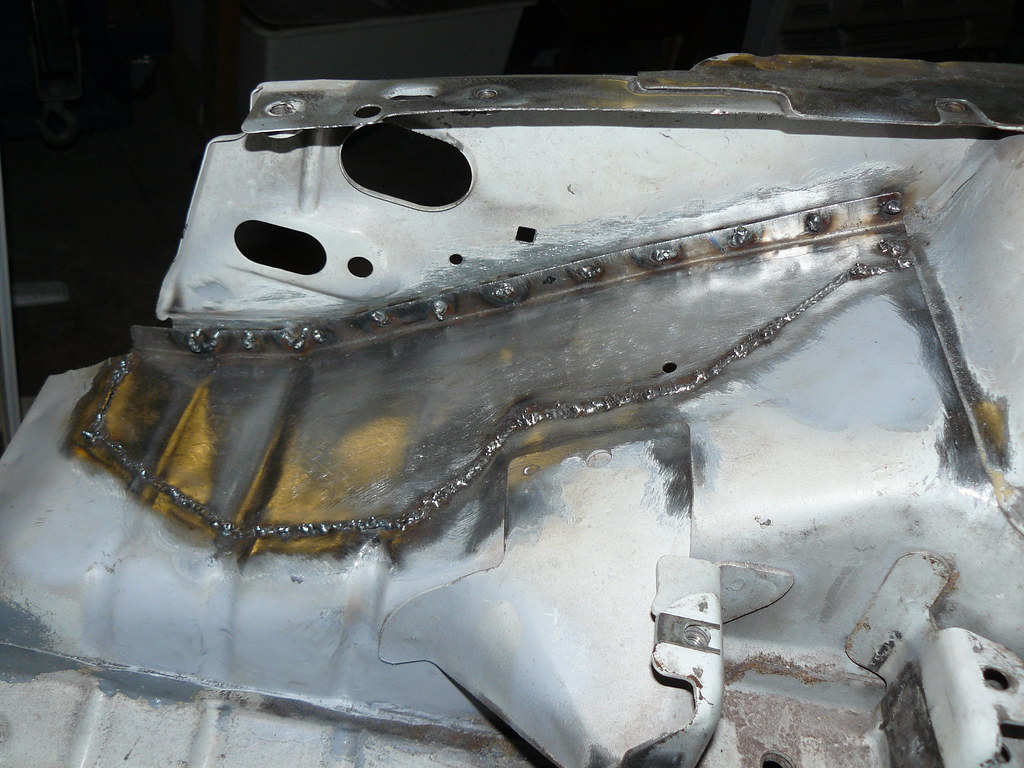
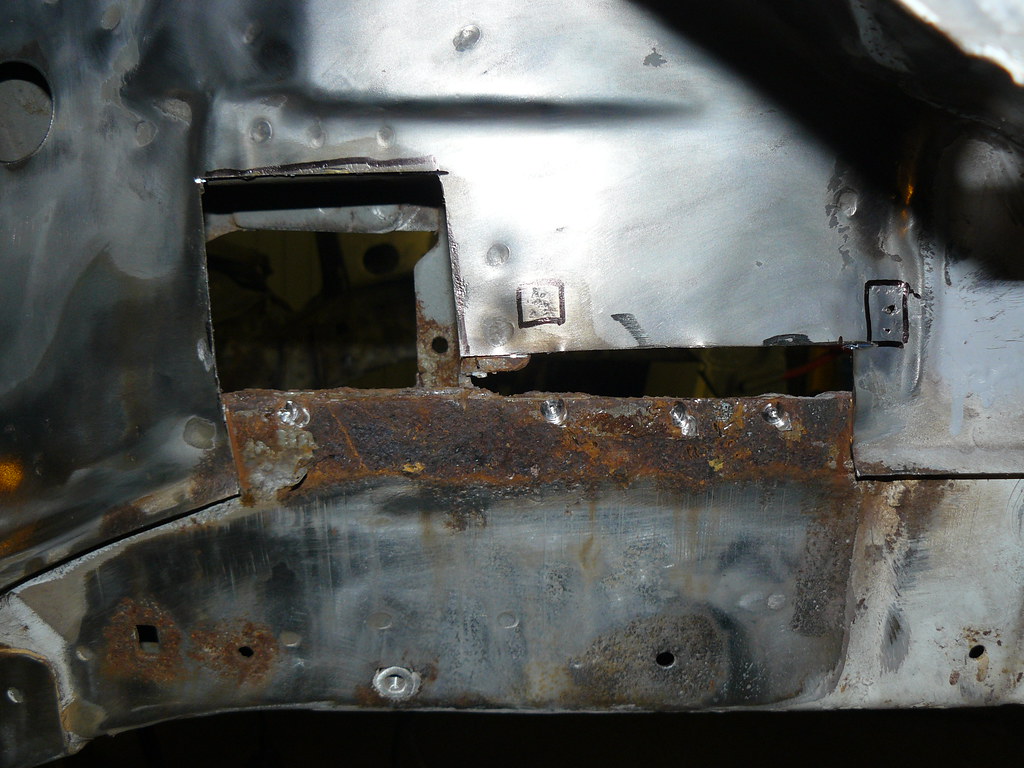
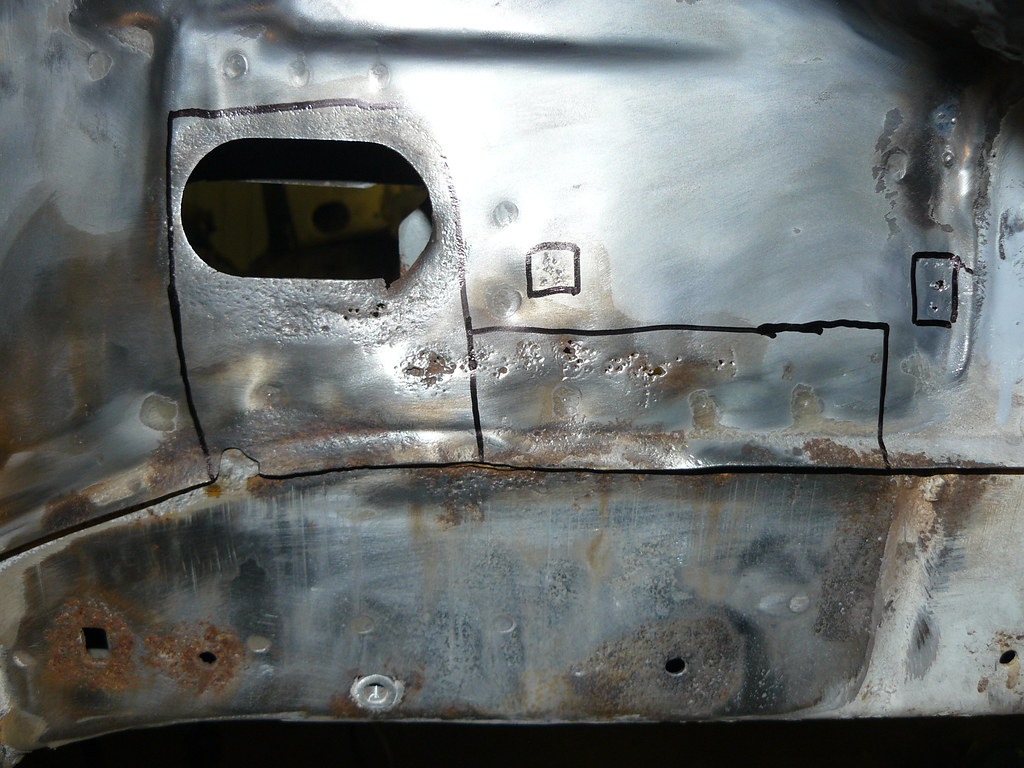
It didn't look too bad at first, but then I took the underseal off the inside of the arch and the true swiss cheese nature was revealed. Only one thing for it - it's got to be chopped out. Marked out a cut line back to the good steel, drilled/ground out the spot welds then introduced the angle grinder!
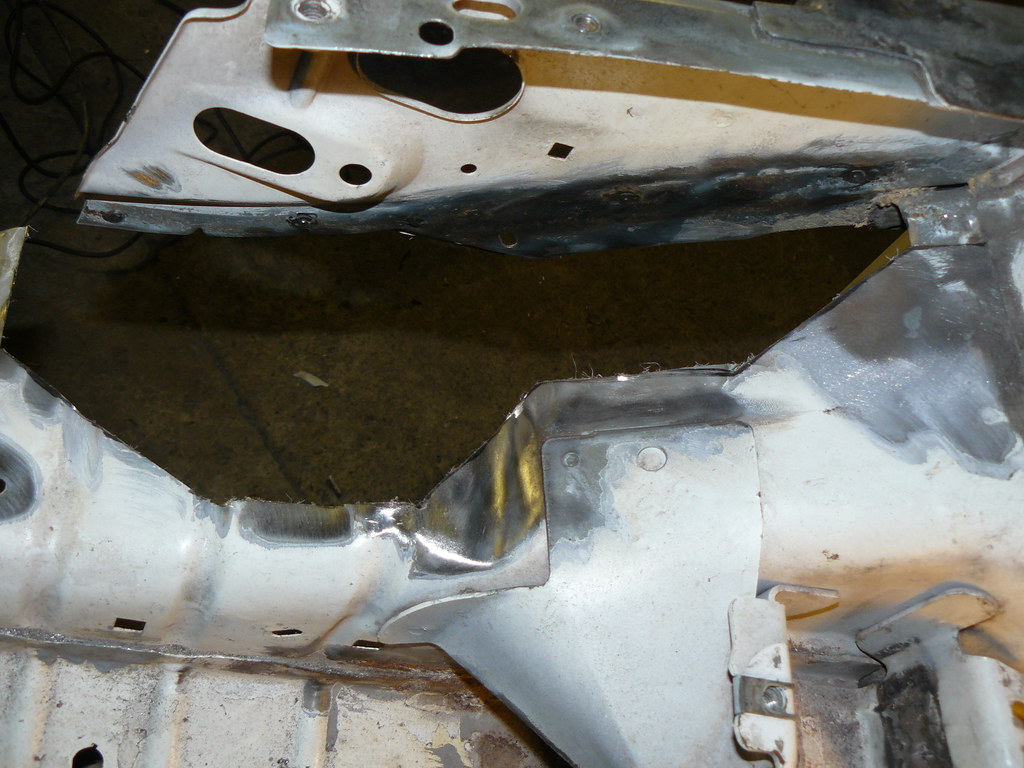
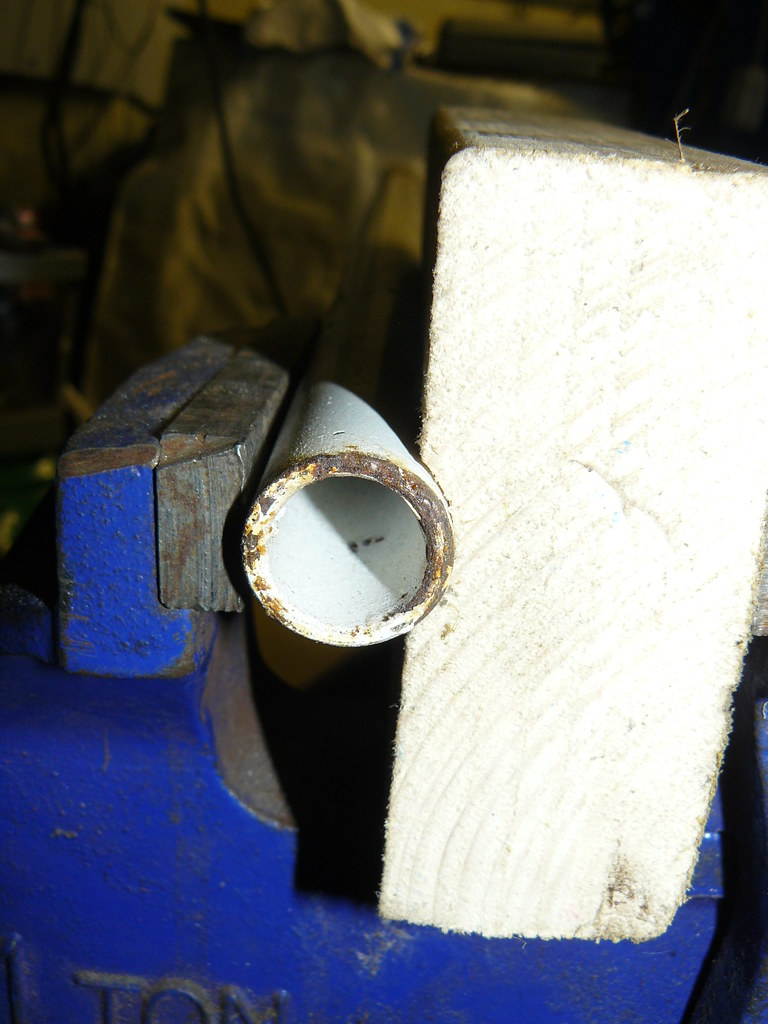
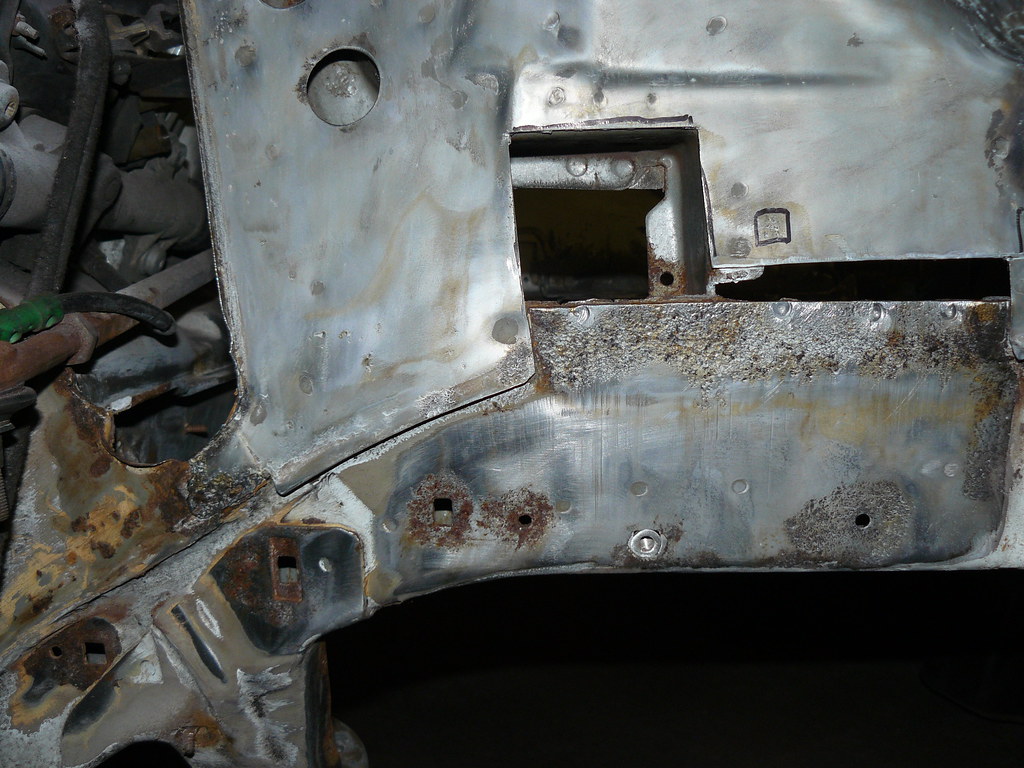
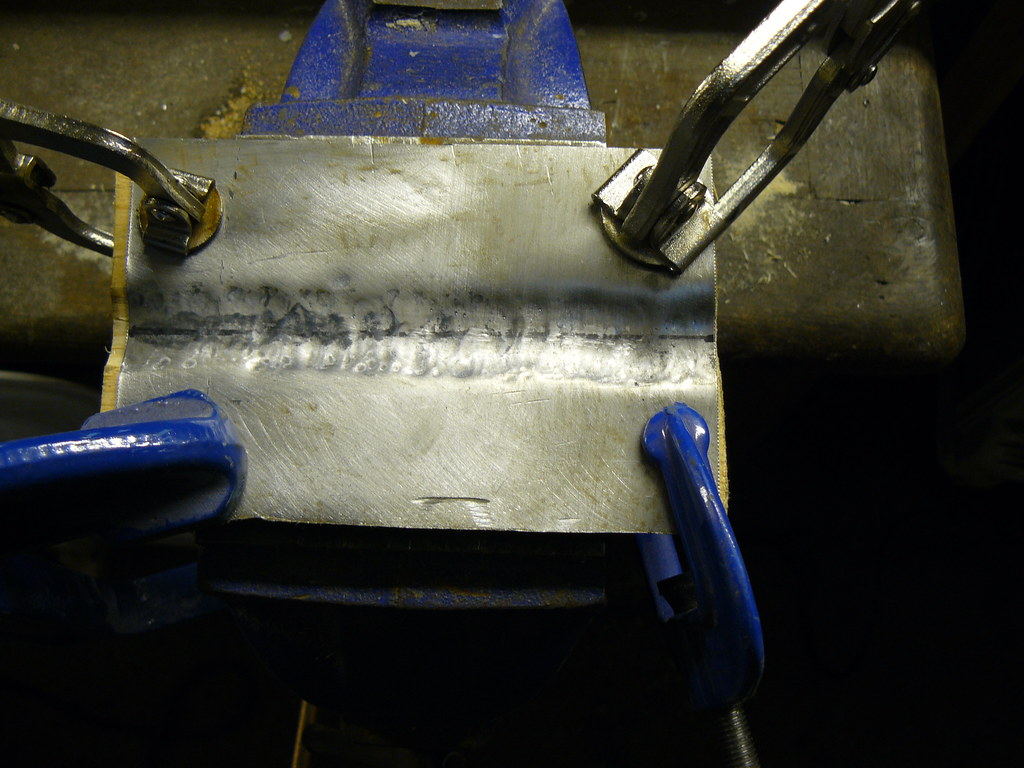
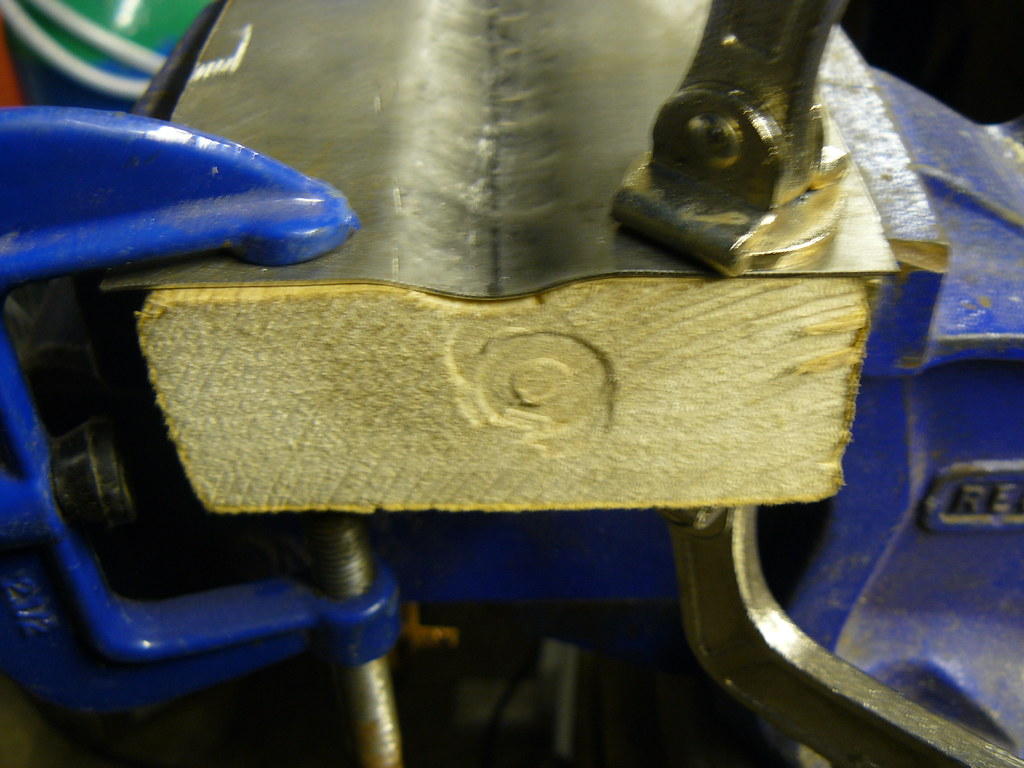
The cut out section has three elements that act as crumple zones. I decided to make a wooden former by routing and filing a wooden block, then clamping in the steel and using a ball pein hammer to shape the steel to the mould shape.
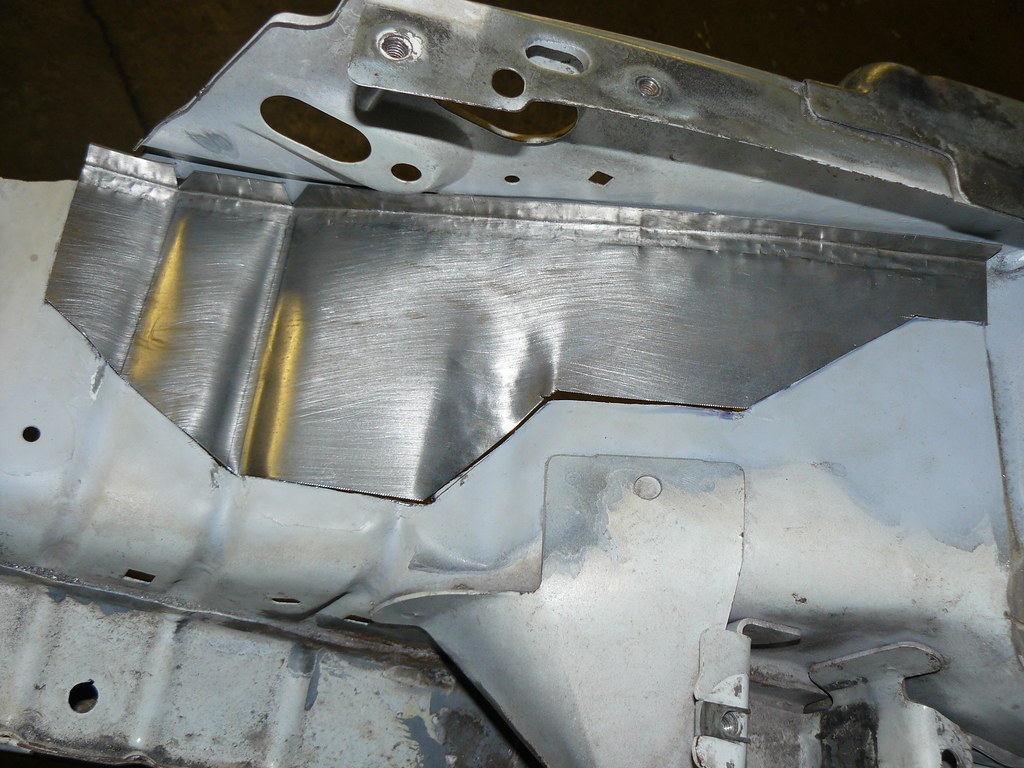
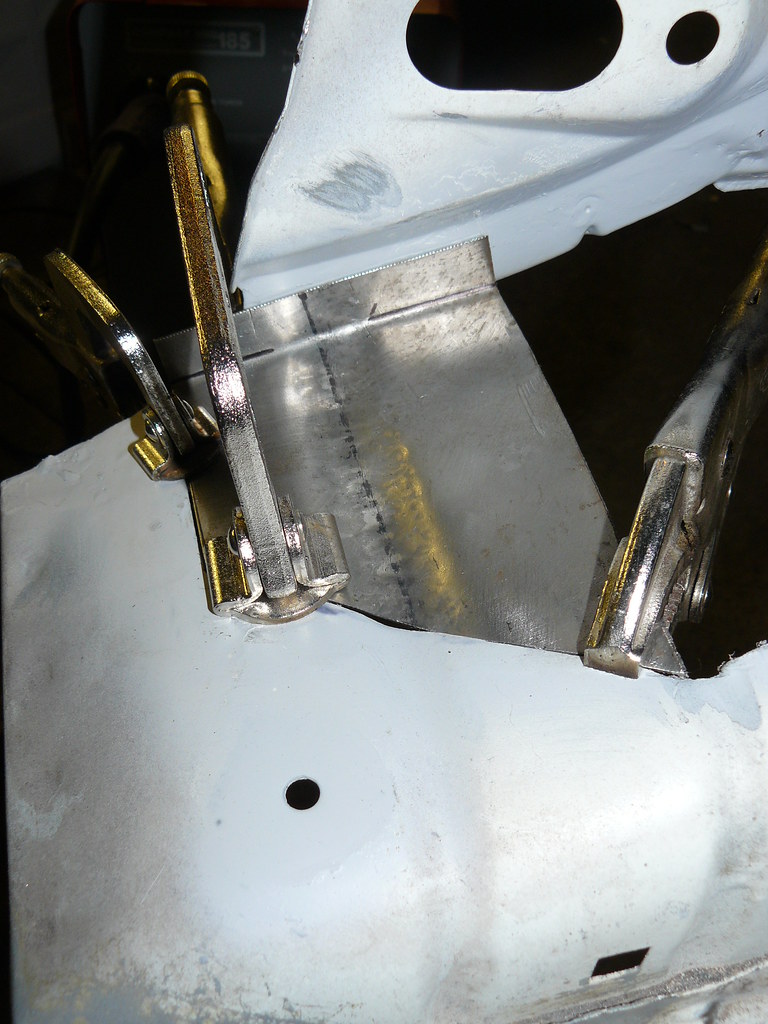
As this was just a test, I though I would shape up my test and see how close it is to the required shape. Test section mockup:
I am not sure if this is the best way to do this. My other thought was to try and find some thickwall steel tube or solid bar with the appropriate circumference to fit the former and then I can press the steel between the two in the vice.
It's currently a trackday car, but I'd like to do some hill climbs in it in future. The reinforcements and mountings for the Safety Devices 12 point cage and some chassis repair was done last year by a friend who competes in rallying. It's the only work I've ever paid to have done on the car, but when I've looked at it closely on return I know I would have done certain things differently. So I decided that the best thing was to learn how to do further jobs in the long run.
So with the welding gear on order I stripped the car down and started looking at the bodywork. Surface rust indicated problems, but gave no indication of the state of things under the paint and behind the underseal.
Engine bay stripping in progress...
Stripping back the paint
Starting to reveal problems...
When I first bought the car in 2008 I did some tidying up of the inner wing and essentially buried some pretty ropey metal work in filler. Today it was time to reveal the true extent of the rot! On a positive note the repair job had held up pretty well in the interim
It didn't look too bad at first, but then I took the underseal off the inside of the arch and the true swiss cheese nature was revealed. Only one thing for it - it's got to be chopped out. Marked out a cut line back to the good steel, drilled/ground out the spot welds then introduced the angle grinder!
The cut out section has three elements that act as crumple zones. I decided to make a wooden former by routing and filing a wooden block, then clamping in the steel and using a ball pein hammer to shape the steel to the mould shape.
As this was just a test, I though I would shape up my test and see how close it is to the required shape. Test section mockup:
I am not sure if this is the best way to do this. My other thought was to try and find some thickwall steel tube or solid bar with the appropriate circumference to fit the former and then I can press the steel between the two in the vice.