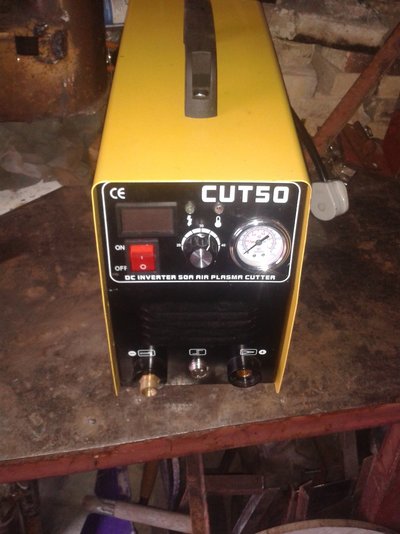
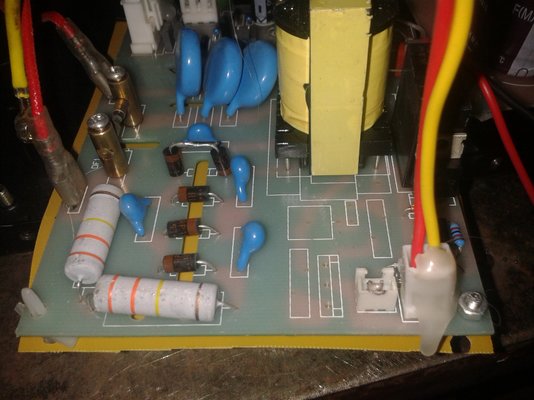
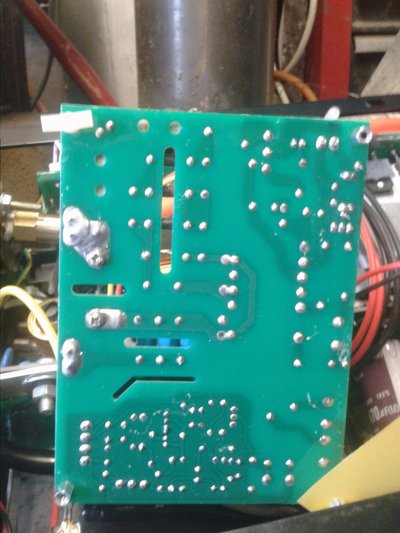
Thought it might be handy to have a thread on tips, guides etc. If anyone wants to share.
I've been mainly looking to see if it's possible to have a template to help cutting the lines.
This info is linked to the orignal source at the bottom, just incase there is any copyright issues.
Ten Tips for Improving Plasma Cutting Quality
Plasma cutters are so easy to use that it's tempting to take your new plasma cutter out of the box and go to work. However, there are a few practices that can increase your efficiency, improve your cut quality and prolong the life of your equipment.
Plasma cutters are so easy to use that it’s tempting to take your new plasma cutter out of the box and go to work. However, there are a few practices that can increase your efficiency, improve your cut quality and prolong the life of your equipment.
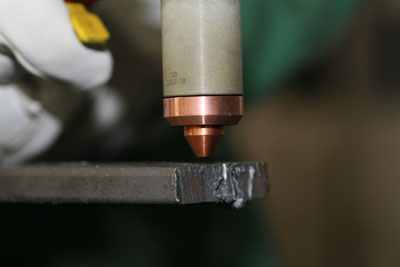
Fig. 2a– Maintain a 1/16- to 1/8-in. standoff to increase the longevity of your consumables, produce a cleaner cut and maximize your machine’s cutting capacity.
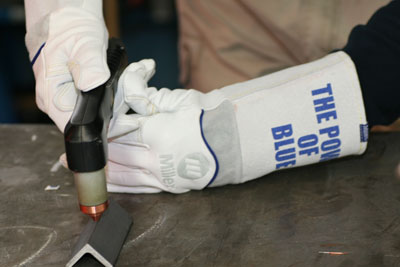
Fig. 2b– Using your non-cutting hand as a brace helps to maintain standoff and provide a cleaner cut.

Fig. 3–If you’re maintaining the proper travel speed, the sparks will exit the workpiece at a 15- to 20-degree angle.
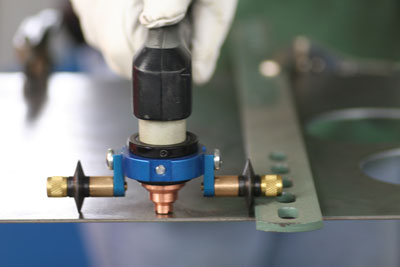
Fig. 4–A straight guide used with a straight edge.
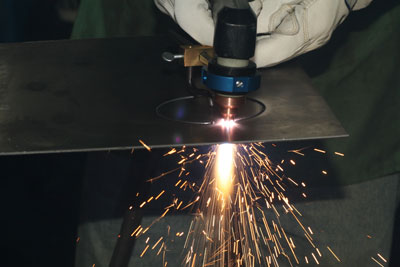
Fig. 5–A circle-cutting guide helps with clean, repeatable circular cuts.
- See more at: https://www.millerwelds.com/resourc...g-plasma-cutting-quality#sthash.xviRu10e.dpuf
Link to text,
https://www.millerwelds.com/resources/article-library/ten-tips-for-improving-plasma-cutting-quality
I've been mainly looking to see if it's possible to have a template to help cutting the lines.
This info is linked to the orignal source at the bottom, just incase there is any copyright issues.
Ten Tips for Improving Plasma Cutting Quality
Plasma cutters are so easy to use that it's tempting to take your new plasma cutter out of the box and go to work. However, there are a few practices that can increase your efficiency, improve your cut quality and prolong the life of your equipment.
Plasma cutters are so easy to use that it’s tempting to take your new plasma cutter out of the box and go to work. However, there are a few practices that can increase your efficiency, improve your cut quality and prolong the life of your equipment.
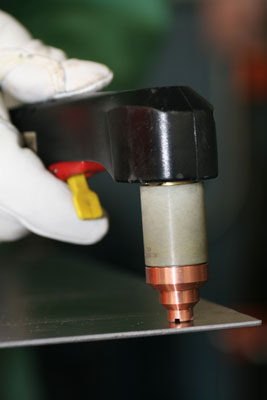
Fig. 1–A drag shield allows you to rest the torch on the work surface and helps maintain the proper standoff distance.
- Thoroughly read the owner’s manual to familiarize yourself with the safe and correct operation of your particular plasma cutter. This will help you optimize your plasma cutter’s capabilities.
- Make a sample cut on the same type of material with which you’ll be working to ensure you’re using the right settings and travel speed.
- On long cuts, it is difficult to stop cleanly and continue. Practice your movements before pulling the trigger to make sure you have adequate freedom of movement to make one continuous cut.
- Use a drag shield if your plasma cutter is equipped with one. (Fig. 1) A drag shield allows you to rest the torch on the workpiece while maintaining an optimal 1/8-in standoff without touching the tip to the metal. (Touching the tip to the work surface will adversely affect your cut quality and consumable life.)
- To maintain the optimal 1/16- to 1/8-in. distance between the tip and the workpiece without a drag shield, use your non-cutting hand as a support for your other hand. This provides freedom of movement in all directions while helping to maintain a constant standoff and steady your cutting hand. (Figs. 2a-2b)
- Use the right tip for your amperage setting. A lower-amperage tip has a smaller orifice to maintain a narrower plasma stream at lower settings. Using a 40-amp tip at an 80-amp setting will distort the tip orifice and significantly reduce consumable life. Using an 80-amp tip on the lower settings will not focus the plasma stream as well and lead to a wider kerf. Use extended tips to reach out further for cutting in corners, using patterns or in tight areas.

Fig. 2a– Maintain a 1/16- to 1/8-in. standoff to increase the longevity of your consumables, produce a cleaner cut and maximize your machine’s cutting capacity.

Fig. 2b– Using your non-cutting hand as a brace helps to maintain standoff and provide a cleaner cut.
- When piercing thin material to start a cut, the arc may be able to punch through with little or no backsplash. However, on thicker material, start with the torch on a 45-degree angle so the first blast of metal has somewhere to go. Otherwise, the metal will splash back and quickly wear your consumables

Fig. 3–If you’re maintaining the proper travel speed, the sparks will exit the workpiece at a 15- to 20-degree angle.
- The faster your travel speed (especially on aluminum), the cleaner your cut will be. When cutting thicker material, set the machine to full output and vary your travel speed. On thinner material, turn down the amperage and change to a lower-amperage tip to maintain a narrow kerf.
- The arc should exit the material at a 15- to 20-degree angle opposite the direction of travel. If it’s going straight down, it means you’re moving too slowly. If it sprays back, it means you’re moving too fast. (See fig. 3.)
- For precise cuts use a straight edge clamped to the workpiece to guide the torch. (Fig 4.) If you’ll be making multiple cuts of the same shape, create a template. Straight and circle guides are available to help guide the torch and ensure precise cutting. (Fig. 5)

Fig. 4–A straight guide used with a straight edge.

Fig. 5–A circle-cutting guide helps with clean, repeatable circular cuts.
- See more at: https://www.millerwelds.com/resourc...g-plasma-cutting-quality#sthash.xviRu10e.dpuf
Link to text,
https://www.millerwelds.com/resources/article-library/ten-tips-for-improving-plasma-cutting-quality


