puffernutter
Puffernutter
- Messages
- 1,844
- Location
- Wiltshire
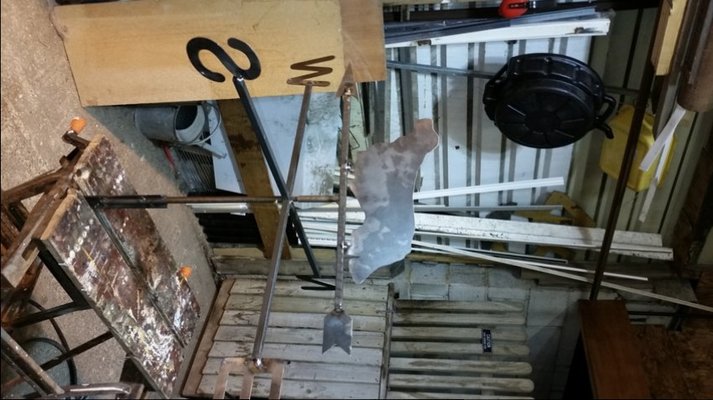
Sorry about the picture, my machine tools are the "normal" way up - I just always! have problems with my pictures and I can't seem to adjust them!
I'm a hobby welder and not a very good one at that! (My day job is railway signalling safety engineer - so a paper jockey!)
I was taught with soldering that a good mechanical joint would help a good electrical joint. Well as I haven't had much chance to play with my machine tools for a while, I decided to apply that to welding as well.
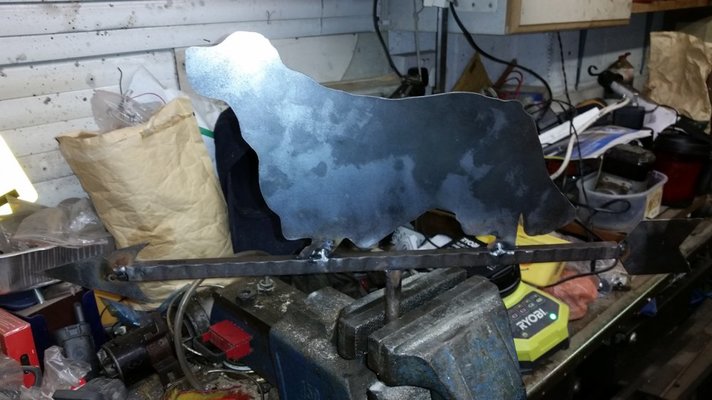
The letters and Clumber were supplied by gerrymoore (of this parish!) and the Clumber silhouette was taken from a picture of Henry (www.whissgig.co.uk).
So, I used a slotting saw and created the slots for the letters at the end of the fixed arms.


I then machined a larger slot at the center in each of the cross pieces to help the fit before welding.

I then re-did the slots as they were now 90 degrees out as I had machined the middle slots on the wrong face!
Having welded the cross pieces, I turned a piece of rod down, drilled a hole in the centre and used that to locate what was going to be the pivot prior to welding. I also turned the outer down slightly so it was a nice fit in the tube. I used the well known method of a ball bearing in grease at the end of the tube to act as the pivot.

I welded up the moving arm, the found the balance point and welded the tube on at that point.

I then welded it all up, using a bit of 2x2 with a slot in the end to ensure all letters were at the same height. I also included 4 bits of architectural steel to finish off under the cross piece.

I attached a post with a screw to lock it once North had been identified and a piece of drilled angle welded at the bottom to attach it to a structure.
All it needs now it a little bit of fettling then painting.
The welding leave something to be desired in places, but I'm happy with it!
I'm a hobby welder and not a very good one at that! (My day job is railway signalling safety engineer - so a paper jockey!)
I was taught with soldering that a good mechanical joint would help a good electrical joint. Well as I haven't had much chance to play with my machine tools for a while, I decided to apply that to welding as well.
The letters and Clumber were supplied by gerrymoore (of this parish!) and the Clumber silhouette was taken from a picture of Henry (www.whissgig.co.uk).
So, I used a slotting saw and created the slots for the letters at the end of the fixed arms.


I then machined a larger slot at the center in each of the cross pieces to help the fit before welding.

I then re-did the slots as they were now 90 degrees out as I had machined the middle slots on the wrong face!
Having welded the cross pieces, I turned a piece of rod down, drilled a hole in the centre and used that to locate what was going to be the pivot prior to welding. I also turned the outer down slightly so it was a nice fit in the tube. I used the well known method of a ball bearing in grease at the end of the tube to act as the pivot.

I welded up the moving arm, the found the balance point and welded the tube on at that point.

I then welded it all up, using a bit of 2x2 with a slot in the end to ensure all letters were at the same height. I also included 4 bits of architectural steel to finish off under the cross piece.

I attached a post with a screw to lock it once North had been identified and a piece of drilled angle welded at the bottom to attach it to a structure.
All it needs now it a little bit of fettling then painting.
The welding leave something to be desired in places, but I'm happy with it!


 )
)