Maker
Most folk just call me; Orange Joe
- Messages
- 10,487
- Location
- Don't ask questions
Northwest asked how it's done, and I'm pretty sure someone else did last time they were discussed a few months ago.
I drew the petals freehand this time but I've used this template in the past which I think worked slightly better, certainly the sepal came out better last time. I started with 22mm copper pipe cut into 66mm long pieces and split down the length with a hacksaw. Drew the shapes with a Sharpie and cut them out with a blunt pair of Gilbrows held in the vice like a crap bench shear. I wasn't planning on writing a tutorial so you'll have to excuse the lack of images
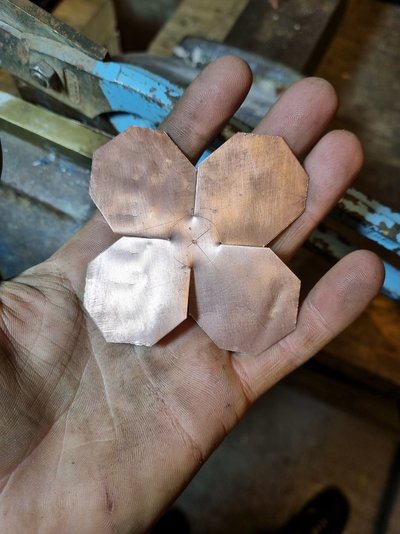
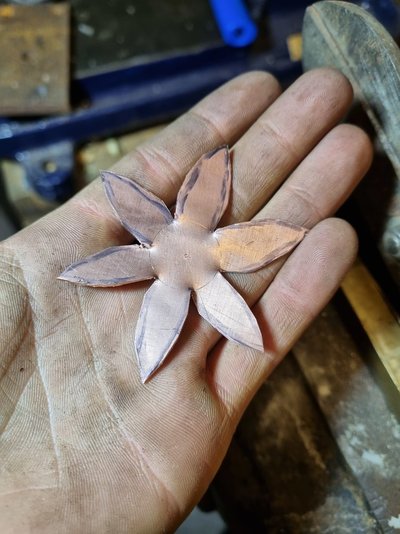
I think I cut the points off this one once more before hammering. All the pieces get annealed, dead easy with copper, just heat to a dull red and quench in water (Or don't quench, doesn't make a difference). If you started with a sheet rather than flattening a pipe, you might not need to anneal at this stage. Now they're soft, hammer around the edges of the petals to thin them and give a more natural looking shape to them, here's all the petals cut out and flattened. The beaker of green stuff is citric acid, I'm quenching in it to clean the scale off.
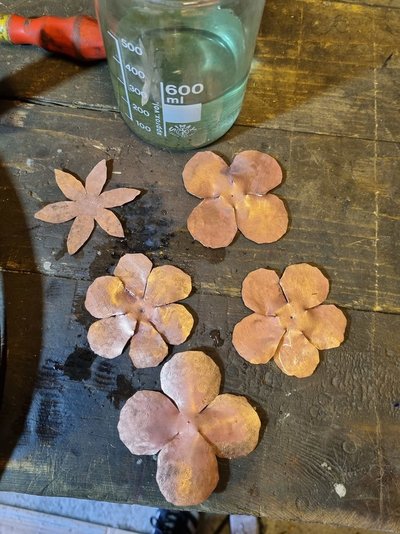
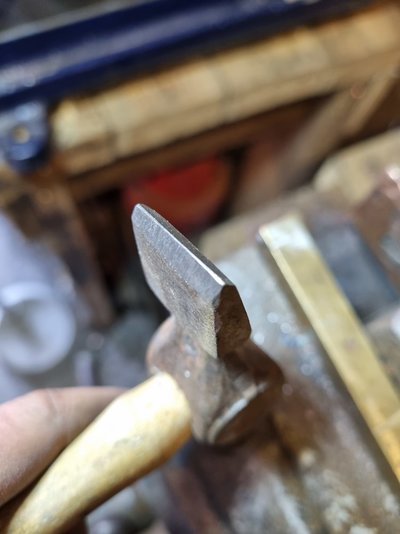
This hammering work hardens the copper so it needs annealing again. Next step is to go around all the edges again (On the top and bottom of the pieces) with a cross pein hammer to texture them with radial(ish) grooves. I redressed my hammer for this, don't take it too sharp though. Didn't take a picture after this but you can it when they're stacked up ready for forming. Anneal them again and get them clean if they're not already. I'd really like to polish them at this stage too but I don't have a polisher.
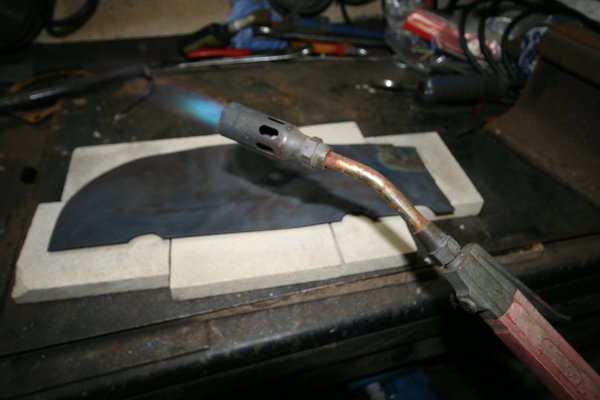
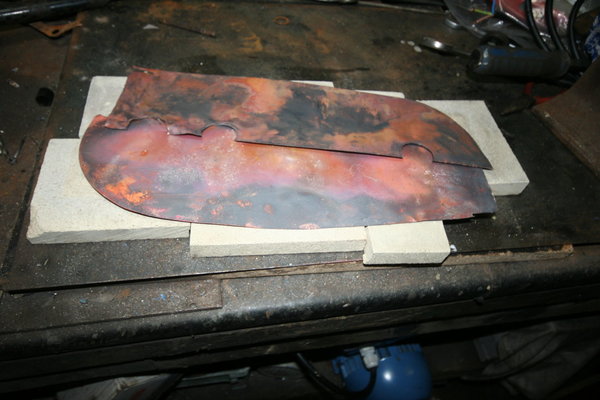
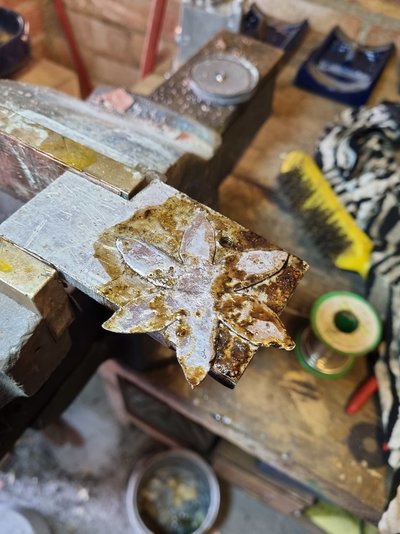
I wanted the sepal to contrast the petals (And didn't want to use steel) so I tinned it with solder. Covered in flux and sat on a bit of aluminium and blowtorched from the underside, this was my second attempt, I initially overheated it by heating it directly, the copper blackens and the solder won't touch it. This then gets cleaned, file away any blobs of solder and then lightly peen it again to get a consistent surface on the solder. Then, with a woodworking chisel, cut lines into the solder. Didn't take a picture here but you'll see them at the end.
More pictures I didn't take; 1/4"ish round bar, turned the end down and threaded it M4. Couldn't find an M4 nut so had to machine one of them too. Drill a 4mm hole in all the petals, stack them up, tighten the nut and then peen the tip over so it doesn't come off. If you don't have a lathe, just thread the bar M6 (Or 1/4"-20 whatever) and put a nut top and bottom, it'll be covered by the sepal anyway.
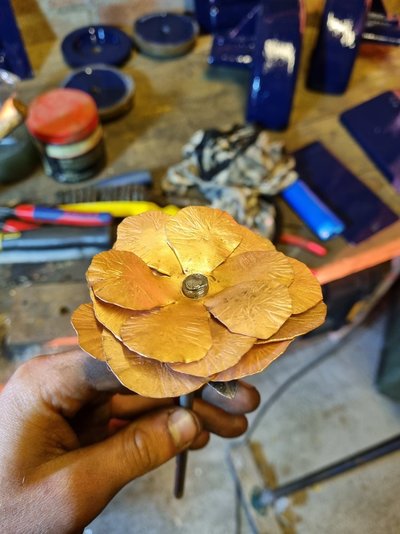
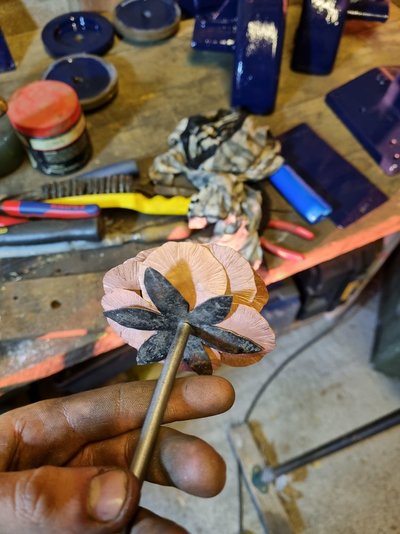
Then start forming, ideally use smooth jawed pliers, I couldn't find mine so it's covered in scratches and tool marks, you don't really notice unless you look closely but if it were polished these would probably look pretty bad. Start by rolling the petal up, then bend the top edge back out.
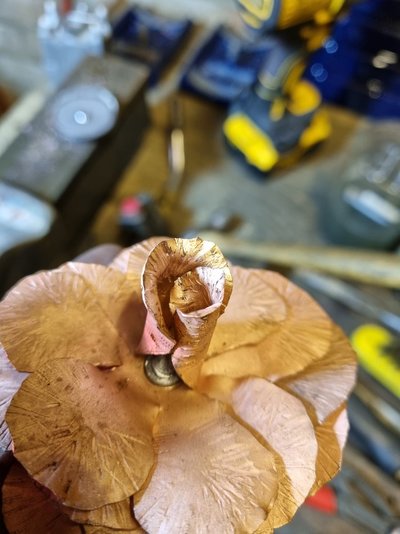
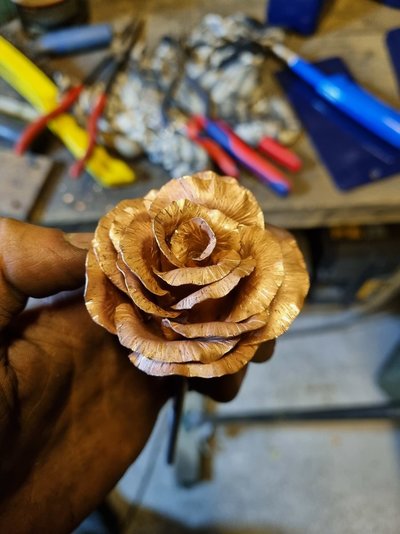
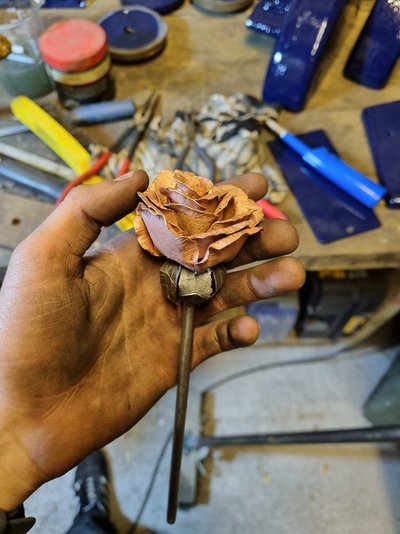
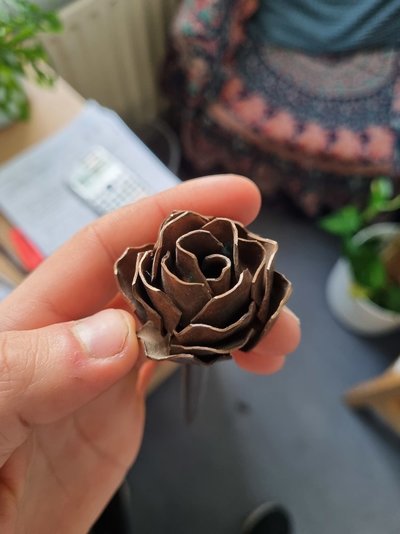
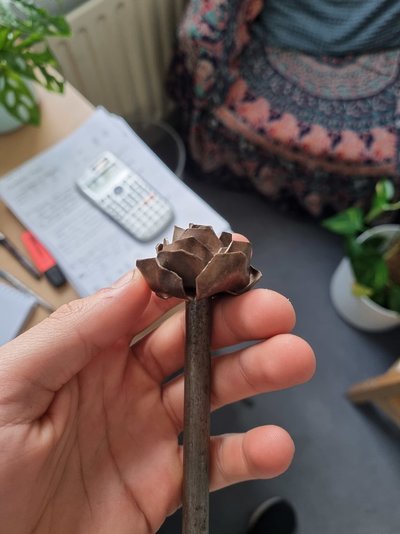
Then just work outwards till they're all shaped. Bend the sepal downwards and put a little bit of a natural looking curve into the stem, and it's done. You can see the lines cut into the sepal in the last one, you can also see how bulky it came out.
I drew the petals freehand this time but I've used this template in the past which I think worked slightly better, certainly the sepal came out better last time. I started with 22mm copper pipe cut into 66mm long pieces and split down the length with a hacksaw. Drew the shapes with a Sharpie and cut them out with a blunt pair of Gilbrows held in the vice like a crap bench shear. I wasn't planning on writing a tutorial so you'll have to excuse the lack of images


I think I cut the points off this one once more before hammering. All the pieces get annealed, dead easy with copper, just heat to a dull red and quench in water (Or don't quench, doesn't make a difference). If you started with a sheet rather than flattening a pipe, you might not need to anneal at this stage. Now they're soft, hammer around the edges of the petals to thin them and give a more natural looking shape to them, here's all the petals cut out and flattened. The beaker of green stuff is citric acid, I'm quenching in it to clean the scale off.

This hammering work hardens the copper so it needs annealing again. Next step is to go around all the edges again (On the top and bottom of the pieces) with a cross pein hammer to texture them with radial(ish) grooves. I redressed my hammer for this, don't take it too sharp though. Didn't take a picture after this but you can it when they're stacked up ready for forming. Anneal them again and get them clean if they're not already. I'd really like to polish them at this stage too but I don't have a polisher.

I wanted the sepal to contrast the petals (And didn't want to use steel) so I tinned it with solder. Covered in flux and sat on a bit of aluminium and blowtorched from the underside, this was my second attempt, I initially overheated it by heating it directly, the copper blackens and the solder won't touch it. This then gets cleaned, file away any blobs of solder and then lightly peen it again to get a consistent surface on the solder. Then, with a woodworking chisel, cut lines into the solder. Didn't take a picture here but you'll see them at the end.

More pictures I didn't take; 1/4"ish round bar, turned the end down and threaded it M4. Couldn't find an M4 nut so had to machine one of them too. Drill a 4mm hole in all the petals, stack them up, tighten the nut and then peen the tip over so it doesn't come off. If you don't have a lathe, just thread the bar M6 (Or 1/4"-20 whatever) and put a nut top and bottom, it'll be covered by the sepal anyway.


Then start forming, ideally use smooth jawed pliers, I couldn't find mine so it's covered in scratches and tool marks, you don't really notice unless you look closely but if it were polished these would probably look pretty bad. Start by rolling the petal up, then bend the top edge back out.


Then just work outwards till they're all shaped. Bend the sepal downwards and put a little bit of a natural looking curve into the stem, and it's done. You can see the lines cut into the sepal in the last one, you can also see how bulky it came out.


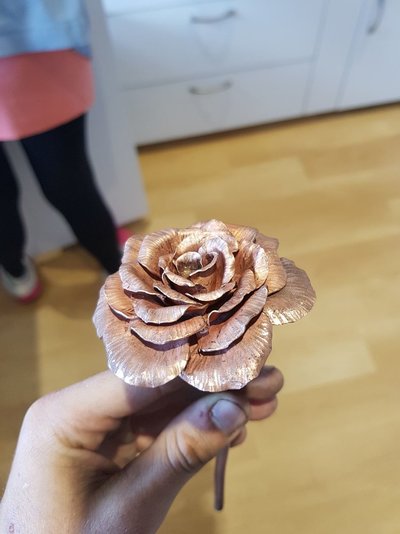
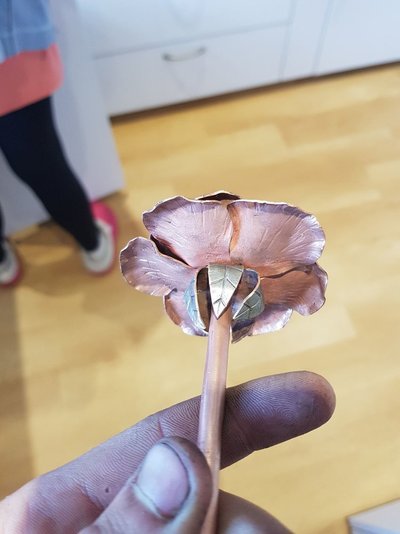
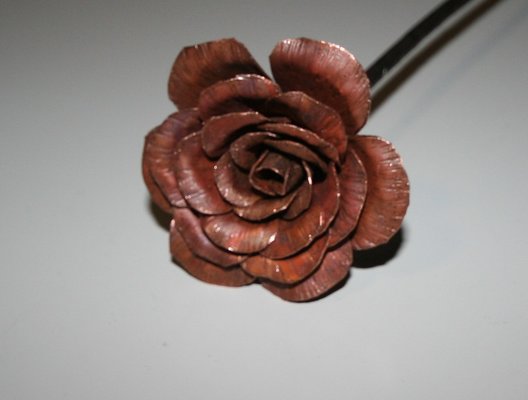
 Didn't peen or texture the edges at all, ugly bulky stem, and no sepal. Looks alright from a distance