dieselsamurai
Too many projects not enough time!
- Messages
- 1,592
- Location
- Hampshire
The 'boss' decided upstairs bathroom needed a makeover and due to purchases of various random and seemingly unneeded machinery was noticed I couldnt really dodge the bullet , due to lack of enthusiasm its really dragged out mainly due to the plasterboard coming off with the tiles 
Anyway back on topic nearly there but due to installation of L shaped cupboards for storage a suitable piece of granite was really out of our budget
So after much googling and youtube watching the decision to try resin as the price of the kit we needed was really not to bad I thought. I went for moisture resistant MDF but ply can be used too, cut to fit with a bit of wiggle room
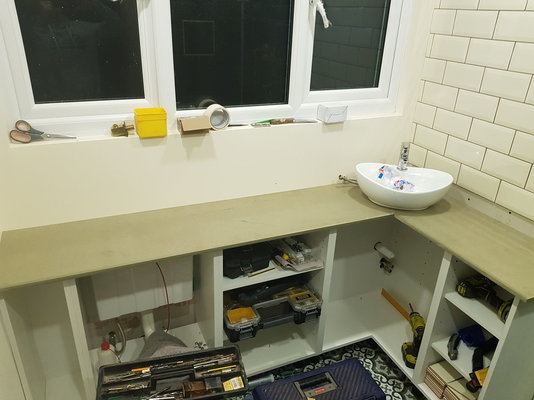
First stage is a coat of Resin just brushed on as a primer with black tint added as its seen through the top coat , edges are brushed to seal the mdf too.
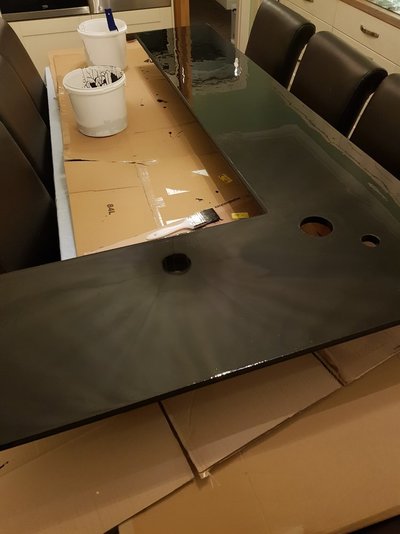
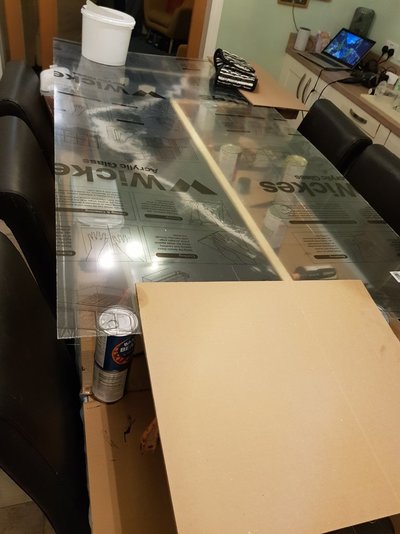
Kitchen table repurposed as Workshop way too dusty. Instructions said leave for 12hrs before sanding but was still tacky then so i left it 24 and it was fine with some 120 grit
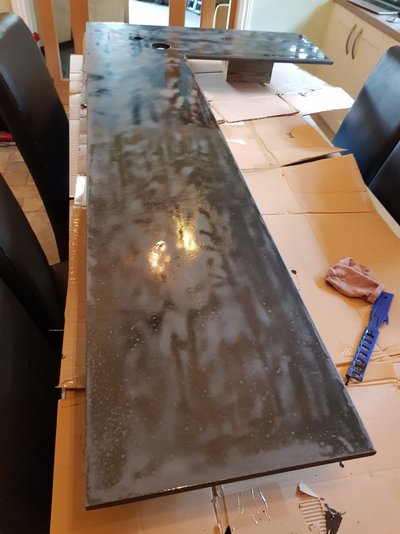
Looks worse than it was because such a thin coat couldnt really self level
Next stage was the pour and patterns etc i would have taken pictures but it was pretty stressful due to masking tape failure and needing to clamp wood to edges to stop leaks but that was my fault for not wrapping the masking tape round the bottom too.
Basically you do the main pour then when its gone off a bit they say 2hrs you pull the masking tape off the edges and it slowly runs down taking the pattern with it , well after 3 hrs it was still too runny but at 4 seemed ok so pulled it off but was probably too soon
I put a perspex sheet on top to stop dust and pokey fingers etc for the next 12hrs
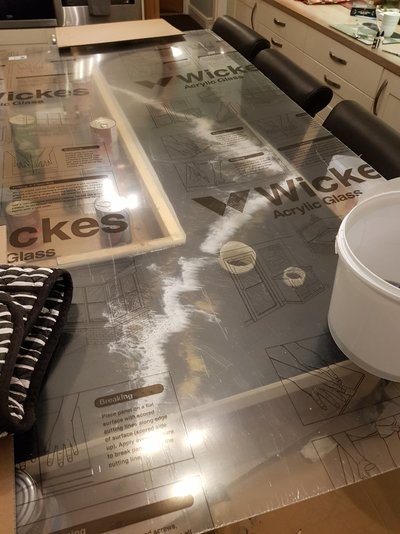
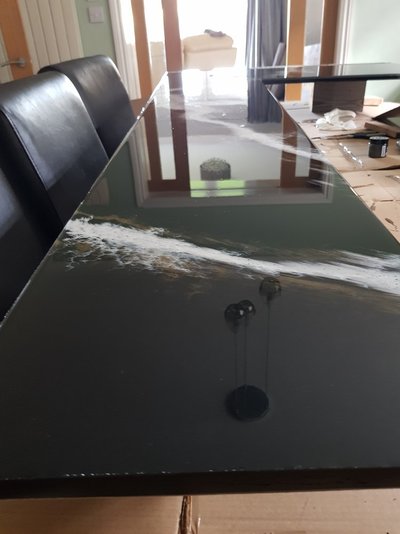
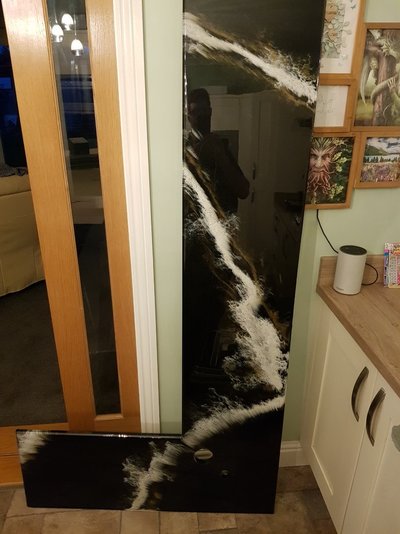
it was actually dry in the morning and pretty happy with the result, pattern was my sons design a couple dragged more than we hoped when it dripped off the edge but it should do the job

Anyway back on topic nearly there but due to installation of L shaped cupboards for storage a suitable piece of granite was really out of our budget
So after much googling and youtube watching the decision to try resin as the price of the kit we needed was really not to bad I thought. I went for moisture resistant MDF but ply can be used too, cut to fit with a bit of wiggle room

First stage is a coat of Resin just brushed on as a primer with black tint added as its seen through the top coat , edges are brushed to seal the mdf too.

Kitchen table repurposed as Workshop way too dusty. Instructions said leave for 12hrs before sanding but was still tacky then so i left it 24 and it was fine with some 120 grit

Looks worse than it was because such a thin coat couldnt really self level
Next stage was the pour and patterns etc i would have taken pictures but it was pretty stressful due to masking tape failure and needing to clamp wood to edges to stop leaks but that was my fault for not wrapping the masking tape round the bottom too.
Basically you do the main pour then when its gone off a bit they say 2hrs you pull the masking tape off the edges and it slowly runs down taking the pattern with it , well after 3 hrs it was still too runny but at 4 seemed ok so pulled it off but was probably too soon
I put a perspex sheet on top to stop dust and pokey fingers etc for the next 12hrs


it was actually dry in the morning and pretty happy with the result, pattern was my sons design a couple dragged more than we hoped when it dripped off the edge but it should do the job


