RobCox
Member
- Messages
- 504
- Location
- Cambridge, UK
I recently bought this faceplate from @6ply and I thought I'd share the delights I went through to get it mounted on the lathe:
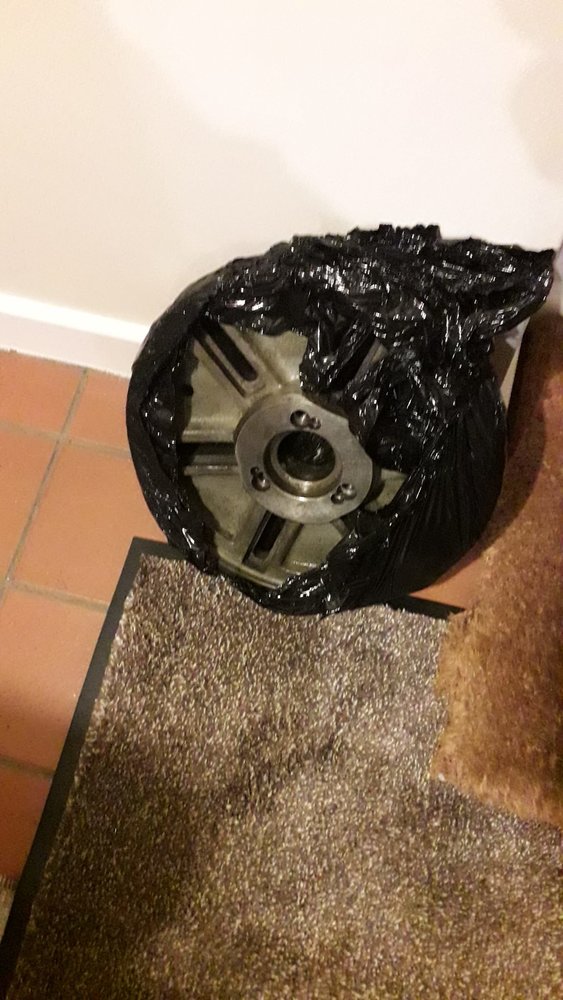
It came without studs, no problem, I'll just buy some. Firstly, I checked the thread of the retaining screw. M6 x 1.0. Neither 1/4-20 UNC (which is what they are in my other fittings) nor 1/4-26 BSF fit (didn't have 1/4-28 UNF to try) so excellent, order some D1-4 studs from RDG tools, £18 for 3 delivered.
Whilst they were on their way, I thought I'd clean out the threads. An M6 tap cleaned the goo out of the retaining screw without removing metal, but the M10 x 1.0 tap seemed to thread to the bottom of the hole then spun merrily. Huh? Check the threads on my 3 jaw. 7/16 UNF. Hmm, we have a mixed metric and imperial fitting here . Maybe I should buy some imperial studs, but at over £50 a set if they're in stock this is making a faceplate which will get very occasional use an expensive luxury.
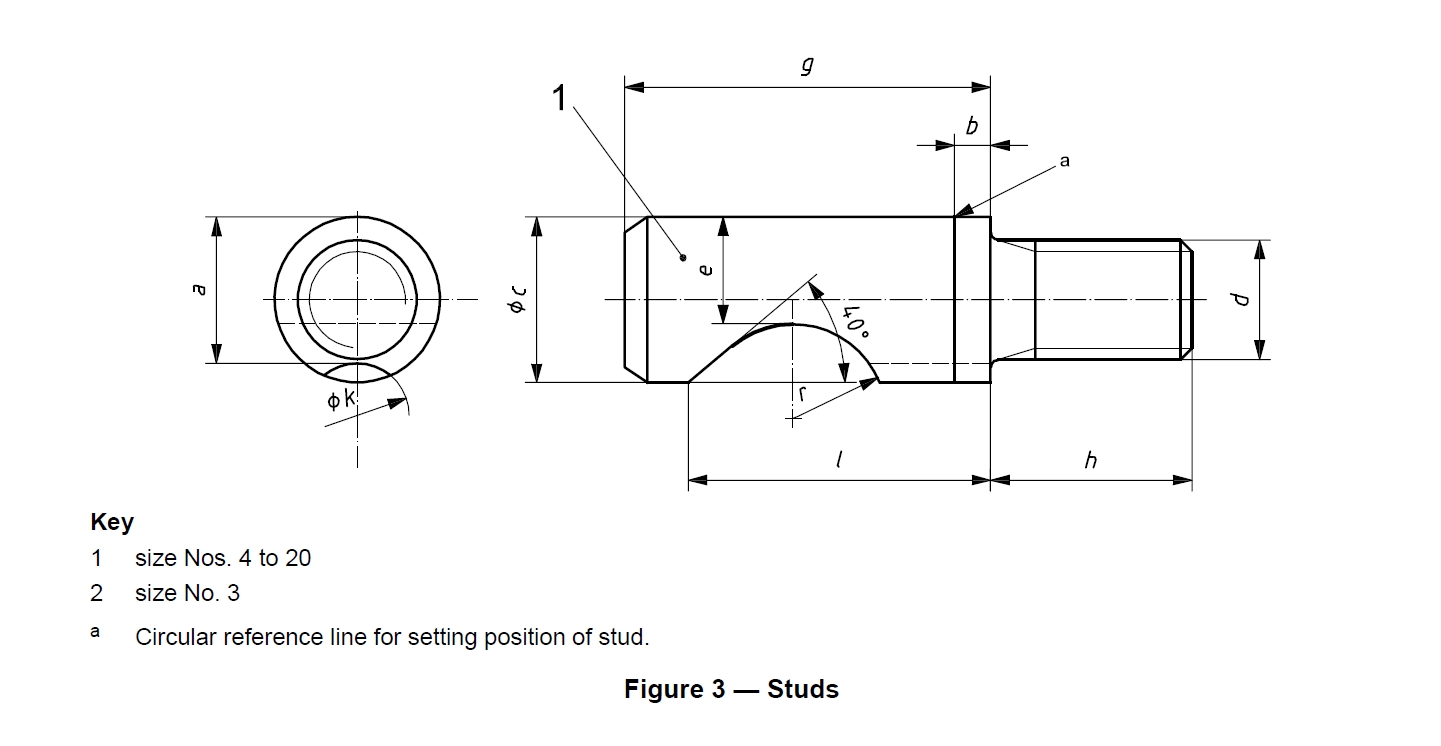
So, I decided I'd have a go at making some. I found an online copy of the ISO spec which has the following drawing:
I had some EN24 and some silver steel as reasonable quality material to make them from, so off we go. Some extra length was needed to make sure there's something to hang on to when milling the circular cutout, so two were made back to back. The other two (allowing for a cock-up) had waste material on the end. So, turn to an OD of 0.625" then thread 7/16 UNF:
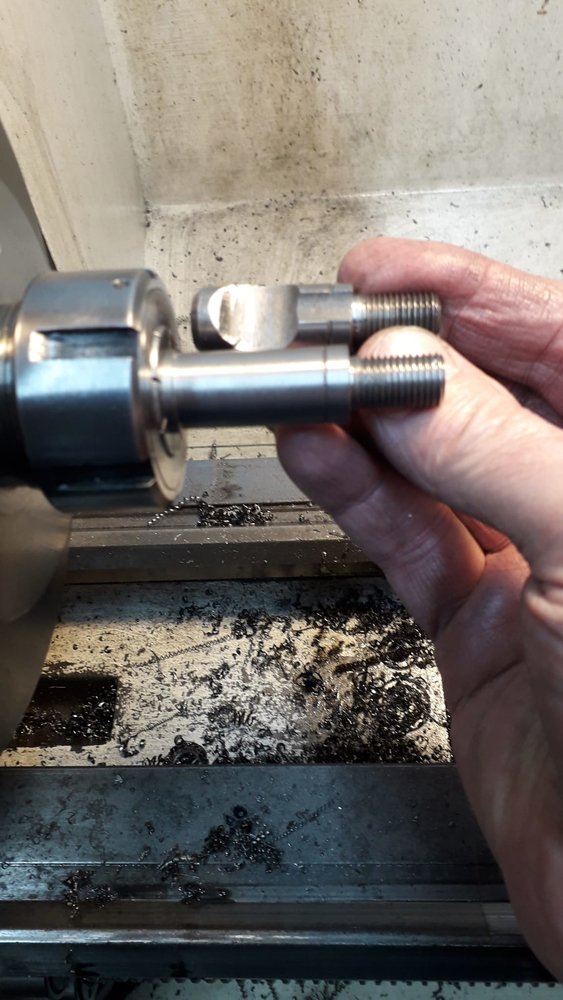
At this stage the alignment groove also gets put in, 4.8mm from the shoulder. Then off to the mill. I fortunately had a 19mm endmill so could peck away to make the circular feature
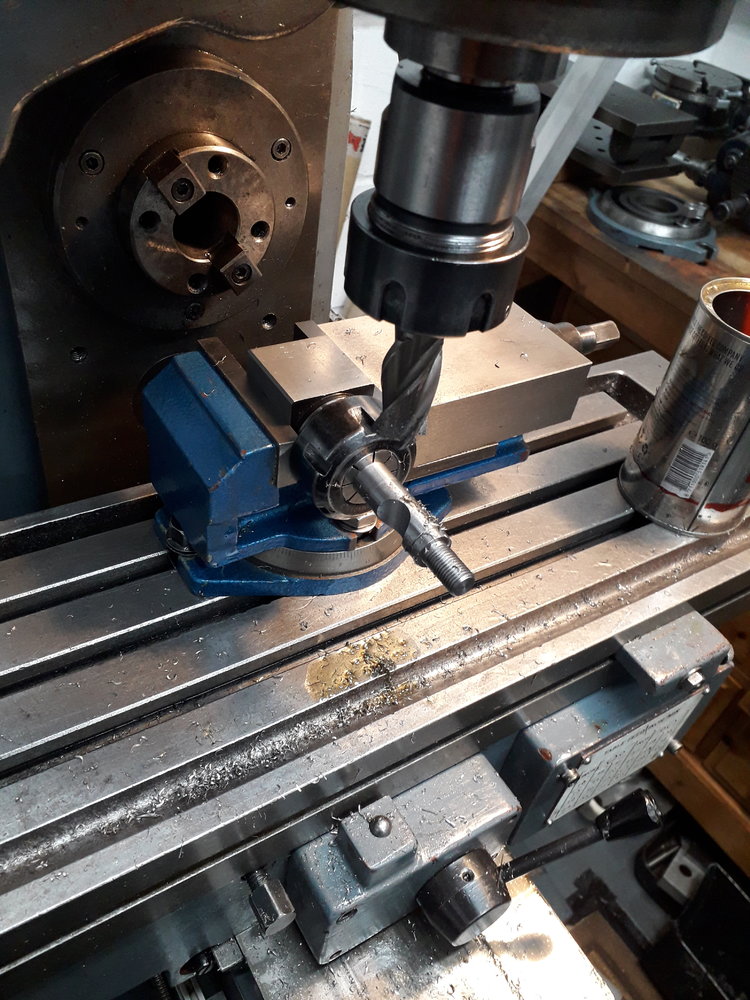
then rotate the vice by 40deg to cut the flat. The first one I spent ages getting the angle bang on using the DRO and dial indicator, but after that just used the graduations on the vice as the 40deg on the drawing isn't toleranced so I figure it can't be all that critical.
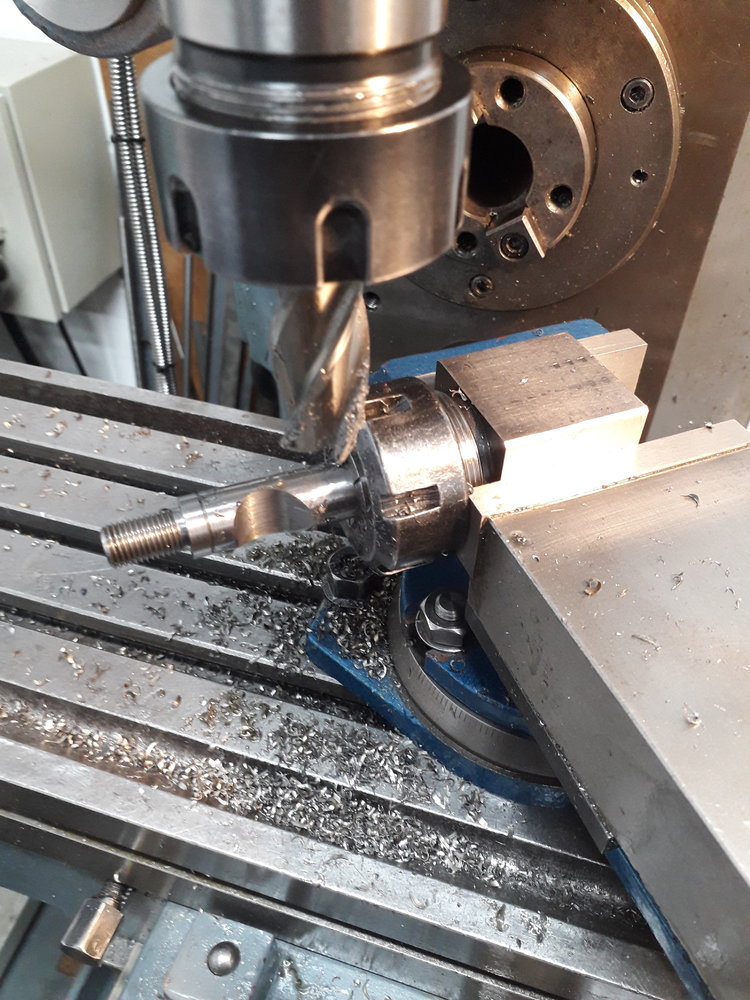
To line up the cutter in the original groove I blued it up the tweaked the position until the endmill scratched it all round. Each part had to have both these milling ops done without taking them out of the collet block otherwise I'd have to line them up again for the second op.
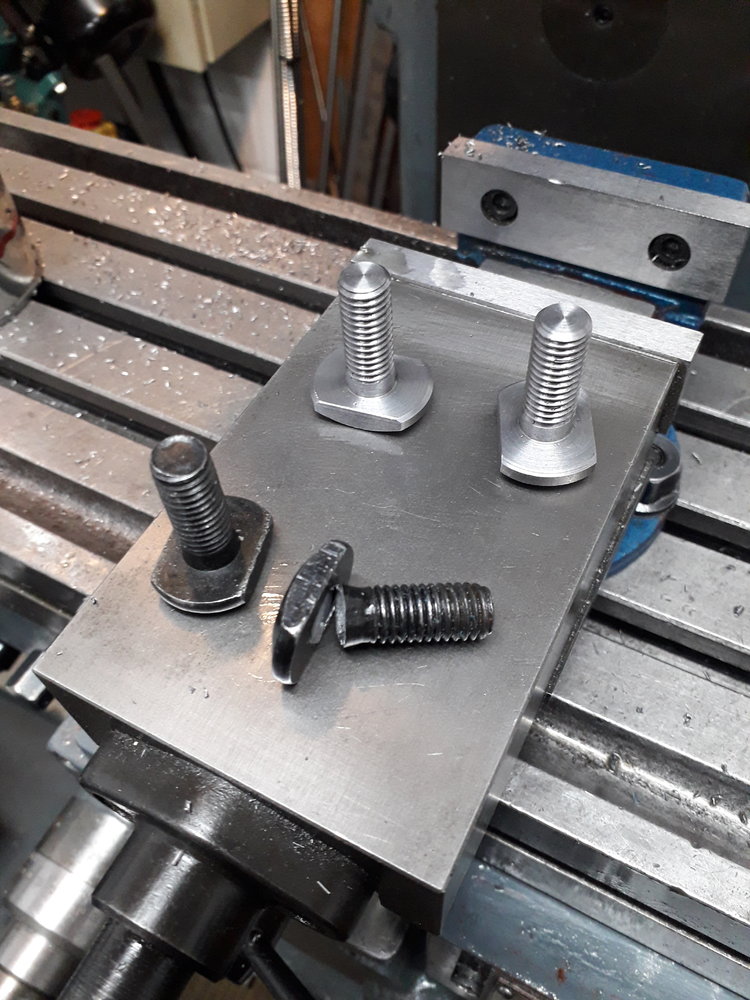
At one point one of the chinesium T bolts on the vice rotating base let go, requiring a short break to make some new ones:
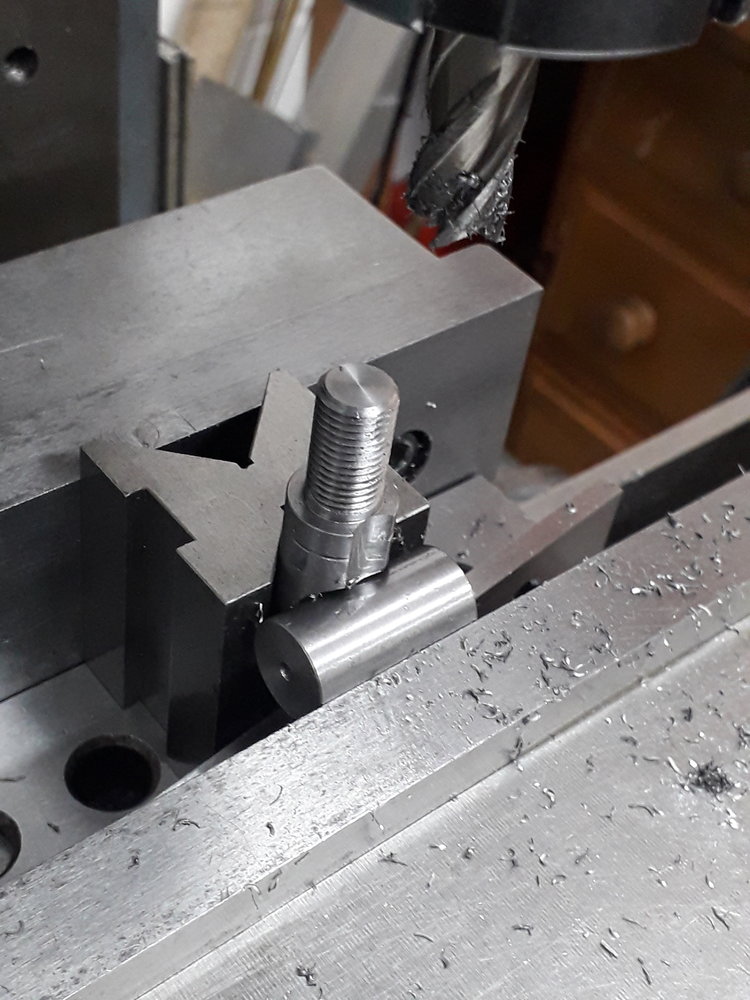
Then a final milling setup for the retaining screw recess:
Then part off to length. Job done:
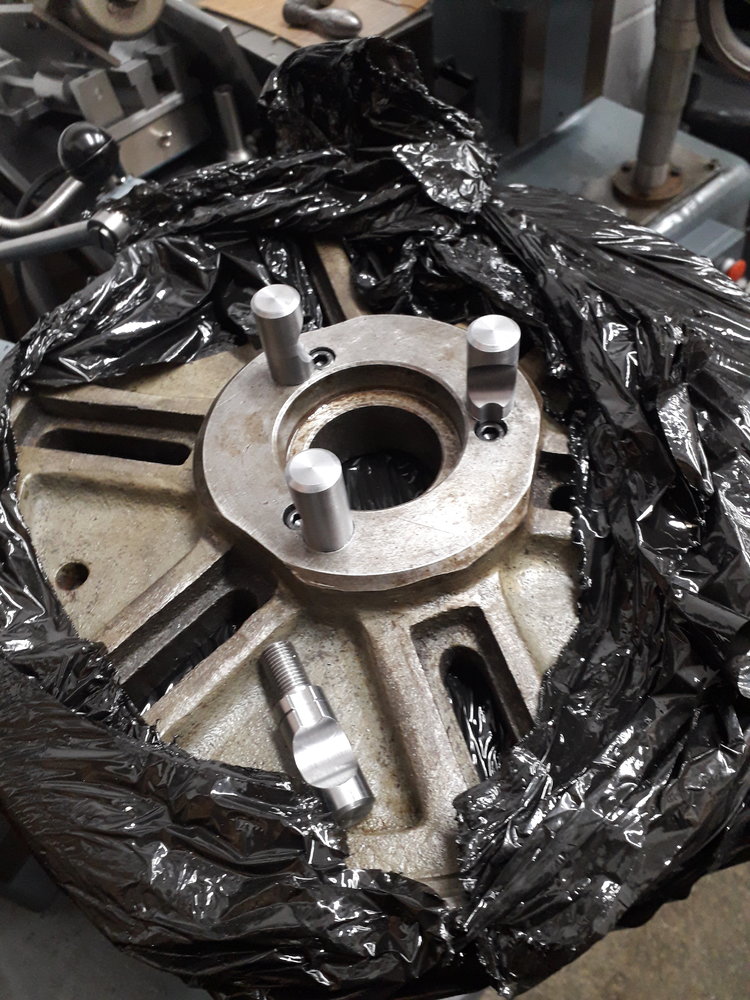
Finally got it mounted up, all works fine:
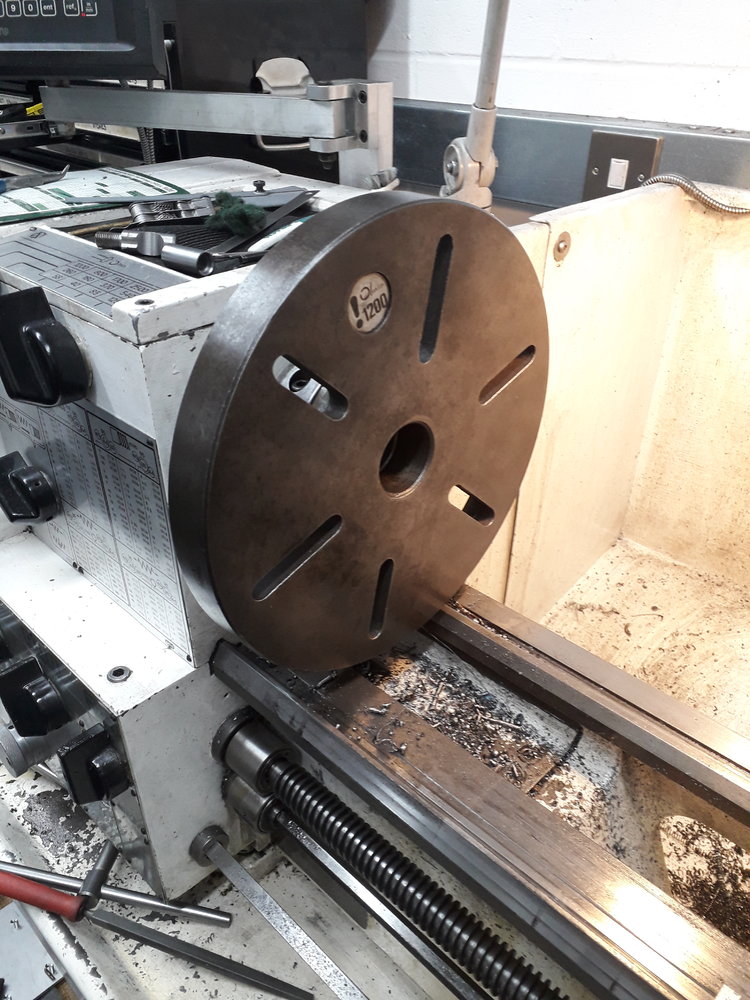
I even got away without messing one up, so I now have four spare D1-4 studs, three metric and one imperial. I checked all my backplates after the event... they're all 7/16-20 UNF and 1/4-20 UNC retaining screws, not an M6 between them!
It came without studs, no problem, I'll just buy some. Firstly, I checked the thread of the retaining screw. M6 x 1.0. Neither 1/4-20 UNC (which is what they are in my other fittings) nor 1/4-26 BSF fit (didn't have 1/4-28 UNF to try) so excellent, order some D1-4 studs from RDG tools, £18 for 3 delivered.
Whilst they were on their way, I thought I'd clean out the threads. An M6 tap cleaned the goo out of the retaining screw without removing metal, but the M10 x 1.0 tap seemed to thread to the bottom of the hole then spun merrily. Huh? Check the threads on my 3 jaw. 7/16 UNF. Hmm, we have a mixed metric and imperial fitting here
 . Maybe I should buy some imperial studs, but at over £50 a set if they're in stock this is making a faceplate which will get very occasional use an expensive luxury.
So, I decided I'd have a go at making some. I found an online copy of the ISO spec which has the following drawing:
I had some EN24 and some silver steel as reasonable quality material to make them from, so off we go. Some extra length was needed to make sure there's something to hang on to when milling the circular cutout, so two were made back to back. The other two (allowing for a cock-up) had waste material on the end. So, turn to an OD of 0.625" then thread 7/16 UNF:
At this stage the alignment groove also gets put in, 4.8mm from the shoulder. Then off to the mill. I fortunately had a 19mm endmill so could peck away to make the circular feature
then rotate the vice by 40deg to cut the flat. The first one I spent ages getting the angle bang on using the DRO and dial indicator, but after that just used the graduations on the vice as the 40deg on the drawing isn't toleranced so I figure it can't be all that critical.
To line up the cutter in the original groove I blued it up the tweaked the position until the endmill scratched it all round. Each part had to have both these milling ops done without taking them out of the collet block otherwise I'd have to line them up again for the second op.
At one point one of the chinesium T bolts on the vice rotating base let go, requiring a short break to make some new ones:
Then a final milling setup for the retaining screw recess:
Then part off to length. Job done:
Finally got it mounted up, all works fine:
I even got away without messing one up, so I now have four spare D1-4 studs, three metric and one imperial. I checked all my backplates after the event... they're all 7/16-20 UNF and 1/4-20 UNC retaining screws, not an M6 between them!


