Dcal
Member
- Messages
- 3,960
- Location
- Antrim Northern Ireland
I bought a blasting cabinet on the forum over 3 years ago and have been using it since.
I already had one of the Clarke 10 gal pressure pots so I ended up marrying the two together.
They work but not great and have some major flaws so I've been modifying them over the years and thought it was about time I really sorted them out.
Most of the mods so far have been on the pressure pot and have been described in a number of other peoples threads and as lot of questions are asked abut this sort of kit I thought it would be an idea to bring them all together in one thread.
It's certainly not the only or best way to modify these tools, just my approach.
I would also like to thank and acknowledge all the help and ideas I got from folks on this forum.
I'm in the middle of doing the final mods to the cabinet so might as well start with it.
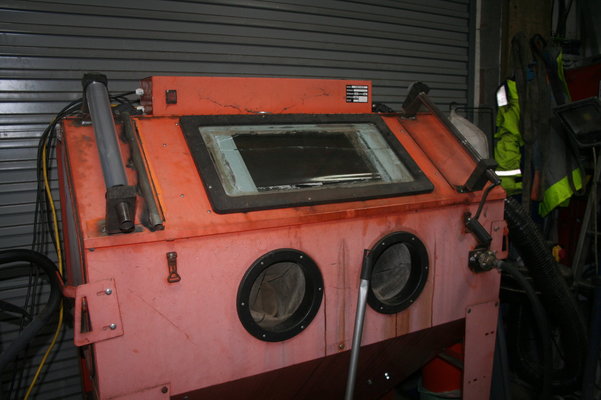
It lives in an open lean-to at the back of the workshop and as I've a pallet truck I cut a bit off the legs (to let the pallet truck fit) and bolted a bit of angle so I could move it about easily.
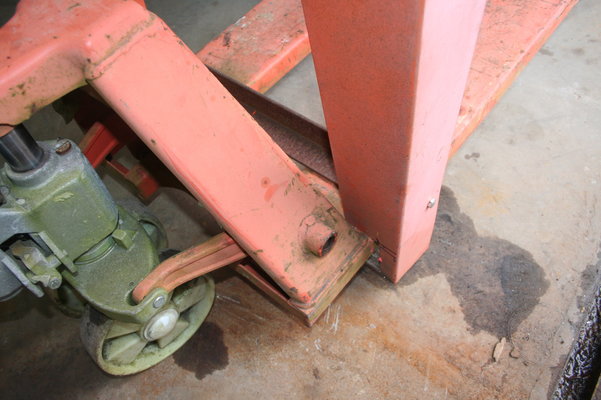
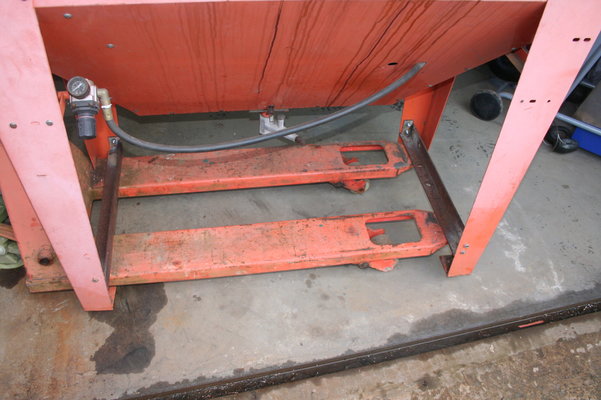
It just about fits.
I could have put the angle across the width of the cabinet, but they would have got in the way when using it and they would have to be removed and stored after every time I did move it.
Also it would have made it harder to move as I would have had to clear a wider path to let it through and space is at a premium.
The first job was to improve the extraction.
It came with a extractor bolted to the back which worked but it had a big cartridge air filter that needed to be cleaned out regularly and was not that effective since I started using the pressure pot with it.
I have a wood working chip extractor that I was using with it but I needed to install it properly.
I removed the original extractor and made and installed a better outlet.
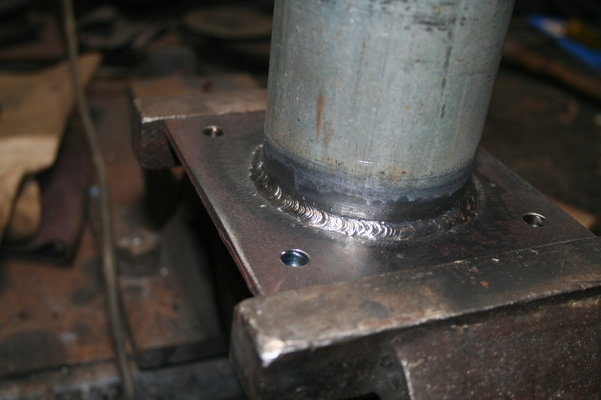
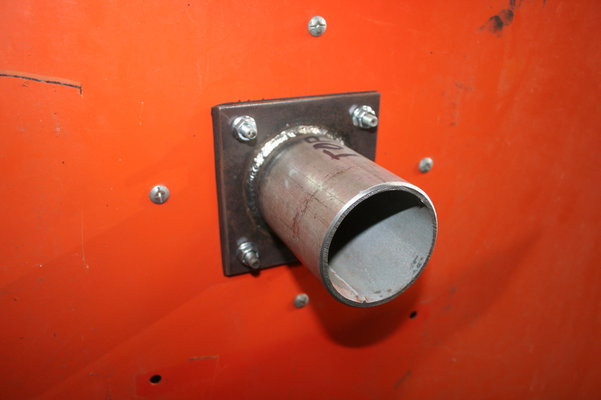
I also got a very nice vortex separator on the forum so plumbed it in between the cabinet and the extractor.
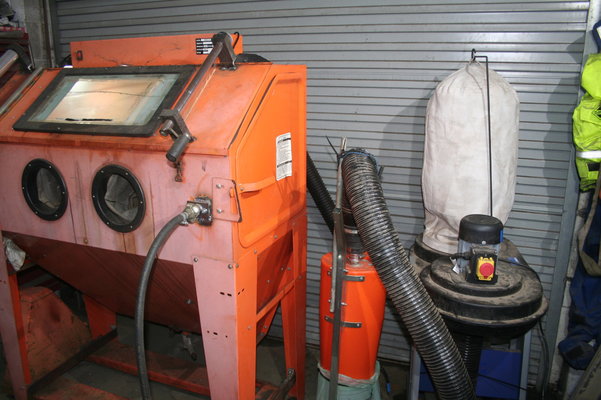
This photo's out of sequence and shows almost the finished article but I didn't take any while rigging the extractor for the first time.
Next job was to sort out the lighting.
It came with a couple of 600mm florescent tubes which might be fine for someone with better eyesight than me (the older I get the more lighting I need to see anything fine) and someone who changes the screen covers more often.
I replace the tubes with LED versions
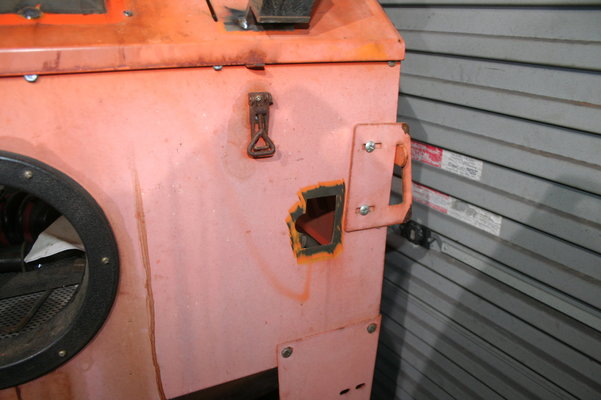
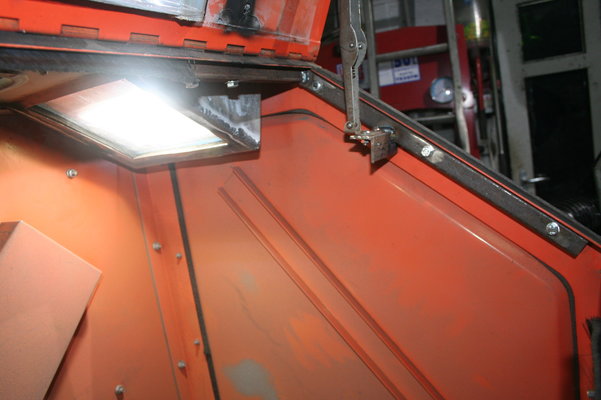
Next I made a couple of pockets to accept a 20 watt LED spot each side.
I wanted them to point towards the central working area of the cabinet so installed them at an angle.
It did complicate things somewhat but why not.
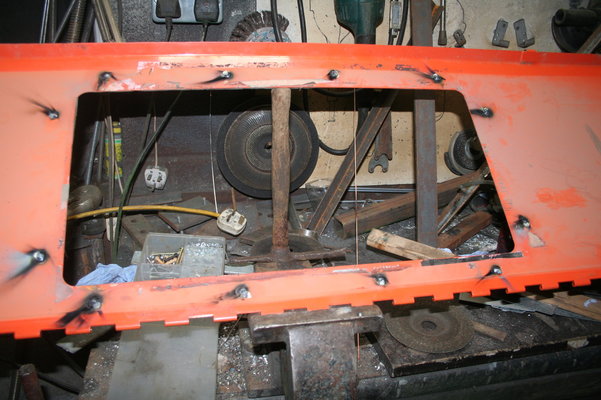
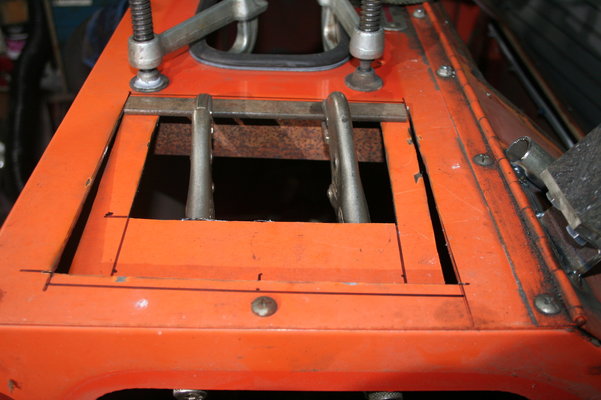
Marked up and cut out.
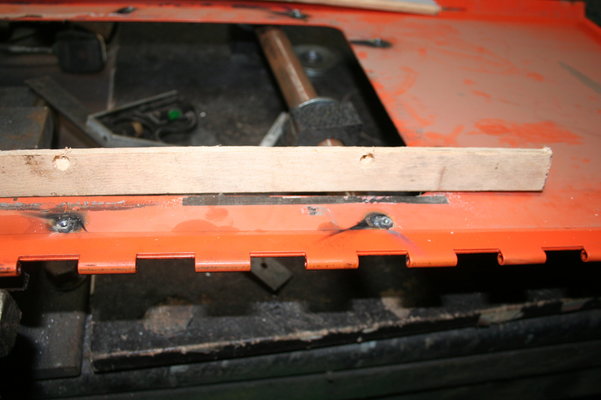
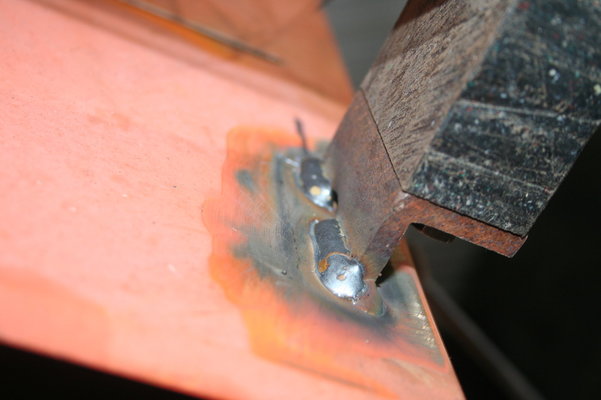
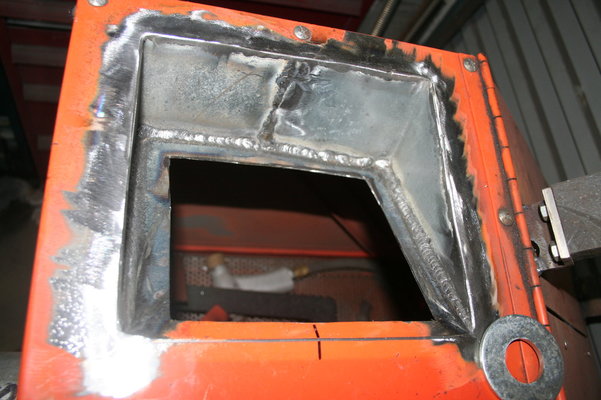
Bent to shape to accept fillets of 1mm steel and welded in place.
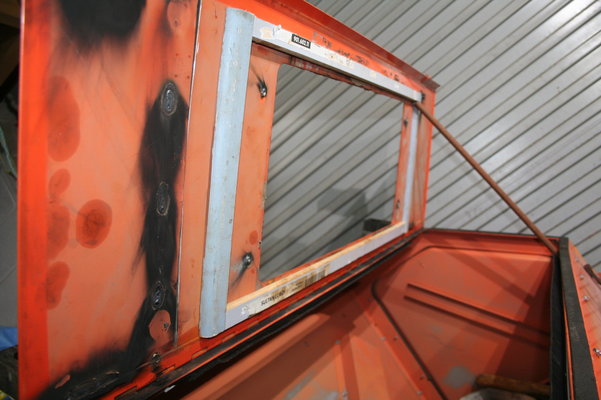
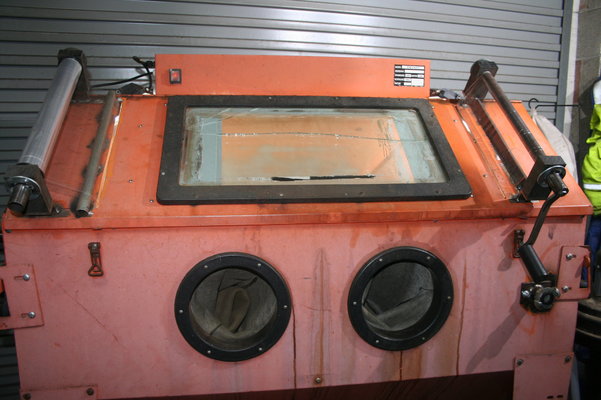
I used 10mm clear plastic sheet and a consumable screen cover cut out of A3 laminating sheets.
To seal the openings I used 6mm neoprene cut to shape.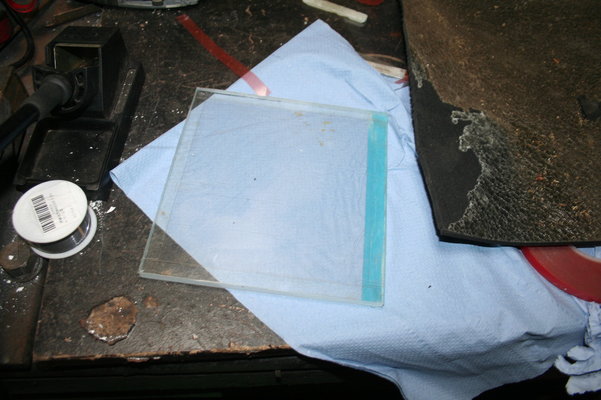
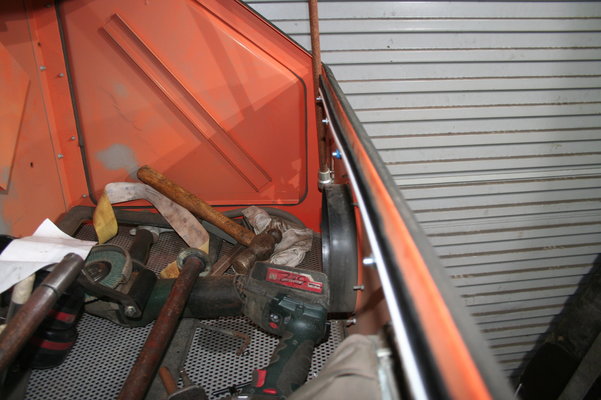
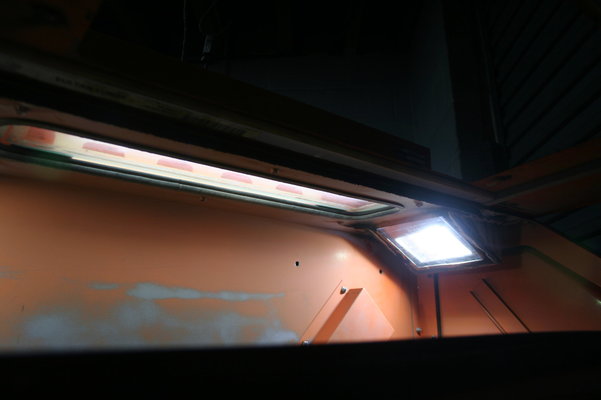
After installation from the inside
I already had one of the Clarke 10 gal pressure pots so I ended up marrying the two together.
They work but not great and have some major flaws so I've been modifying them over the years and thought it was about time I really sorted them out.
Most of the mods so far have been on the pressure pot and have been described in a number of other peoples threads and as lot of questions are asked abut this sort of kit I thought it would be an idea to bring them all together in one thread.
It's certainly not the only or best way to modify these tools, just my approach.
I would also like to thank and acknowledge all the help and ideas I got from folks on this forum.
I'm in the middle of doing the final mods to the cabinet so might as well start with it.
It lives in an open lean-to at the back of the workshop and as I've a pallet truck I cut a bit off the legs (to let the pallet truck fit) and bolted a bit of angle so I could move it about easily.


It just about fits.
I could have put the angle across the width of the cabinet, but they would have got in the way when using it and they would have to be removed and stored after every time I did move it.
Also it would have made it harder to move as I would have had to clear a wider path to let it through and space is at a premium.
The first job was to improve the extraction.
It came with a extractor bolted to the back which worked but it had a big cartridge air filter that needed to be cleaned out regularly and was not that effective since I started using the pressure pot with it.
I have a wood working chip extractor that I was using with it but I needed to install it properly.
I removed the original extractor and made and installed a better outlet.


I also got a very nice vortex separator on the forum so plumbed it in between the cabinet and the extractor.

This photo's out of sequence and shows almost the finished article but I didn't take any while rigging the extractor for the first time.
Next job was to sort out the lighting.
It came with a couple of 600mm florescent tubes which might be fine for someone with better eyesight than me (the older I get the more lighting I need to see anything fine) and someone who changes the screen covers more often.
I replace the tubes with LED versions
Next I made a couple of pockets to accept a 20 watt LED spot each side.
I wanted them to point towards the central working area of the cabinet so installed them at an angle.
It did complicate things somewhat but why not.
Marked up and cut out.

Bent to shape to accept fillets of 1mm steel and welded in place.

I used 10mm clear plastic sheet and a consumable screen cover cut out of A3 laminating sheets.
To seal the openings I used 6mm neoprene cut to shape.

After installation from the inside


