tonybmw
Member
- Messages
- 13
Open Source Bender Update
A Quick update for you, to show a bit more versatility
See the pic of the bender first and note the step in the angle
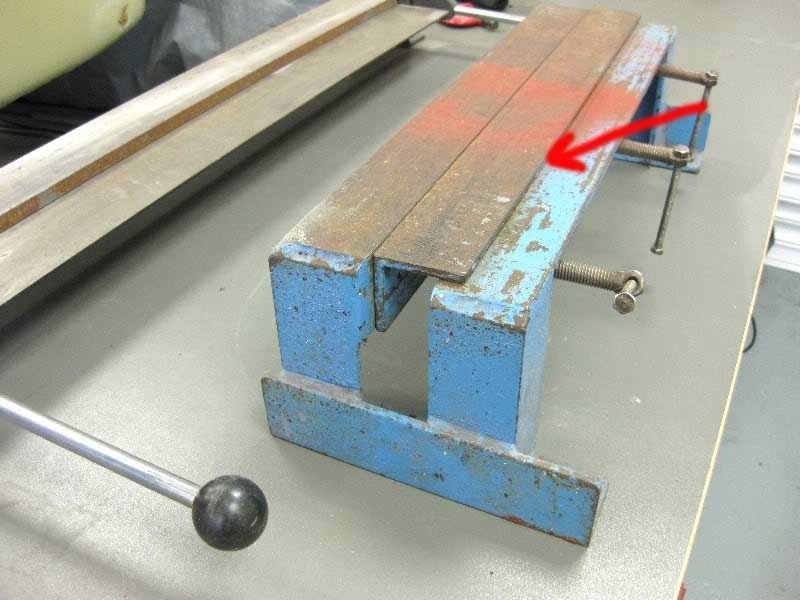
Then substitute that step for the one that I have shown below when creating a rib in a panel, such as a floor pan or similar

Then you need these tools, I use a big mash hammer and a 2" chisel, the weight of this hammer means you don't have to hit it too hard, and the 2" chisel makes quick progress across the sheet, obviously you can use a smaller chisel for more detailed areas or curves.

The Chisel has a slight radius on the top, we are only trying to bend the metal not cut through it
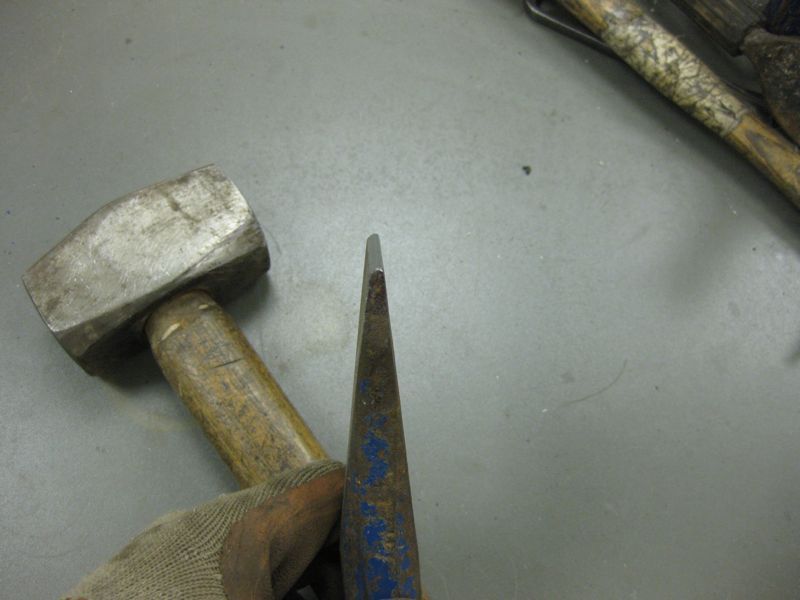
Then lay your metal over the top angle as shown
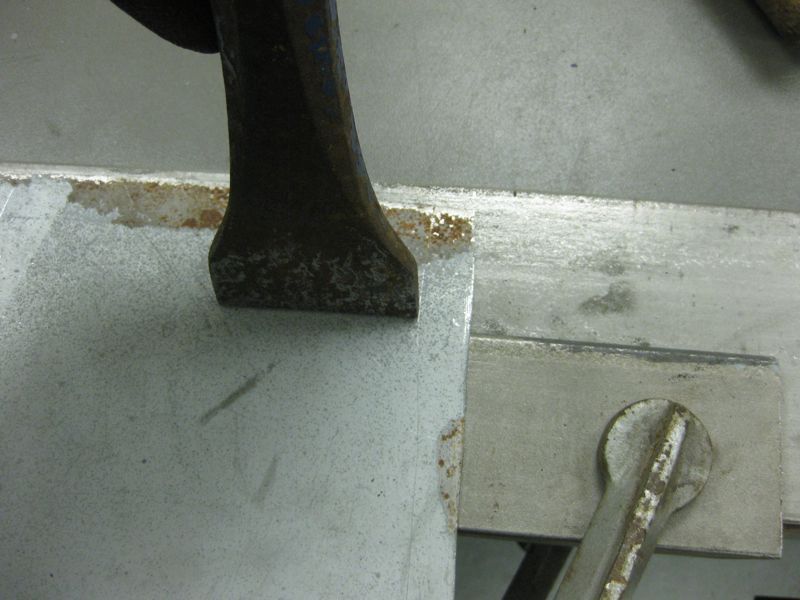
I am sure you can guess what you do next, but not too hard, and work along the piece, you are not trying to form the full depth in 1 hit

Then back along a couple more times
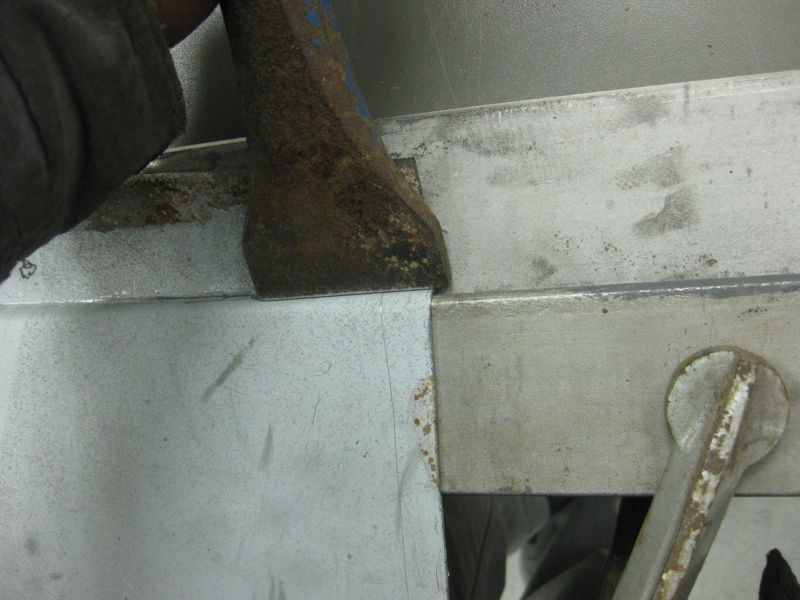
If you need the rib to have more definition, then angle the chisel more tightly into the angle

And then turn the piece over and add definition from the other side, this might need 2 or 3 turns dependant on definition

And here is a full 8mm rib, each bend at 90 degrees
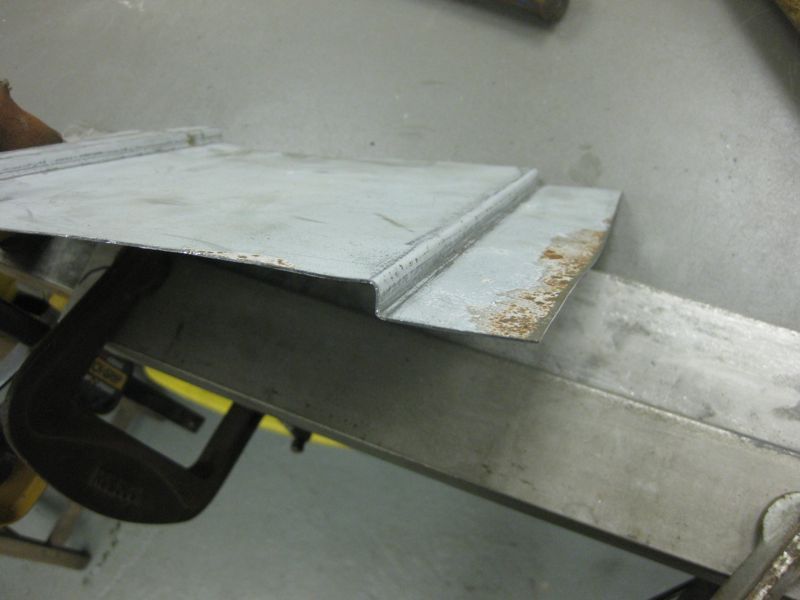
So now just turn it round and over and create the other side, at whatever width you want
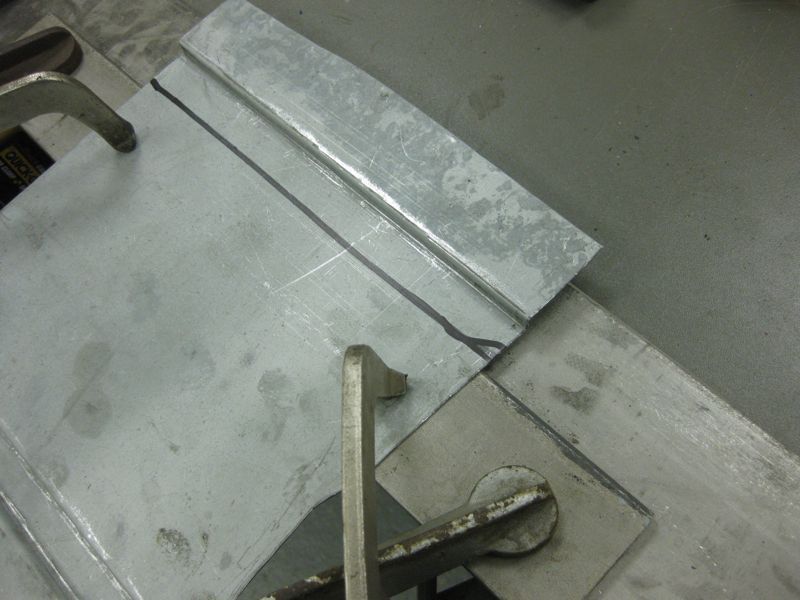
And repeat as before
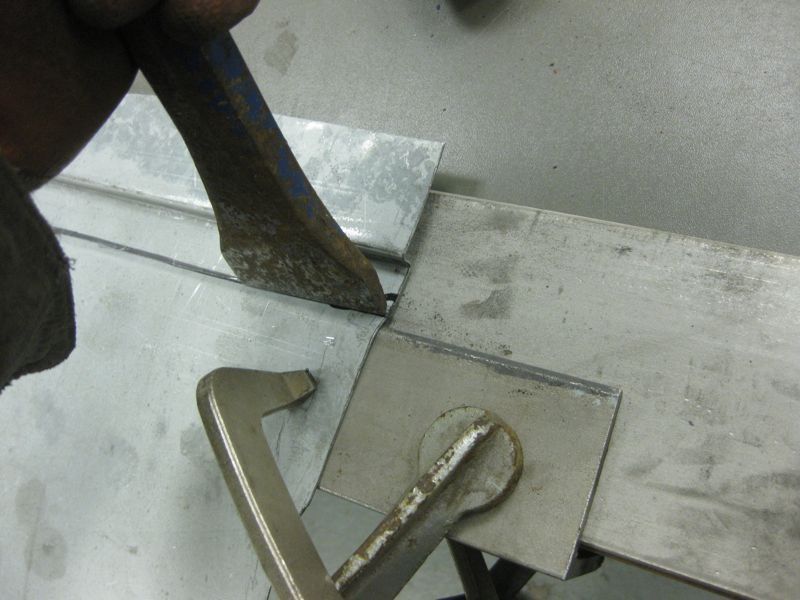
This time I am just driving the chisel straight down for a more gently formed rib

And here we have this side, I have purposely done them differently so that you can see what can be achieved
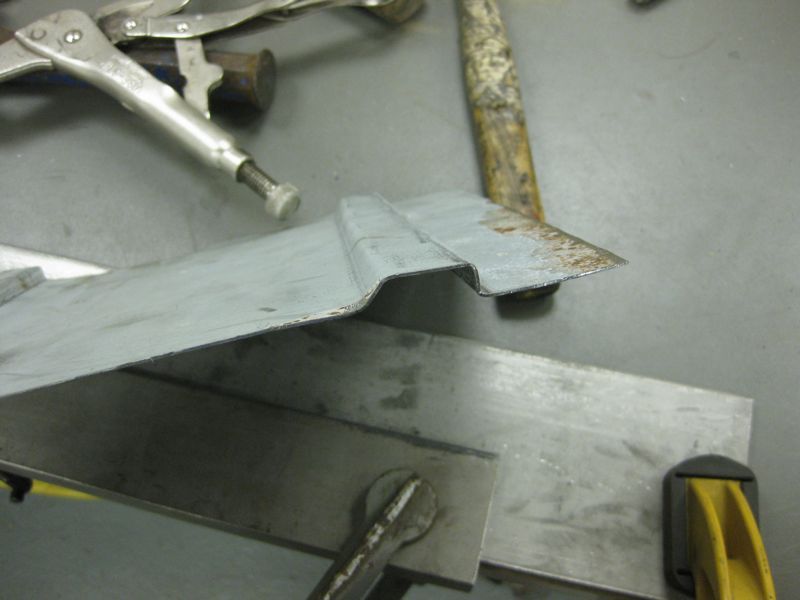
Now say that you wanted a shallower rib in the middle of the panel that did not go right to the end
Position as before, but only hit up to where you want it to stop, I have also not driven it right down on the base angle, but you could just use a thinner top angle, to achieve the same affect
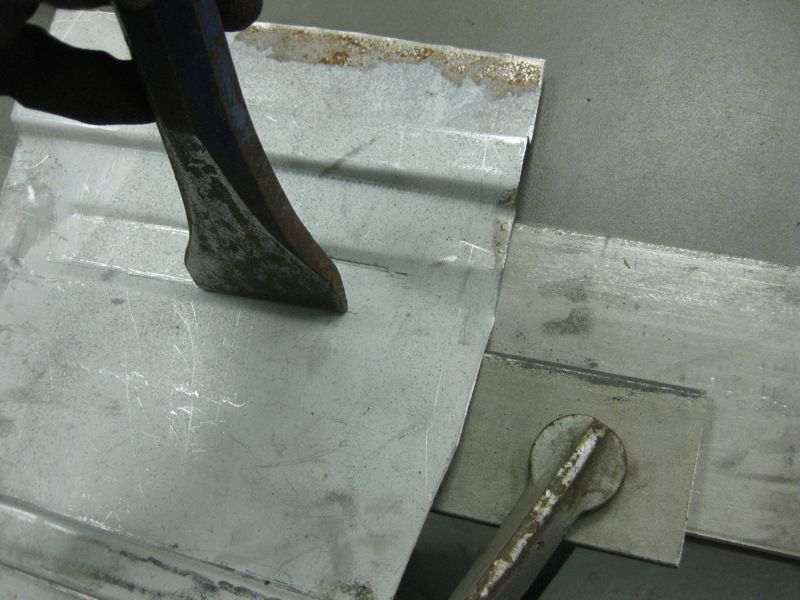
that gives you this, dependant on how near the end of the sheet you are you could end up with some puckering like this
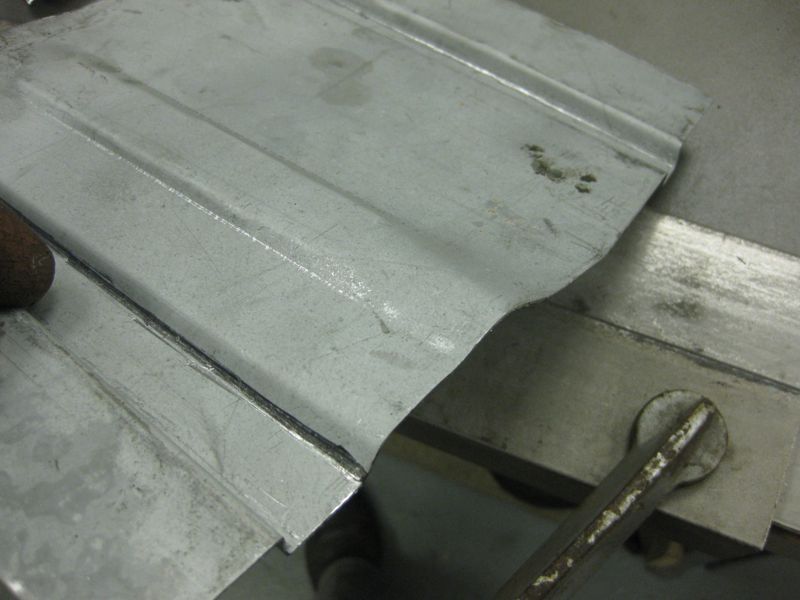
And dependant on what finish detail you want you can just dress it with the hammer
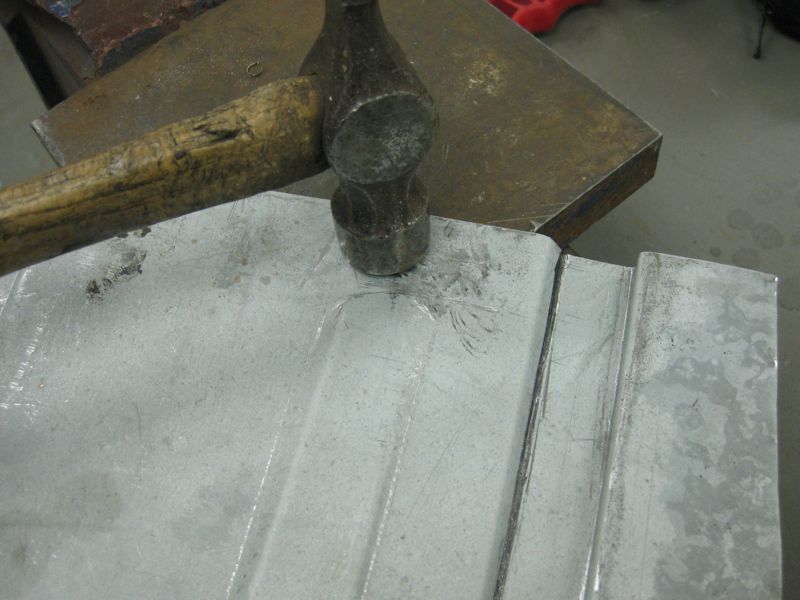
This can give a more gradual stop end
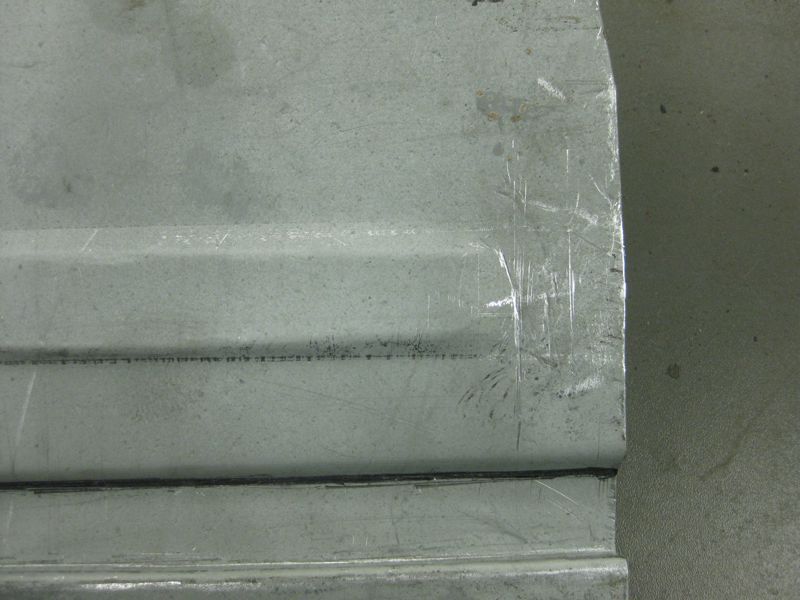
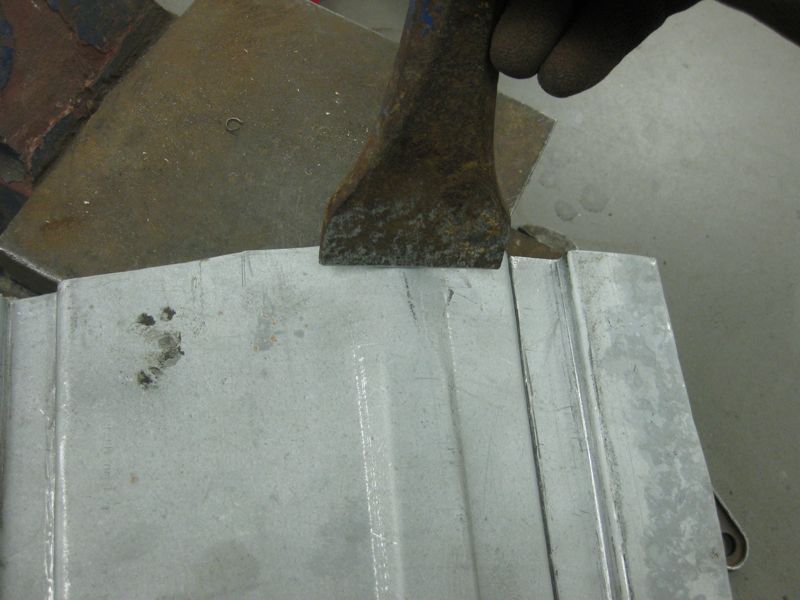
Or use the chisel to create a more flat stop end
And to add more definition, use a bit of 10mm dia bar to dress from the inside
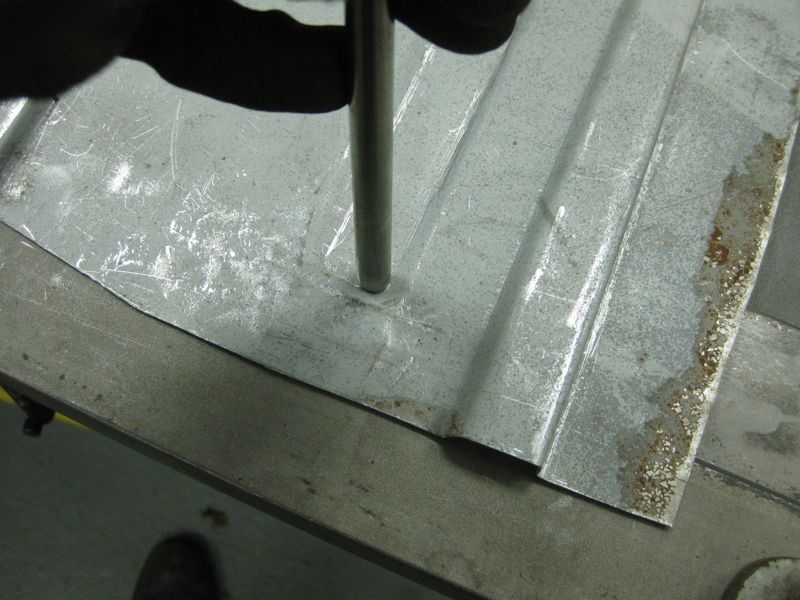
Which should leave you with this


A Quick update for you, to show a bit more versatility
See the pic of the bender first and note the step in the angle

Then substitute that step for the one that I have shown below when creating a rib in a panel, such as a floor pan or similar

Then you need these tools, I use a big mash hammer and a 2" chisel, the weight of this hammer means you don't have to hit it too hard, and the 2" chisel makes quick progress across the sheet, obviously you can use a smaller chisel for more detailed areas or curves.

The Chisel has a slight radius on the top, we are only trying to bend the metal not cut through it

Then lay your metal over the top angle as shown

I am sure you can guess what you do next, but not too hard, and work along the piece, you are not trying to form the full depth in 1 hit

Then back along a couple more times

If you need the rib to have more definition, then angle the chisel more tightly into the angle

And then turn the piece over and add definition from the other side, this might need 2 or 3 turns dependant on definition

And here is a full 8mm rib, each bend at 90 degrees

So now just turn it round and over and create the other side, at whatever width you want

And repeat as before

This time I am just driving the chisel straight down for a more gently formed rib

And here we have this side, I have purposely done them differently so that you can see what can be achieved

Now say that you wanted a shallower rib in the middle of the panel that did not go right to the end
Position as before, but only hit up to where you want it to stop, I have also not driven it right down on the base angle, but you could just use a thinner top angle, to achieve the same affect

that gives you this, dependant on how near the end of the sheet you are you could end up with some puckering like this

And dependant on what finish detail you want you can just dress it with the hammer

This can give a more gradual stop end

Or use the chisel to create a more flat stop end

And to add more definition, use a bit of 10mm dia bar to dress from the inside

Which should leave you with this


