ajlelectronics
Forum Supporter
- Messages
- 9,858
- Location
- Gloucester, England
Gone back to PETg for size checking. Looks like a bit more fettling to do!


First attempt a dismal failure. I used Kapton tape with 3DLAC and despite a brim, it detached halfway through the print. Layer bonding looks good though.

Just been over to Tesco for one.. HOWWWW MUCCCHHH? £2.36 for a little Pratt stick! I should have gone to the Pound shop earlier!I use glue stick (e.g. pritt stick)
What type and size connector housing?Hmmm... you've got me thinking, now I don't have a 3D printer or a clue where to start doing this, however... how simple/complicated would it be to copy a connector housing? presumably I'd have to CAD it up and couldn't just scan it somehow? Then there is the accuracy, most connector housings appear to be injection moulded complete with sharp corners and moulded spring latches. Am I right in thinking this wouldn't be possible with current 3D printing tech unless I was going to spend lots?
Now that does not surprise me...Dimensions have altered too. The outer diameter should be 19.75mm and the inner should be 16.3mm. I have 19.1 and 15.6mm respectively.

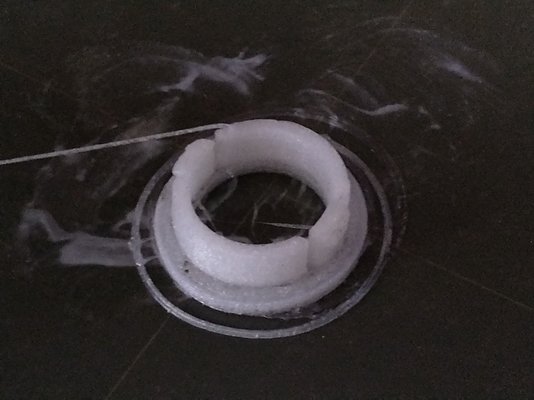
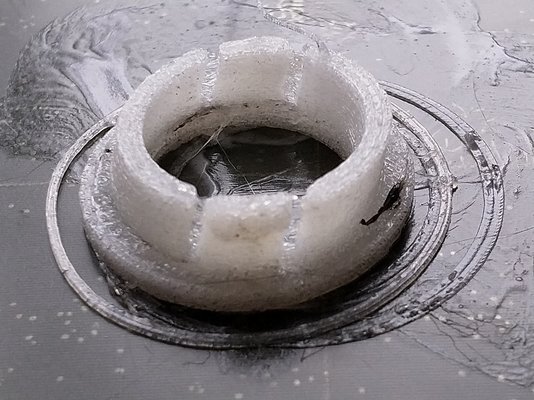
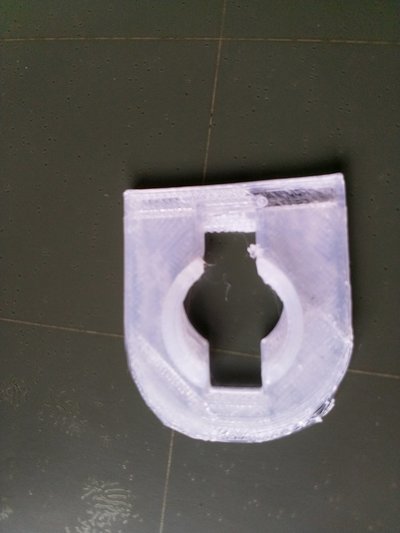
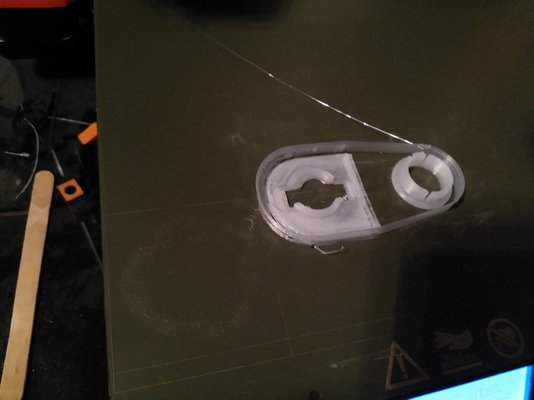
My slicer only had one easily identifiable Nylon setting so I chose that and printed one part, glued spread on the bed and cardboard screen round it.
It didn't warp bit it was leaning a bit drunkenly to the right. The black specks are from the previous PLA that I was using, it looks as if the nozzle wasn't 100% clean.
I tried a couple of tweaks, found an alternative Nylon setting and tried again, the main change was to go to 100% fill and to throw away my cardboard screen - if it's doing a Tower of Pisa impression, then the cardboard isn't doing much shielding. I also tried using a skirt but that just seemed to blend into the part and I ended up with a bit of a mess. I did find that a rim was better than the skirt though.
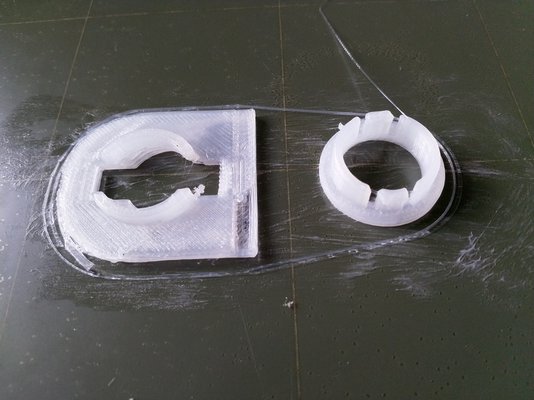
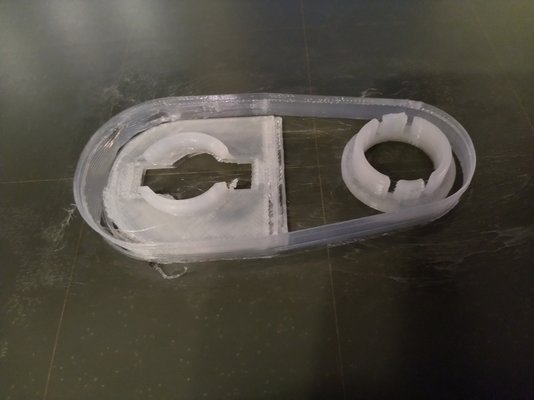
I also decided to print both parts close together, the thinking being that it will slow the printing down and allow each layer to set as the part is built up and this was quite successful :-
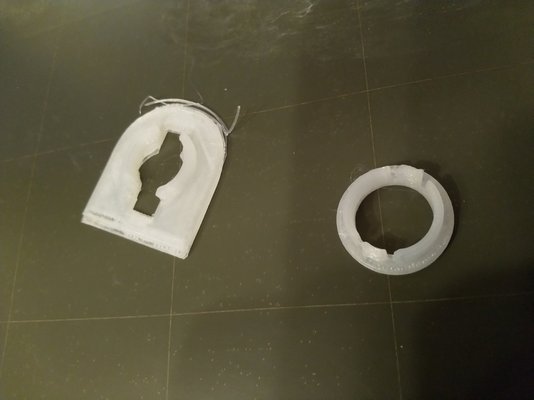
but this part was a bit peculiar. There's a bit of delamination and I think it needs to have its base increased a bit - one thing else to look at, there. I think it needs to be made a bit thicker, the dimensions are way off as well so it will probably need a bit of tweaking to get them close to what is needed.
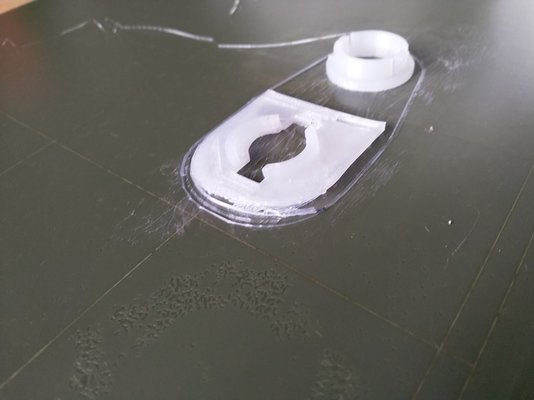
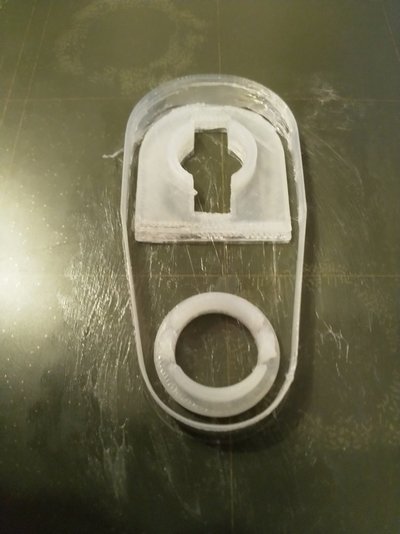
While I was playing, I discovered (in the advanced skirt settings) a Draft Shield which basically prints a high brim around the objects so I enable that and fired the printer off. It's a bit wasteful doing the draft shield but if it saves a couple of prints, its going to be worth using. I'm certainly going to make more use of it because it does seem to have made the print more stable.
And these were the results after I took them off the bed. It didn't take much to remove them either.
It was for me as well - I learnt some stuff that will make my life easier in the future when I do NylonThankyou for going to all that trouble for me.

I just used a cheap and cheerful glue stick - just checked and it's Pritt, I think I pinched it off my grand-daughter - Thank's AmélieWhat glue did you use? Is it a glass bed or something else ?
 The bed is a steel sheet with a plastic coating on it, it's the standard bed supplied with the printer, smooth double sided with PEI coating. It is a heated bed.
Could be but I have no way of testing if the filament is damp and Mrs R won't be very happy if I taint her Yorkshire Puddings with the smell of Nylon...That looks to my inexperienced eye like damp filament?

Good luck.They are looking reasonable. I will have another go this evening, given time or certainly over the weekend.
I do keep all my filaments in vacuum sealed bags when not in use to minimise the risk of absorption


