- Forums
- Tools, Compressors and Metal Coatings
- Tools, Materials and Techniques
- Home Made Tools and Equipment
You are using an out of date browser. It may not display this or other websites correctly.
You should upgrade or use an alternative browser.
You should upgrade or use an alternative browser.
Attempt no1, Home made two foot slip rolls
- Thread starter Richiew
- Start date
Today was gear cutting day. I've never done this before so spent most of last night watching Doubleboost and This Old Tony videos to pick up some tips.
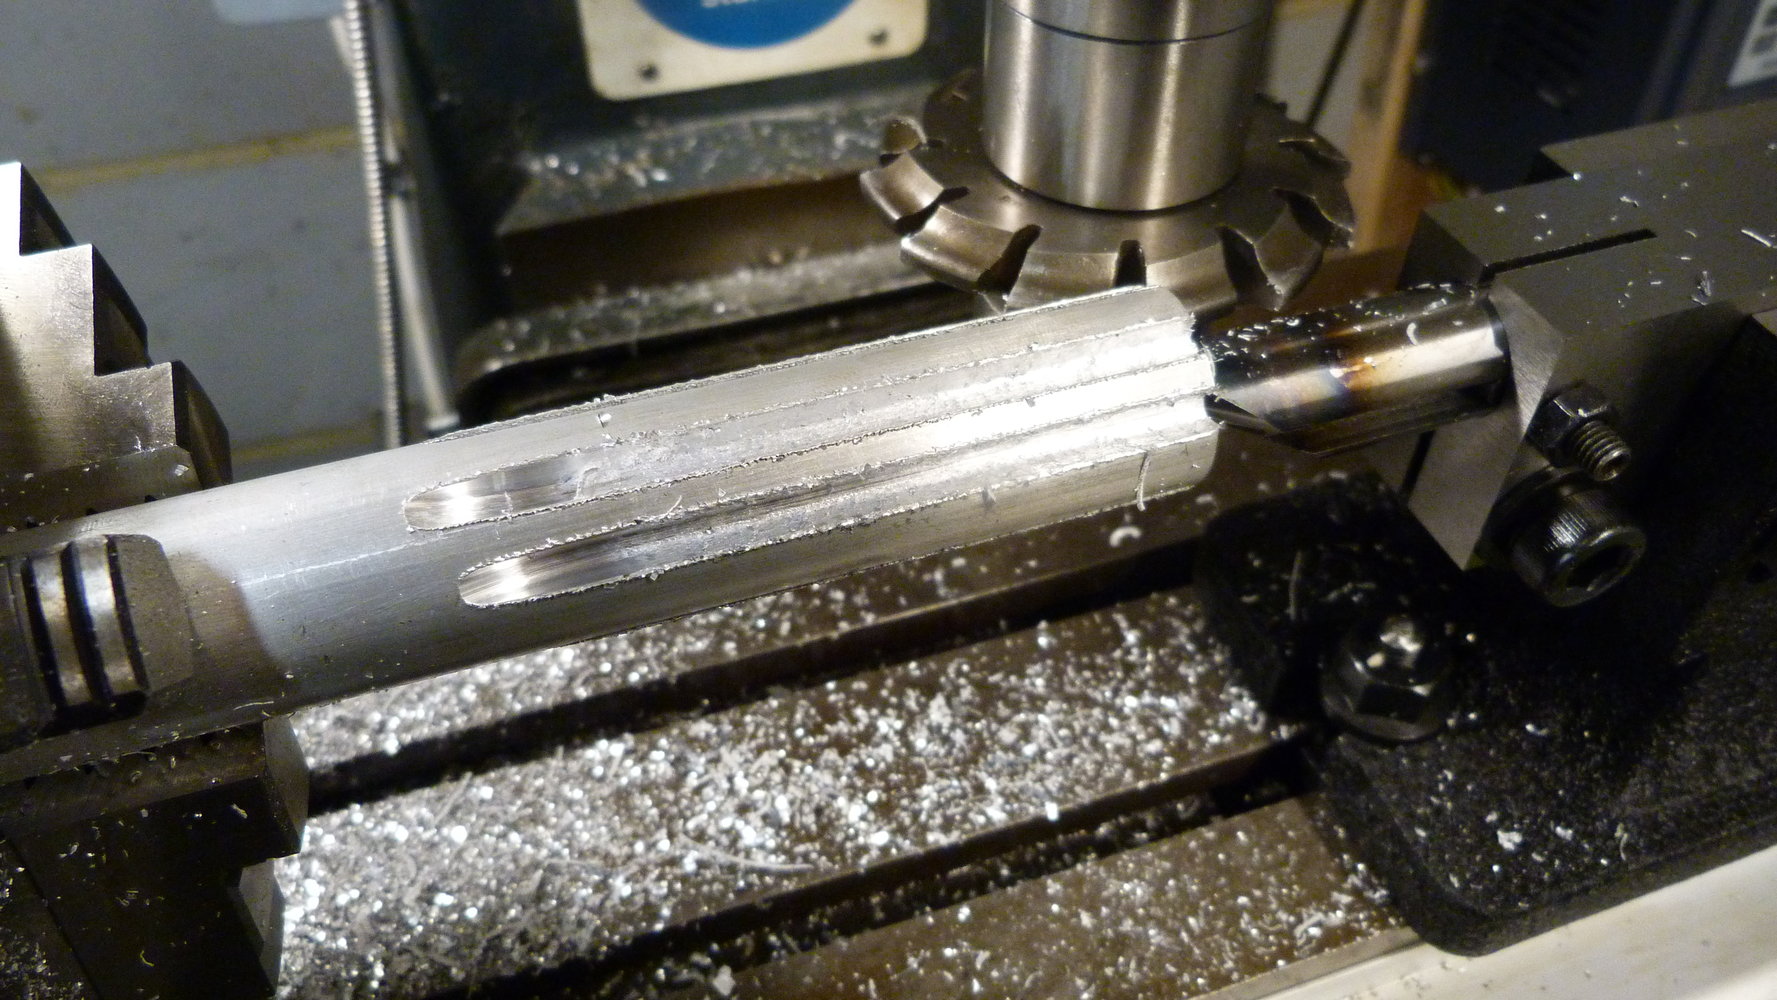
The 12 tooth 8dp gears use a 1.75" blank so I thought it would be best to have a go on some smaller and cheaper ally bar first just to get my eye in. I wasn't trying to cut a gear, just get a taste of how the cutter feels and to test my set up.
These are some test cuts.
On with the main course.
New bandsaw blade day. I think the thick plate had killed it. It was sticking and jamming on plate the other day and it took an age to cut the practice bar of ally.
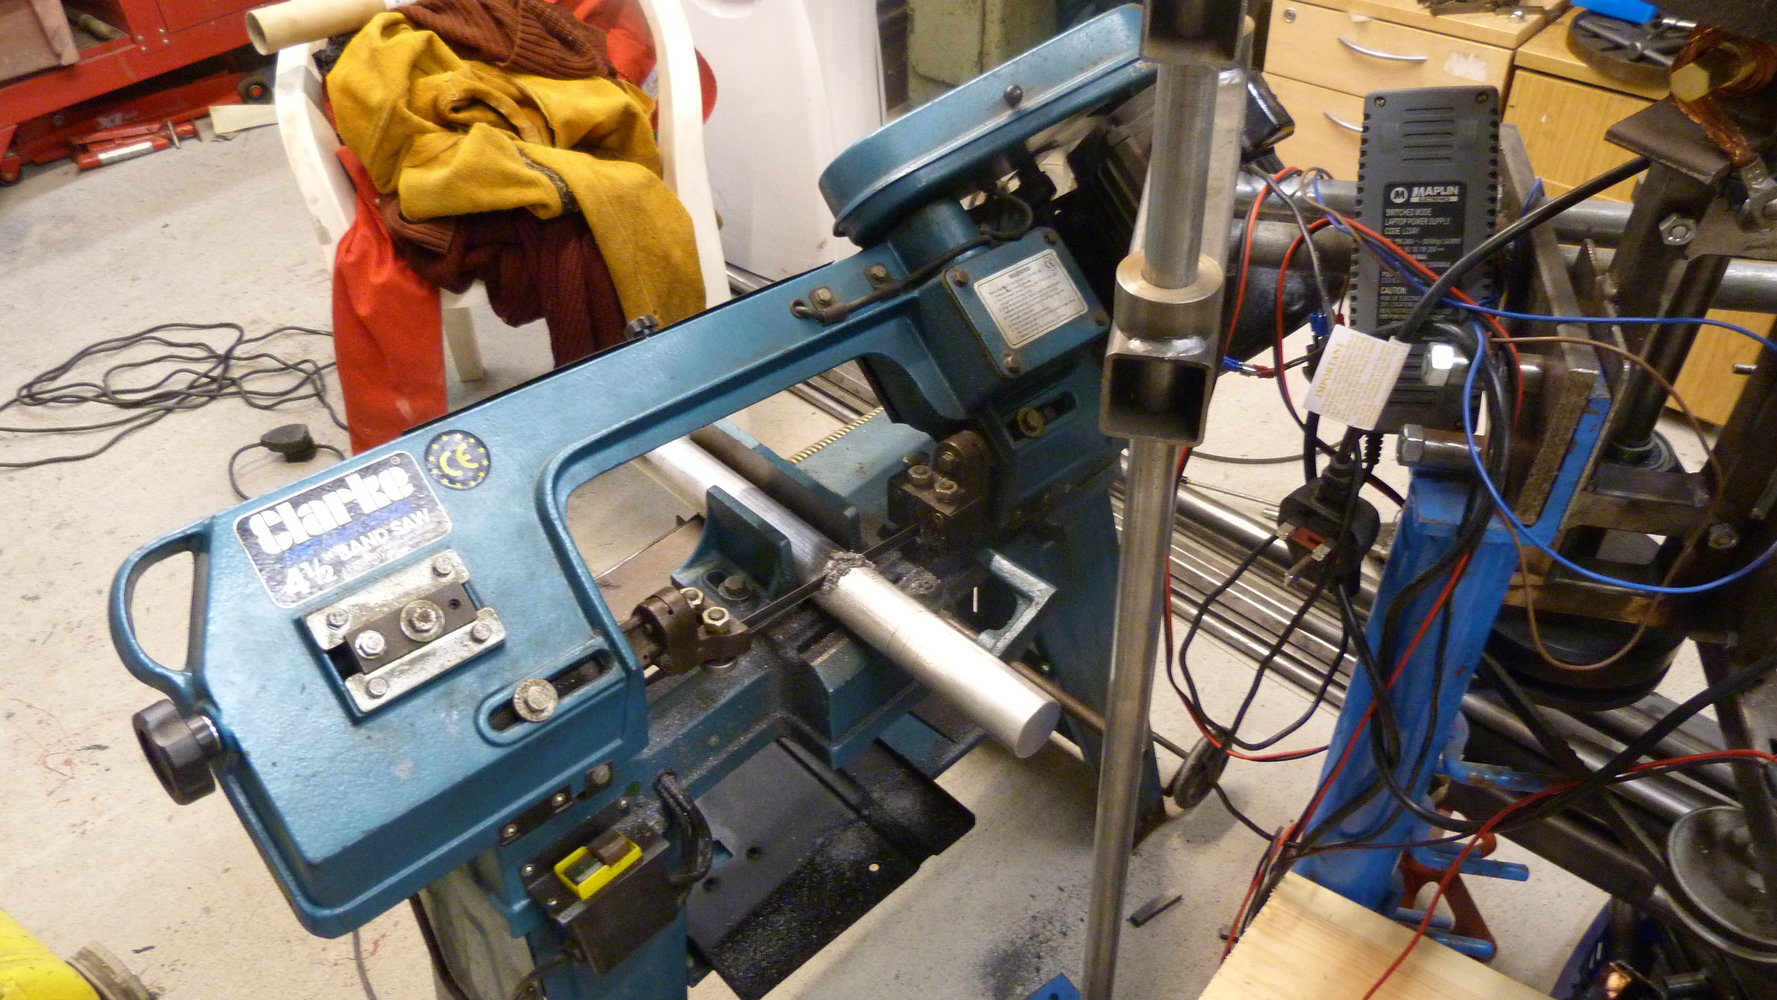
It's a big old lump. 1.75" bar, so no machining required. At least for my requirements of accuracy anyway.
I thought I'd make a big long gear that I could cut into smaller pieces later on.
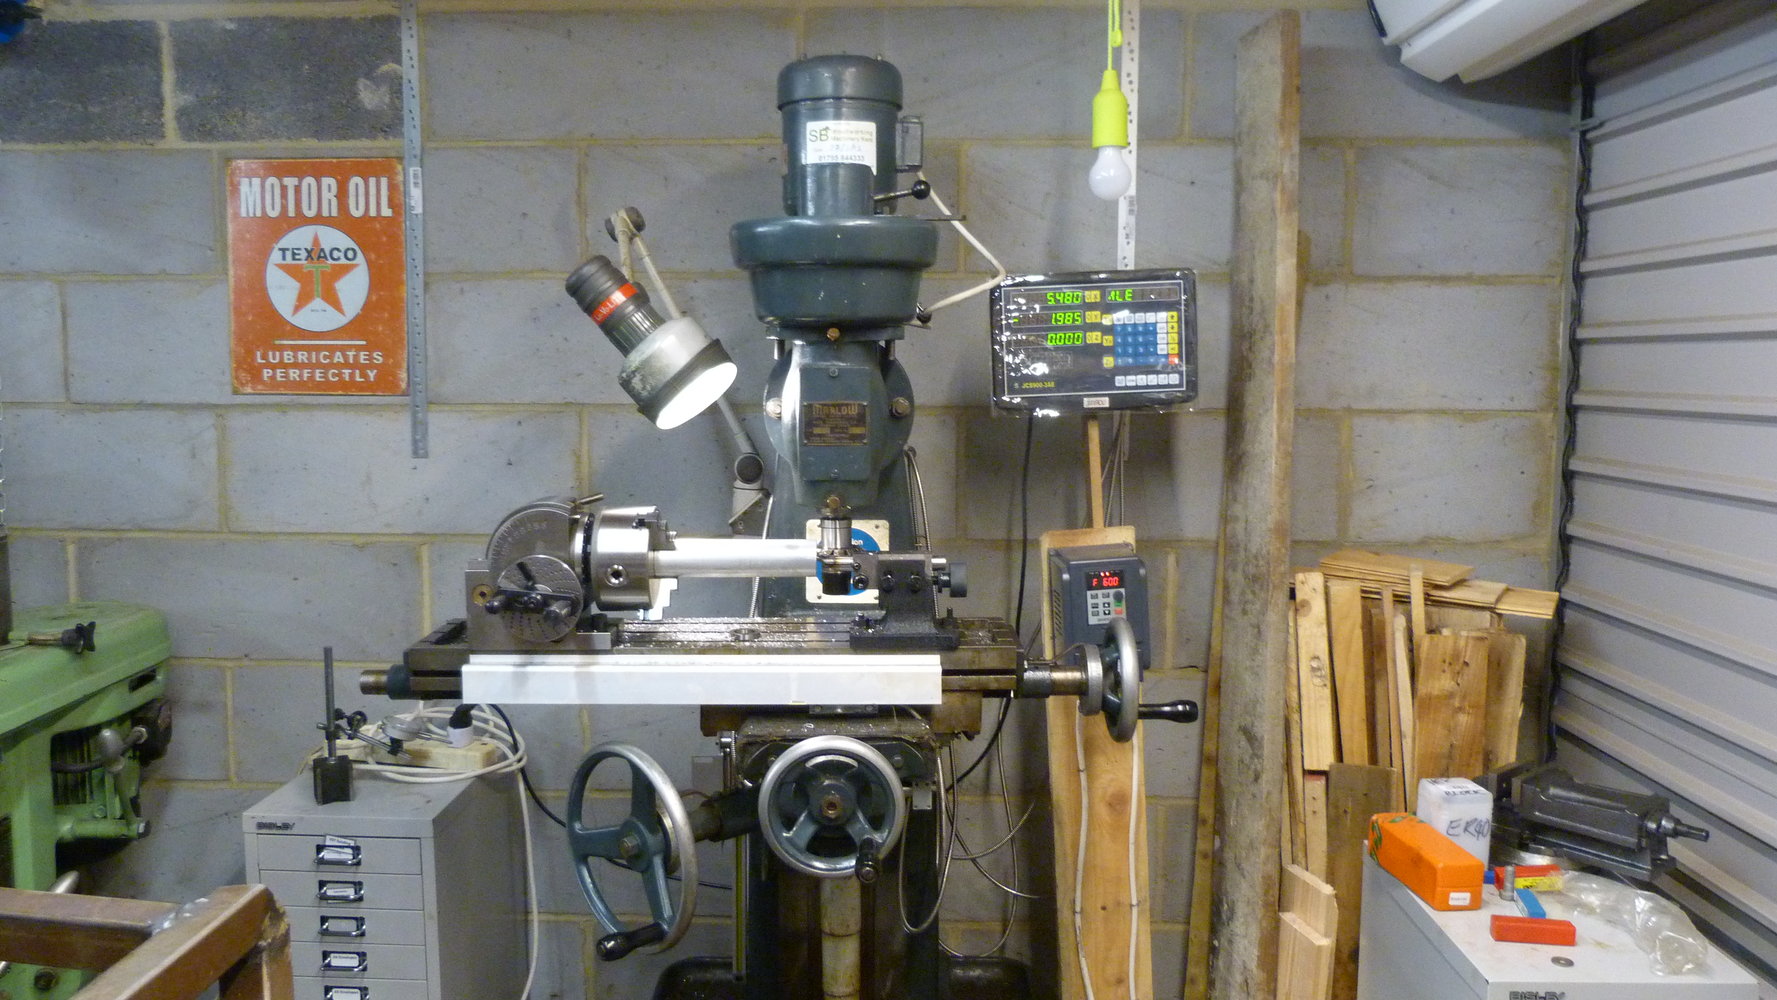
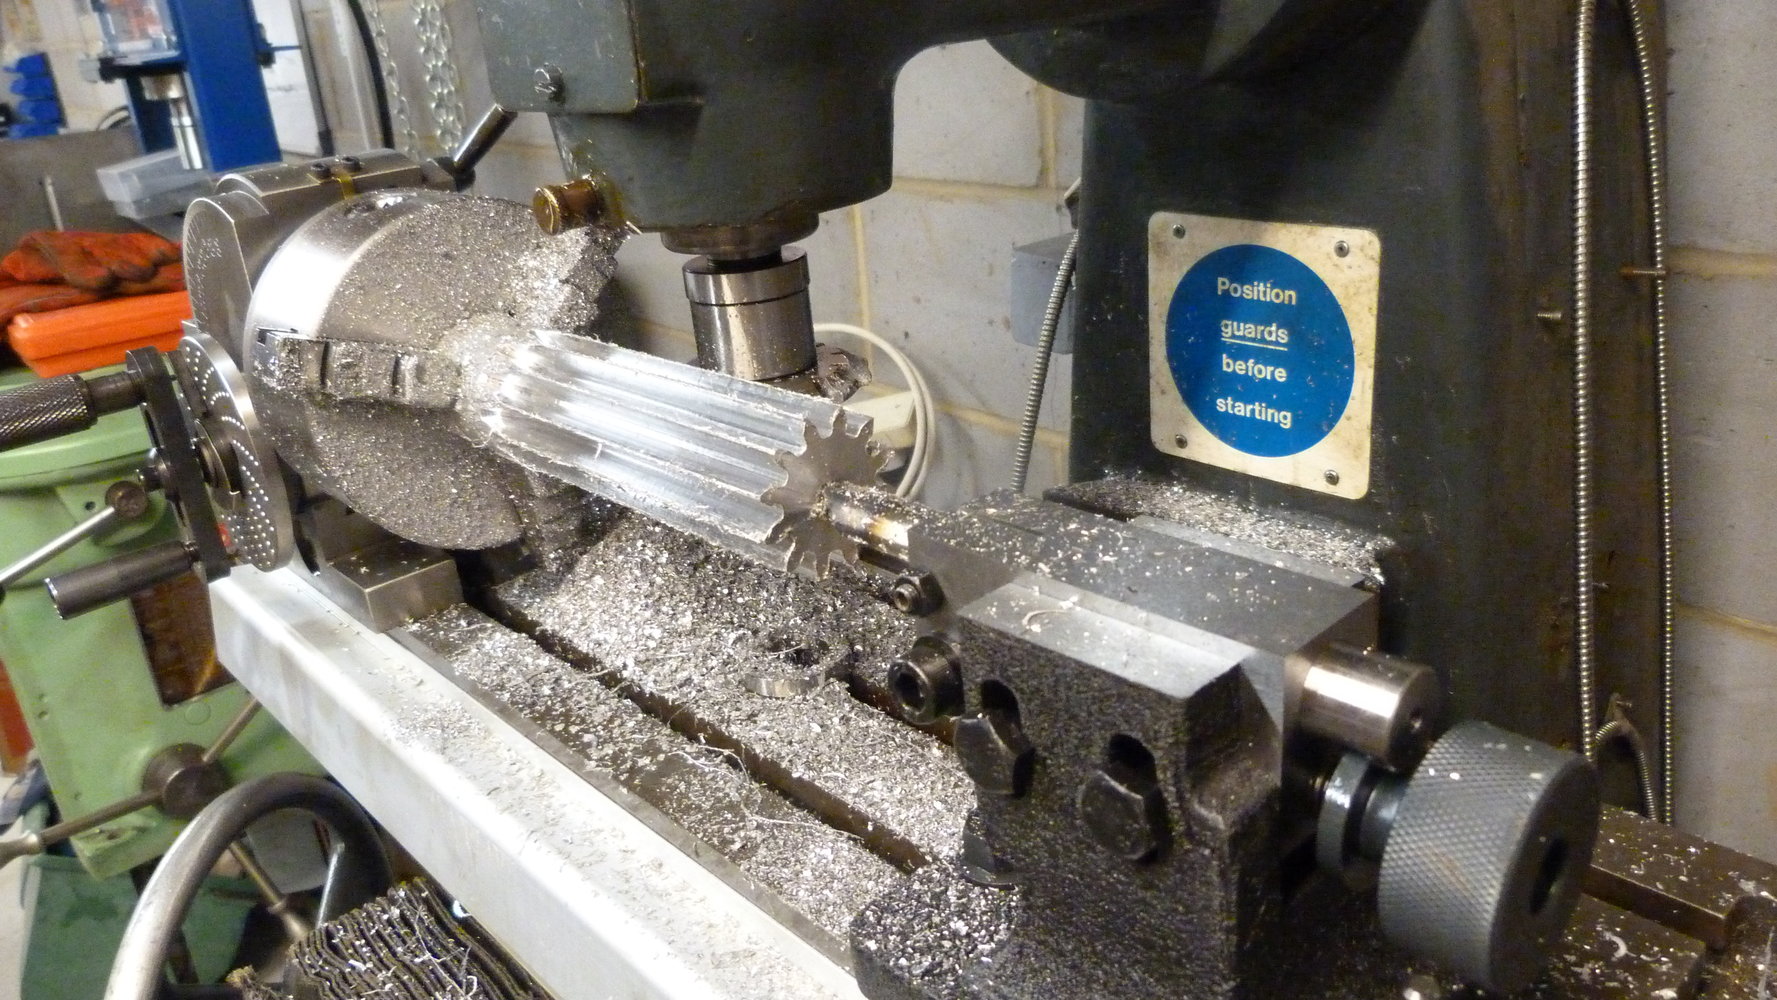
I had to take cuts in multiple passes. The required depth is .2696" (6.8mm) so I'm not doing it in one go on my mill. I set a depth of cut, indexed all the way round and then put some more cut on. That way I could be sure that the teeth were in the right place after 12 cuts so I wasn't wasting my time if I made an error. As it happened I made two errors.
In the excitement I forgot to lock the z axis. The table dropped 0.1mm before I noticed. I chose to ignore this issue as the error was very small.
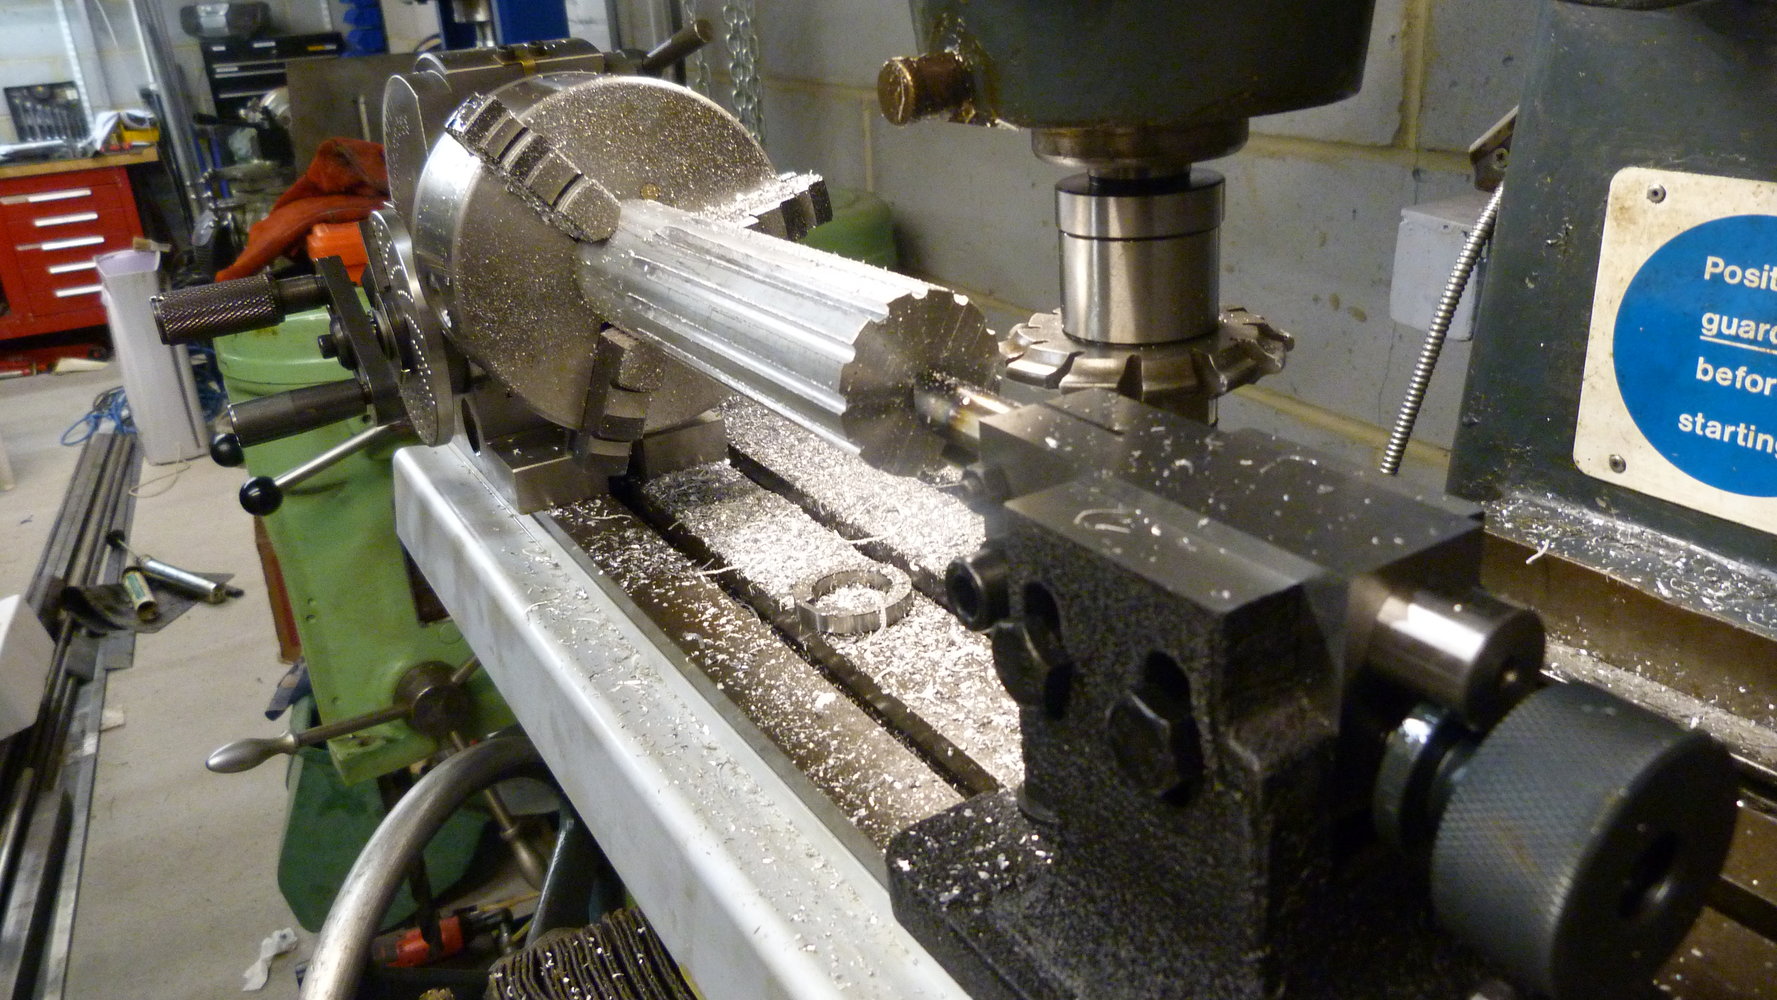
My second problem was a bit worse. The nut on the stub arbour worked a bit loose and the cutter dropped. I noticed this quickly before it got dangerous but it messed up my cut a bit. You can see the extra wide cut showing at 12 o'clock below. Fortuntately the cut wasn't very deep and I hoped I was going to lose the extra material that had been taken during subsequent deeper cuts anyway.
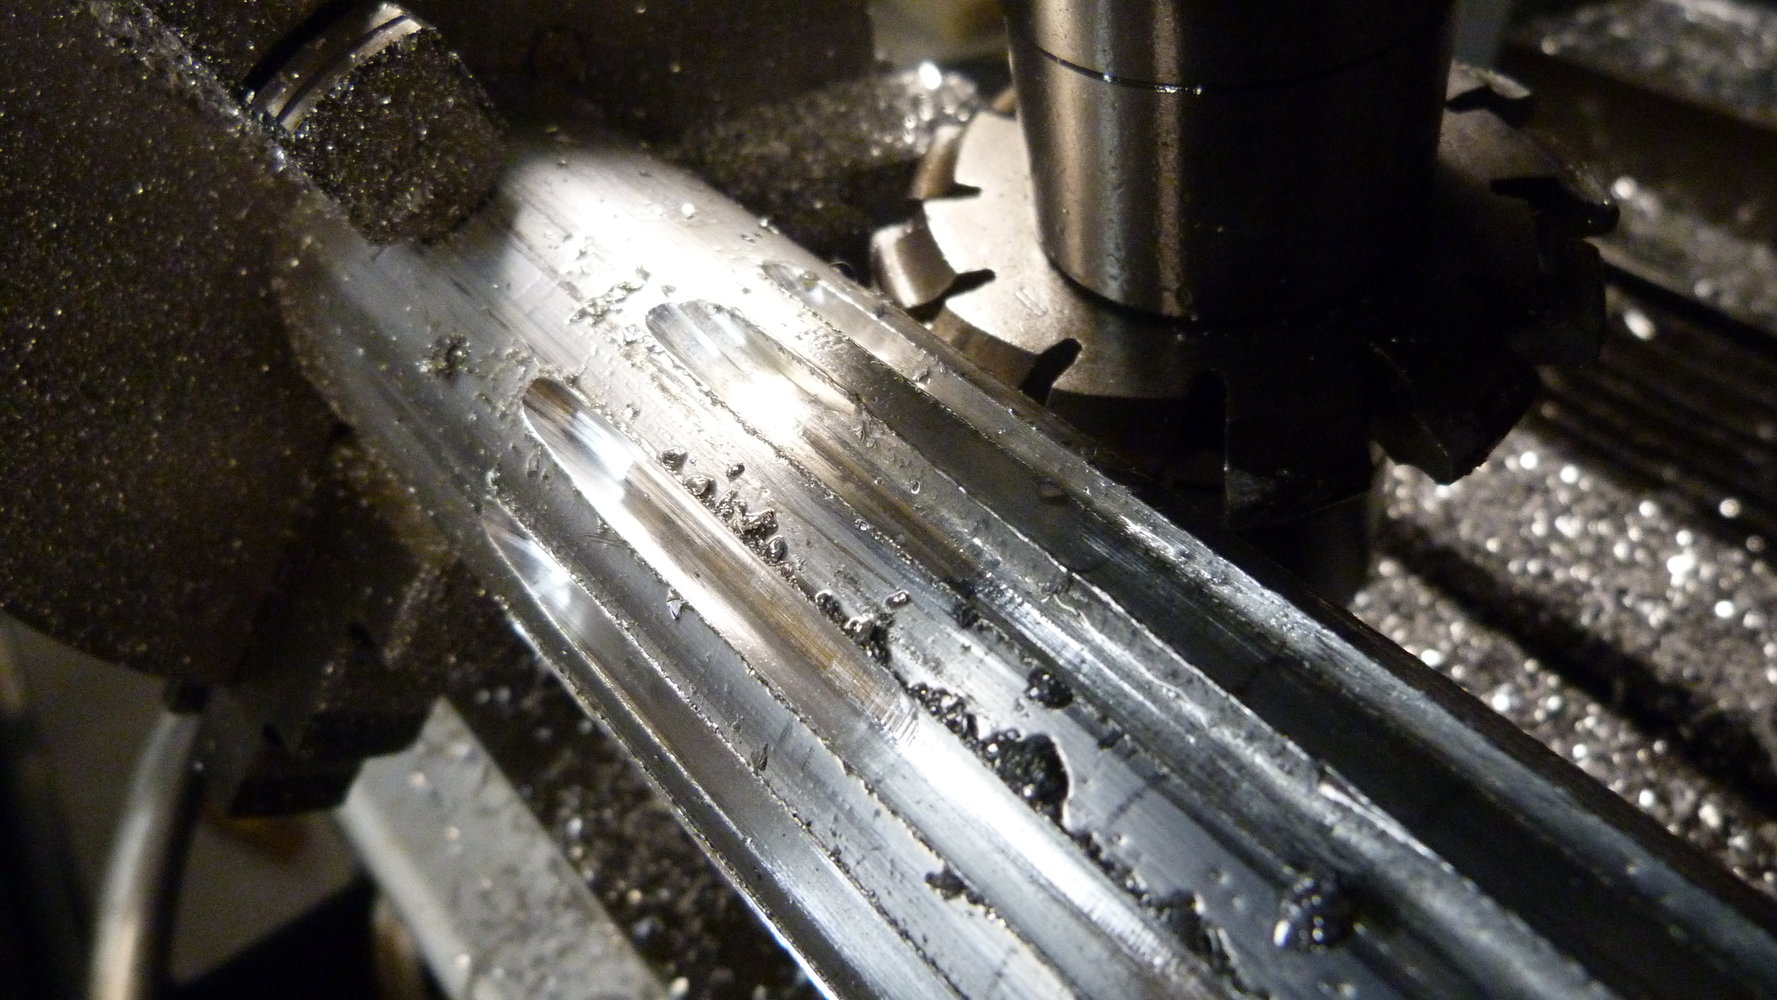
Bit further in. I used WD40 spray as lube and coolant The bar got very hot although the cutter stayed cool.
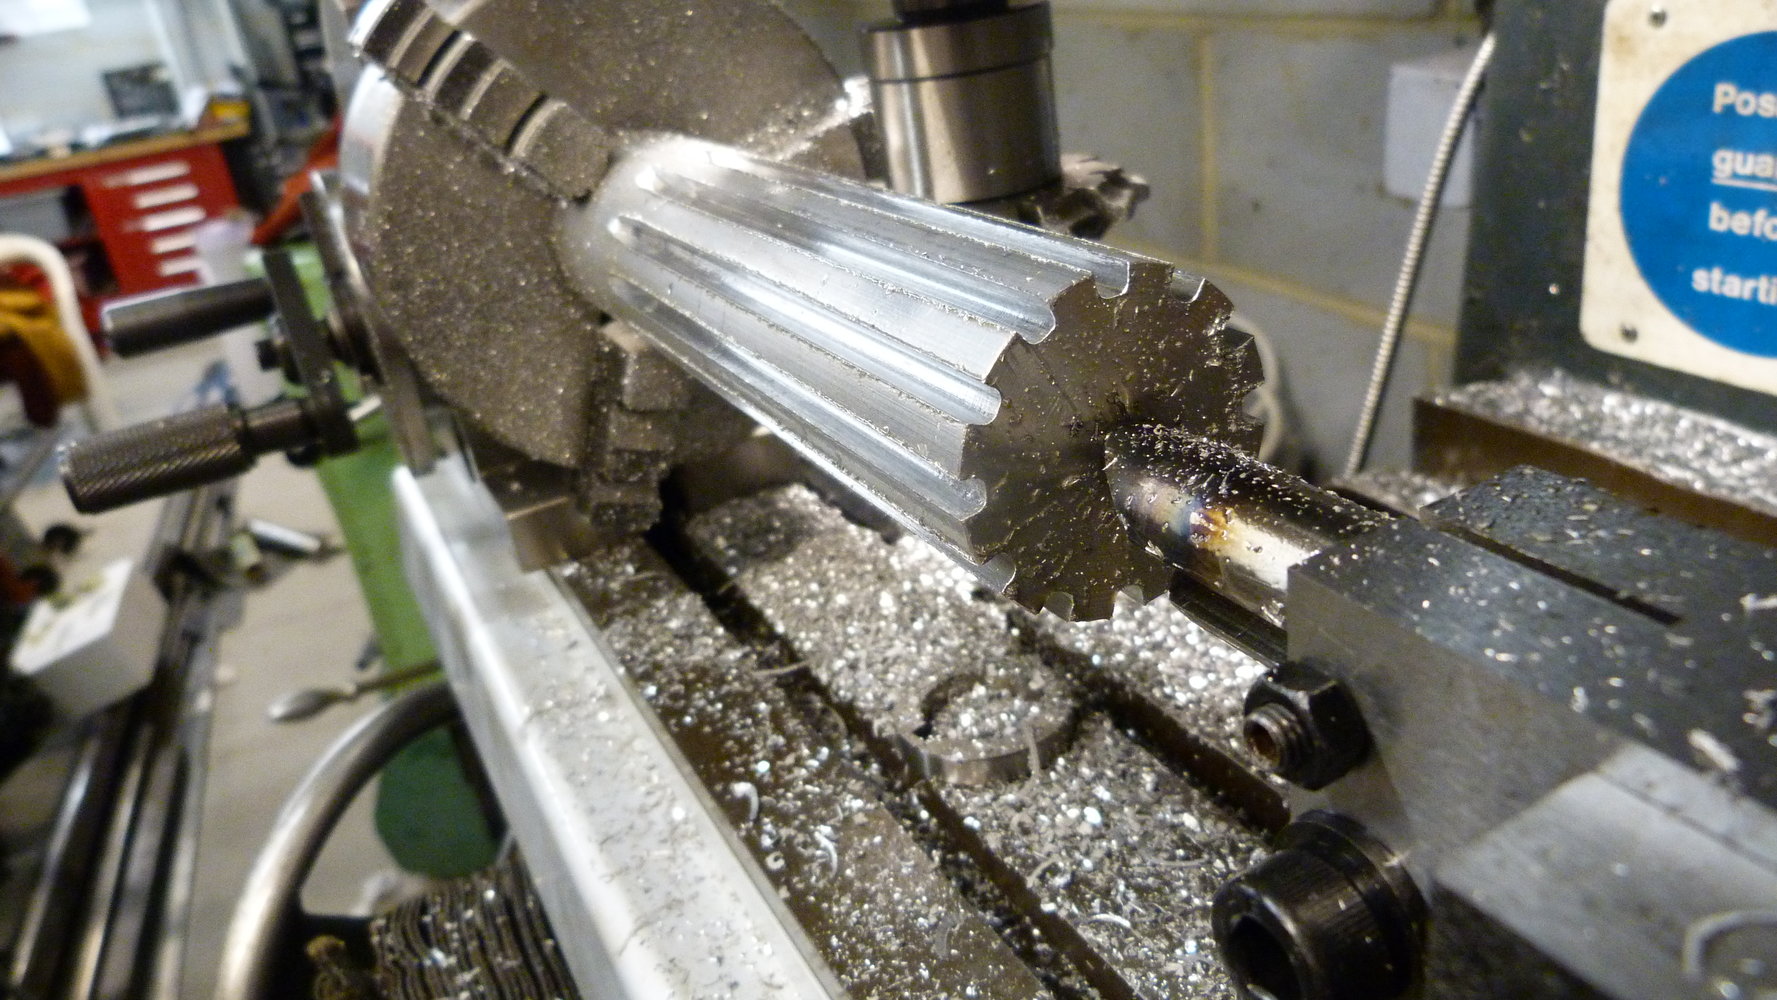
And again.
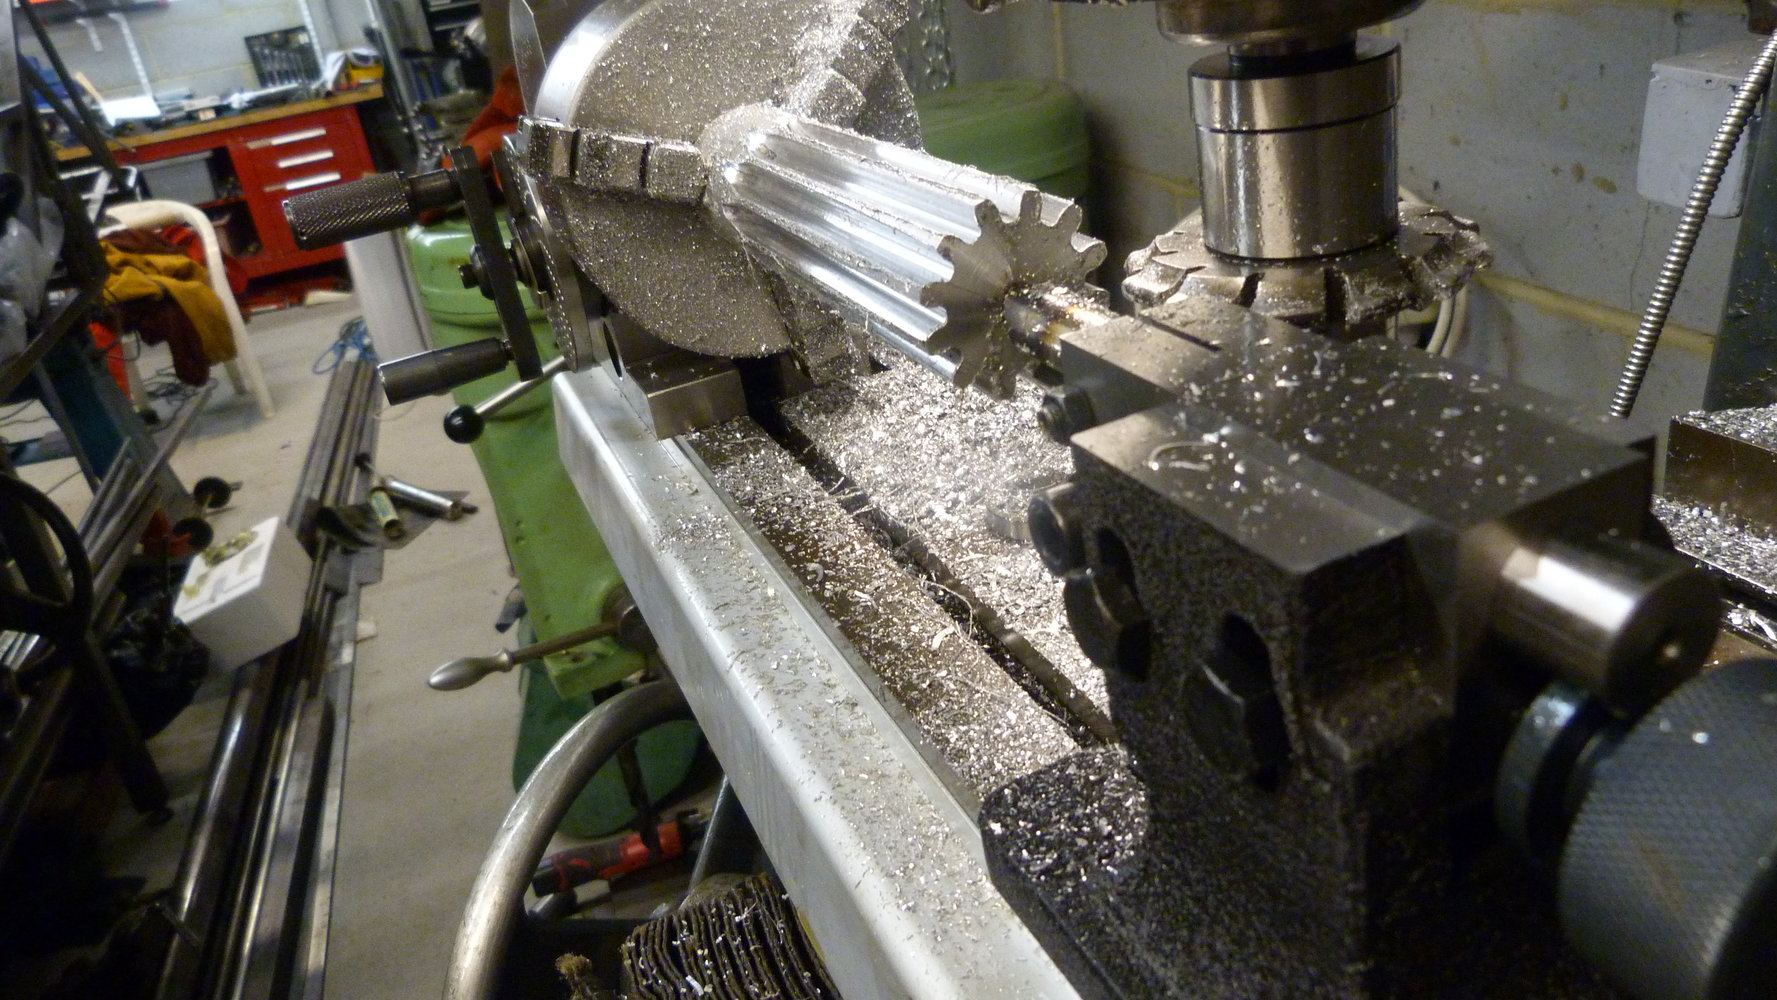
Next time I'll know to leave a bit more room at the end for the cutter. I could have used the extra available stick out on the tailstock to give more clearance. It was a bit tight but I had a few mm to spare.
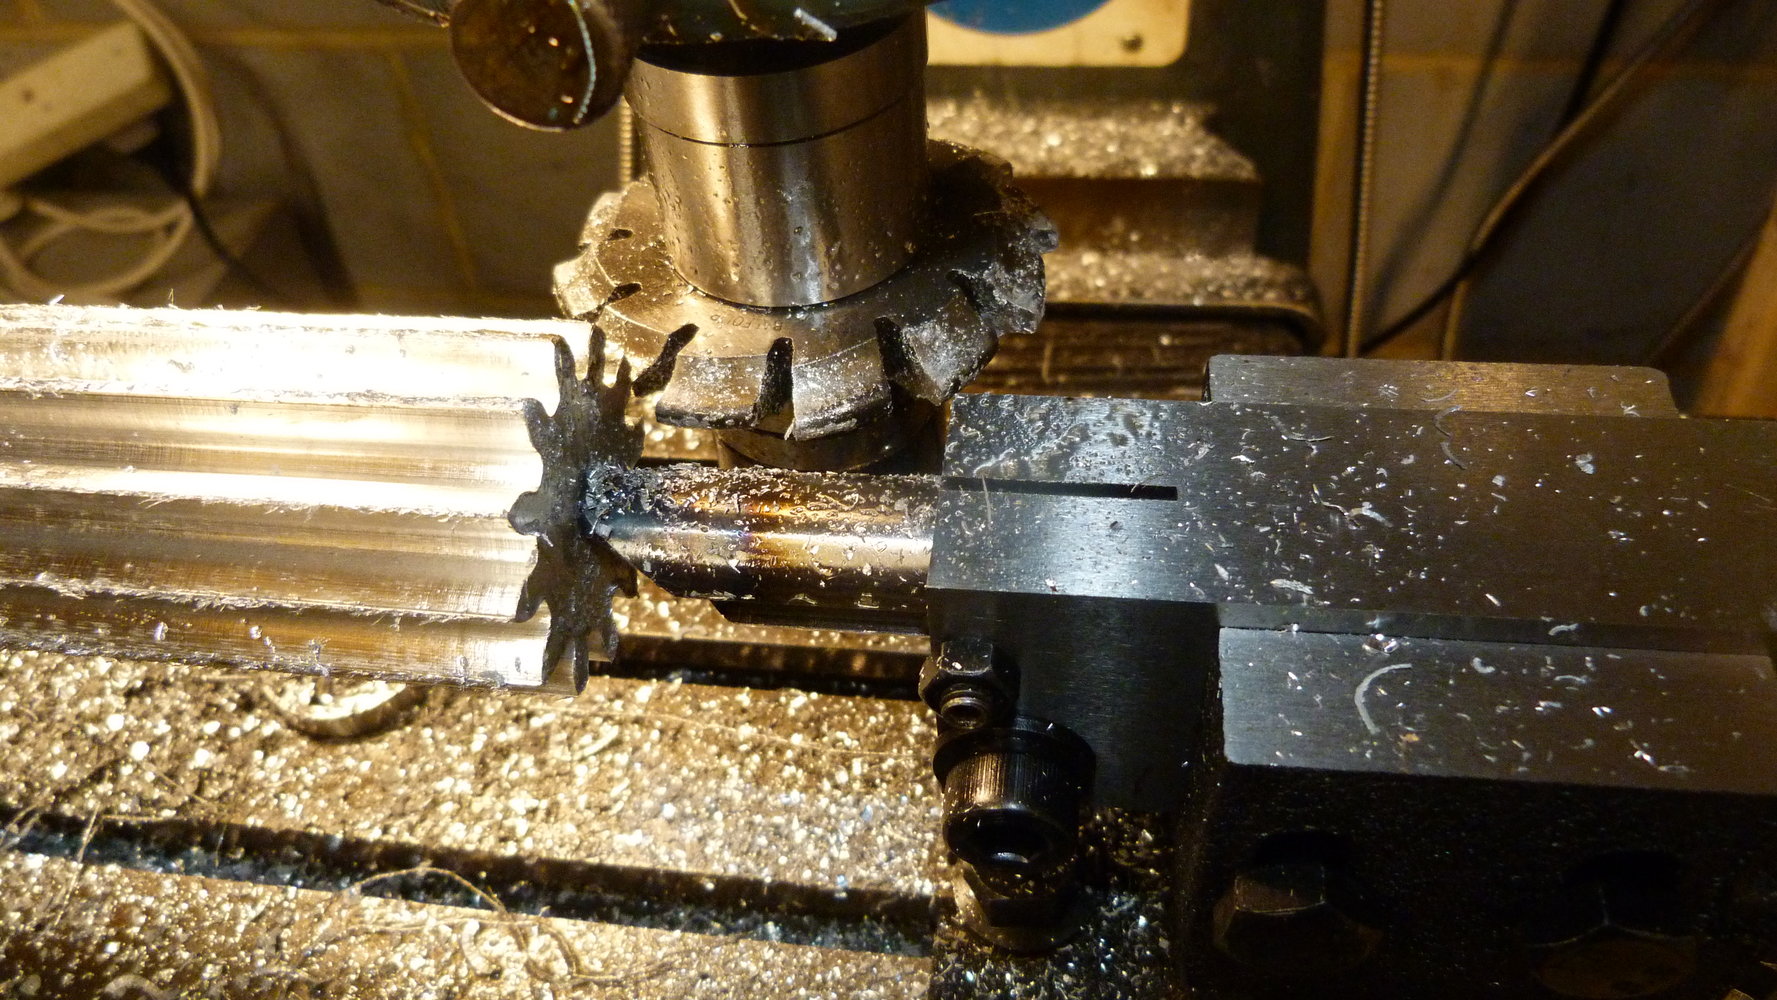
This is it "finished" on the mill at least.
I felt a little bit of a fraud as I didn't use the dividing plates. The 12 tooth gear is a good one to start on. I only used the spindexer part of the dividing head. It has 36 spaced holes so I just cut on positions 3,6,9,12,15 etc. It's a lot easier to keep track using the 3 times table compared to anonymous holes on the plate, even with the indexer arms. Possibly saved me from making more errors.
To continue...
The 12 tooth 8dp gears use a 1.75" blank so I thought it would be best to have a go on some smaller and cheaper ally bar first just to get my eye in. I wasn't trying to cut a gear, just get a taste of how the cutter feels and to test my set up.
These are some test cuts.
On with the main course.
New bandsaw blade day. I think the thick plate had killed it. It was sticking and jamming on plate the other day and it took an age to cut the practice bar of ally.
It's a big old lump. 1.75" bar, so no machining required. At least for my requirements of accuracy anyway.
I thought I'd make a big long gear that I could cut into smaller pieces later on.
I had to take cuts in multiple passes. The required depth is .2696" (6.8mm) so I'm not doing it in one go on my mill. I set a depth of cut, indexed all the way round and then put some more cut on. That way I could be sure that the teeth were in the right place after 12 cuts so I wasn't wasting my time if I made an error. As it happened I made two errors.
In the excitement I forgot to lock the z axis. The table dropped 0.1mm before I noticed. I chose to ignore this issue as the error was very small.
My second problem was a bit worse. The nut on the stub arbour worked a bit loose and the cutter dropped. I noticed this quickly before it got dangerous but it messed up my cut a bit. You can see the extra wide cut showing at 12 o'clock below. Fortuntately the cut wasn't very deep and I hoped I was going to lose the extra material that had been taken during subsequent deeper cuts anyway.
Bit further in. I used WD40 spray as lube and coolant The bar got very hot although the cutter stayed cool.
And again.
Next time I'll know to leave a bit more room at the end for the cutter. I could have used the extra available stick out on the tailstock to give more clearance. It was a bit tight but I had a few mm to spare.
This is it "finished" on the mill at least.
I felt a little bit of a fraud as I didn't use the dividing plates. The 12 tooth gear is a good one to start on. I only used the spindexer part of the dividing head. It has 36 spaced holes so I just cut on positions 3,6,9,12,15 etc. It's a lot easier to keep track using the 3 times table compared to anonymous holes on the plate, even with the indexer arms. Possibly saved me from making more errors.
To continue...
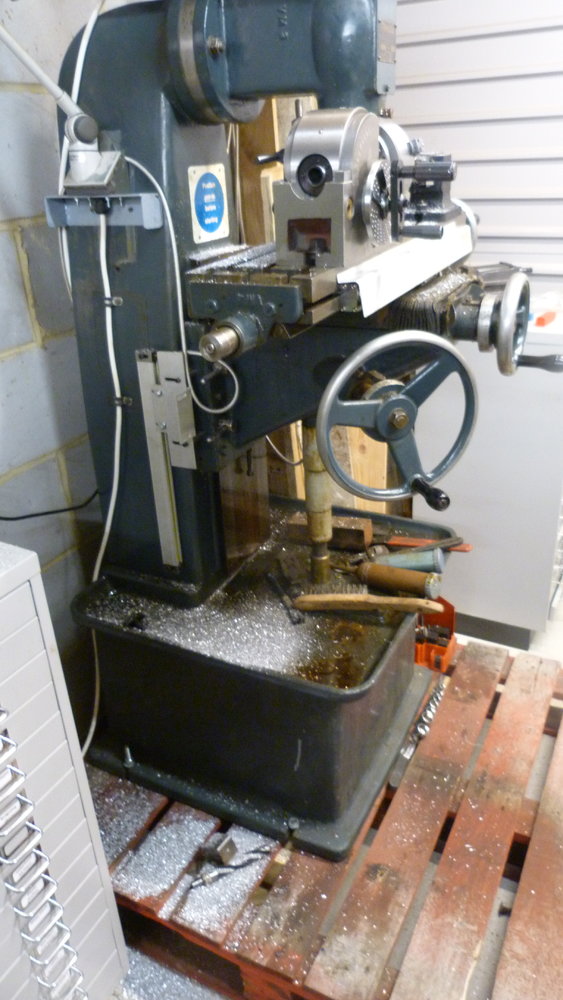
Needless to say there was a lot of cutting. It was like a winter scene on the mill afterwards. Tomorrow I shall be mostly cleaning up...
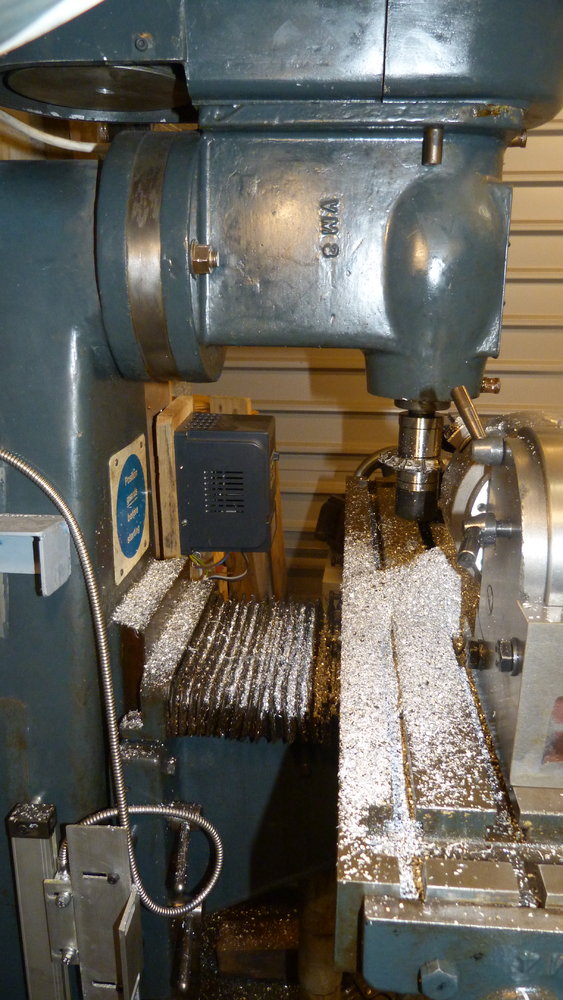
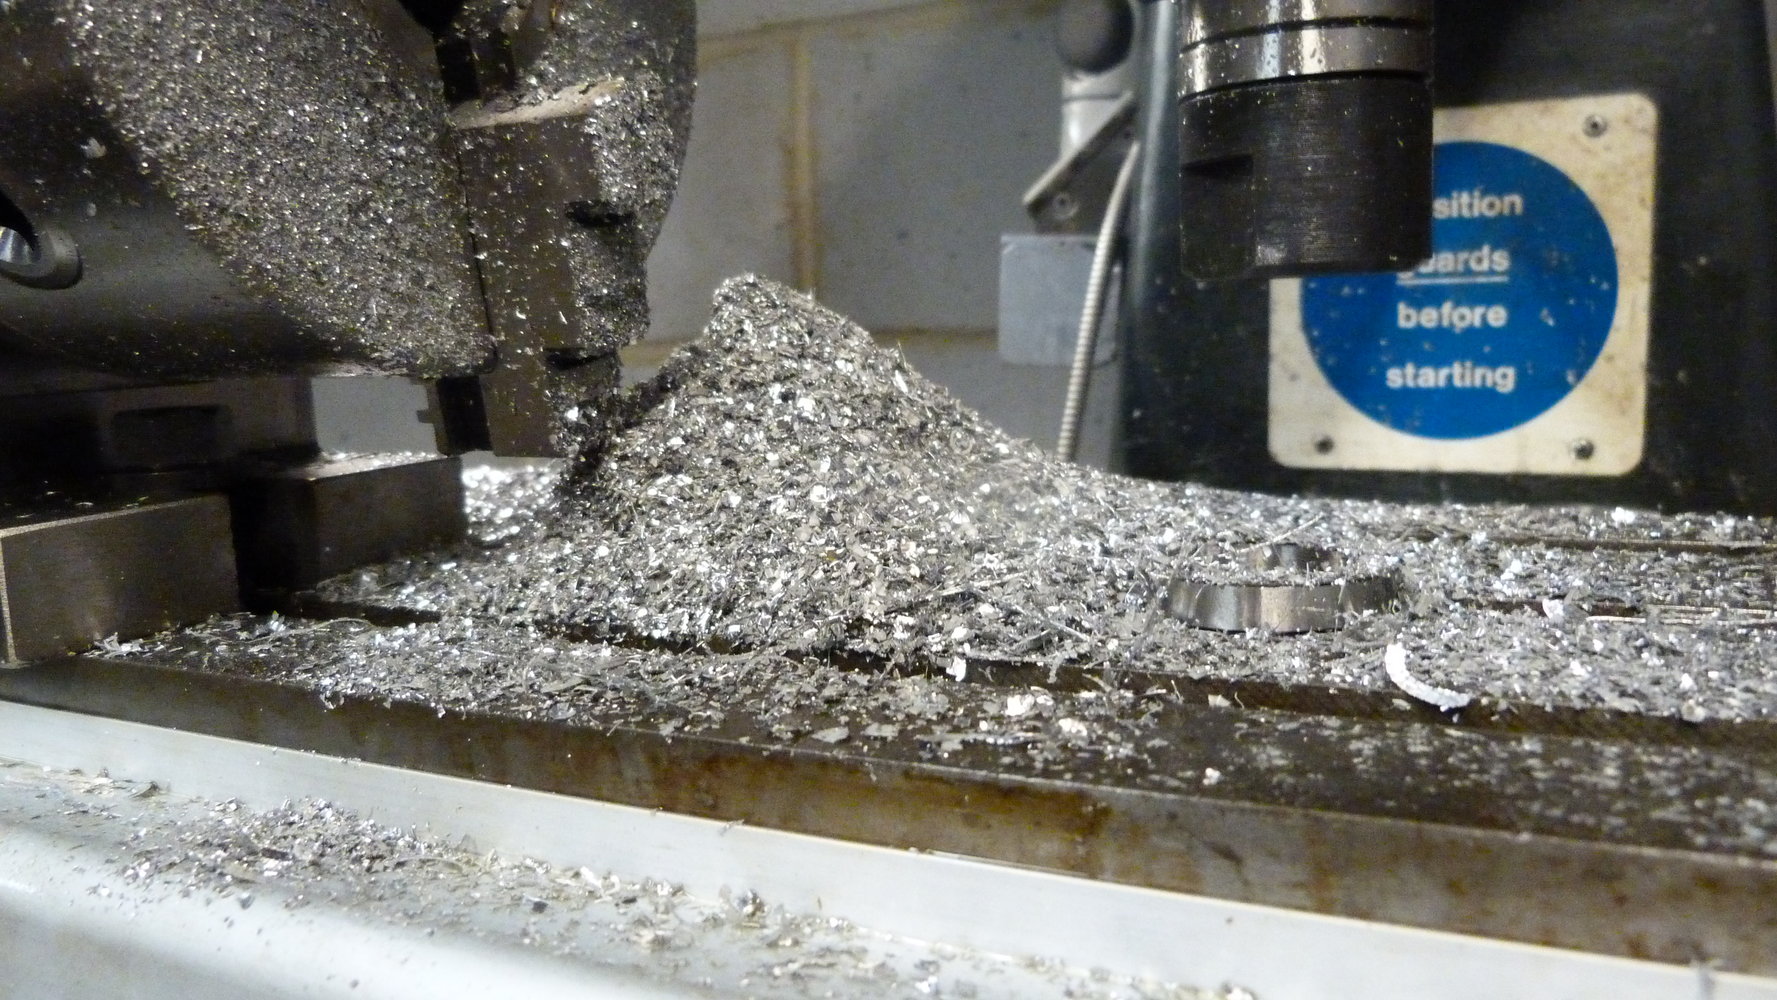
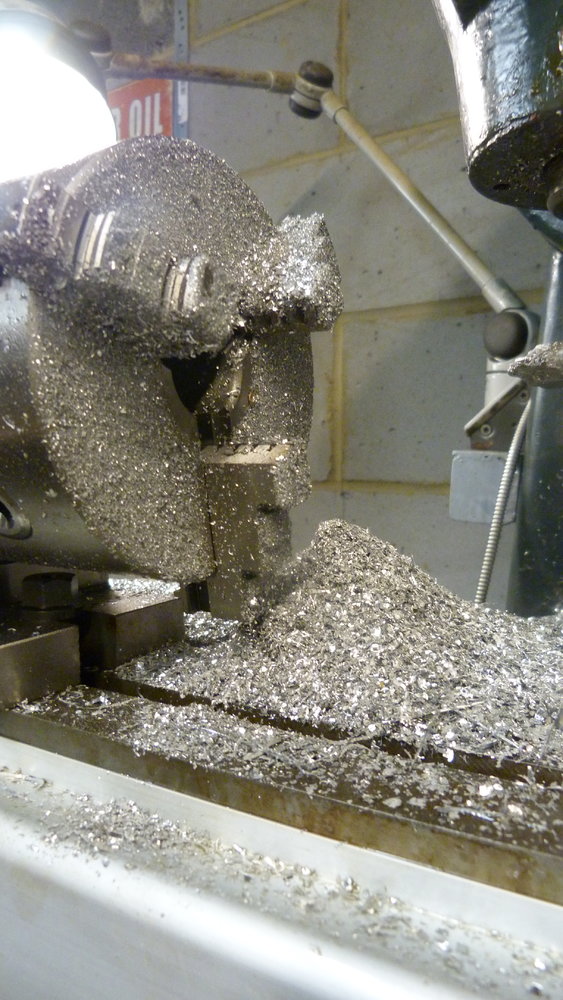
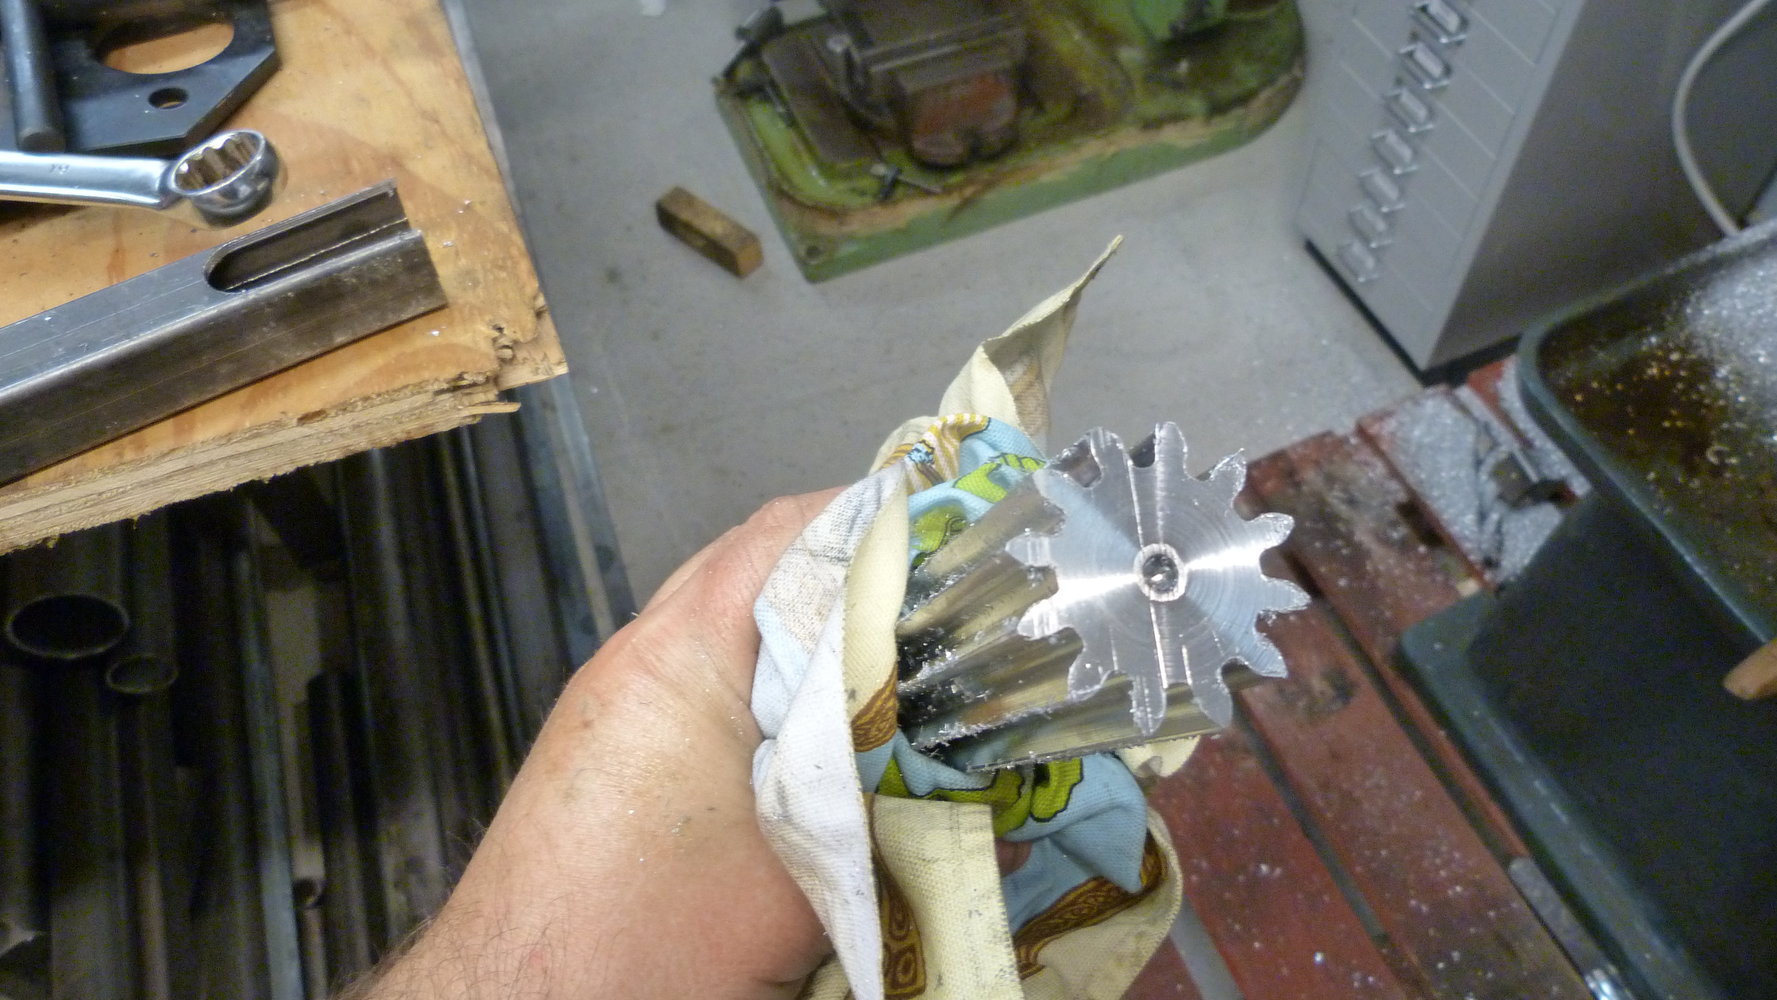
Straight off the mill. It is far too hot to hold directly hence the cloth. I need to remove the burrs and tidy it up properly.
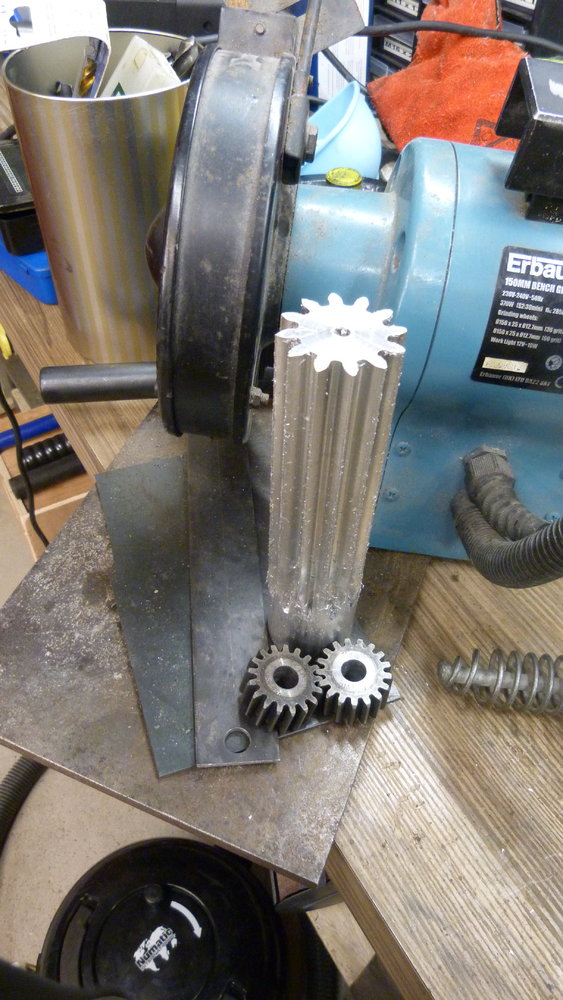
This pic below shows the gear with two, module 2, 17 tooth spur gears for scale. They were the gears from pictures earlier in the thread used with 34mm tubes.
I'm tired and dead pleased with myself. I cant see me doing this again out of steel somehow.
Glitter everywhere.
Straight off the mill. It is far too hot to hold directly hence the cloth. I need to remove the burrs and tidy it up properly.
This pic below shows the gear with two, module 2, 17 tooth spur gears for scale. They were the gears from pictures earlier in the thread used with 34mm tubes.
I'm tired and dead pleased with myself. I cant see me doing this again out of steel somehow.
Glitter everywhere.
selectedgrub
Member
- Messages
- 3,346
- Location
- New Zealand
.....even the pictures are awesome.
A few bits of shiny.
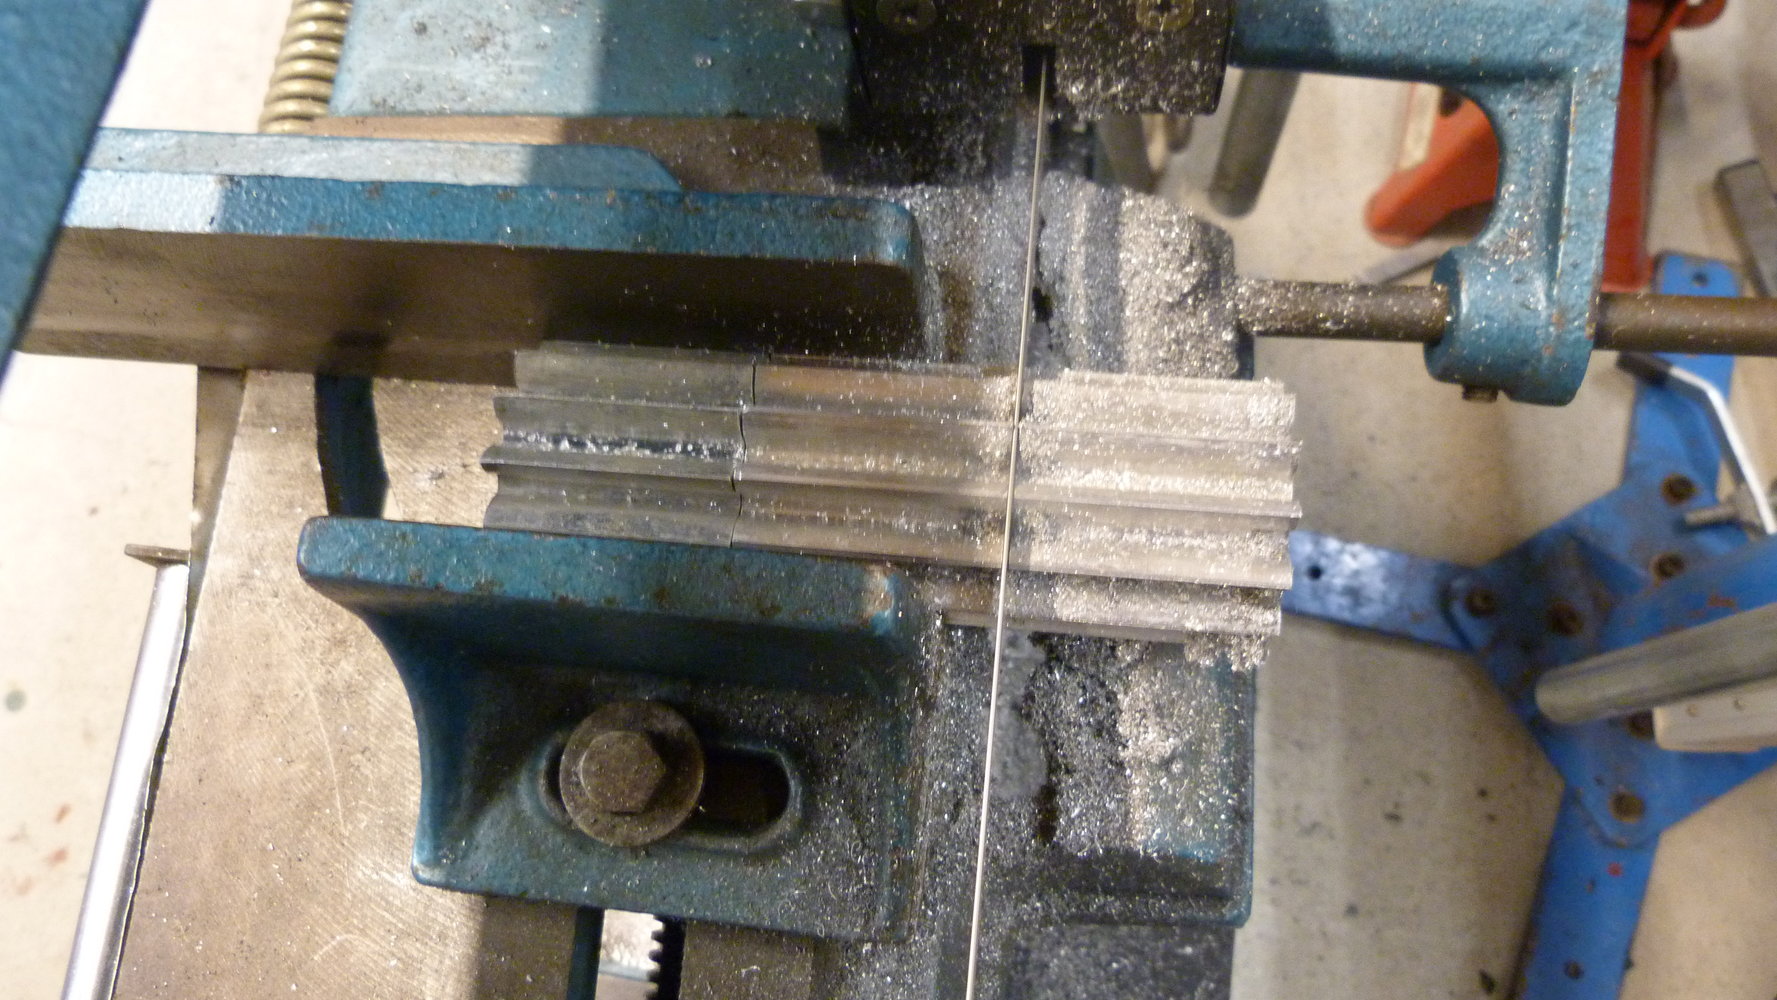
From the 190mm blank I obtained 130mm of spur gear.
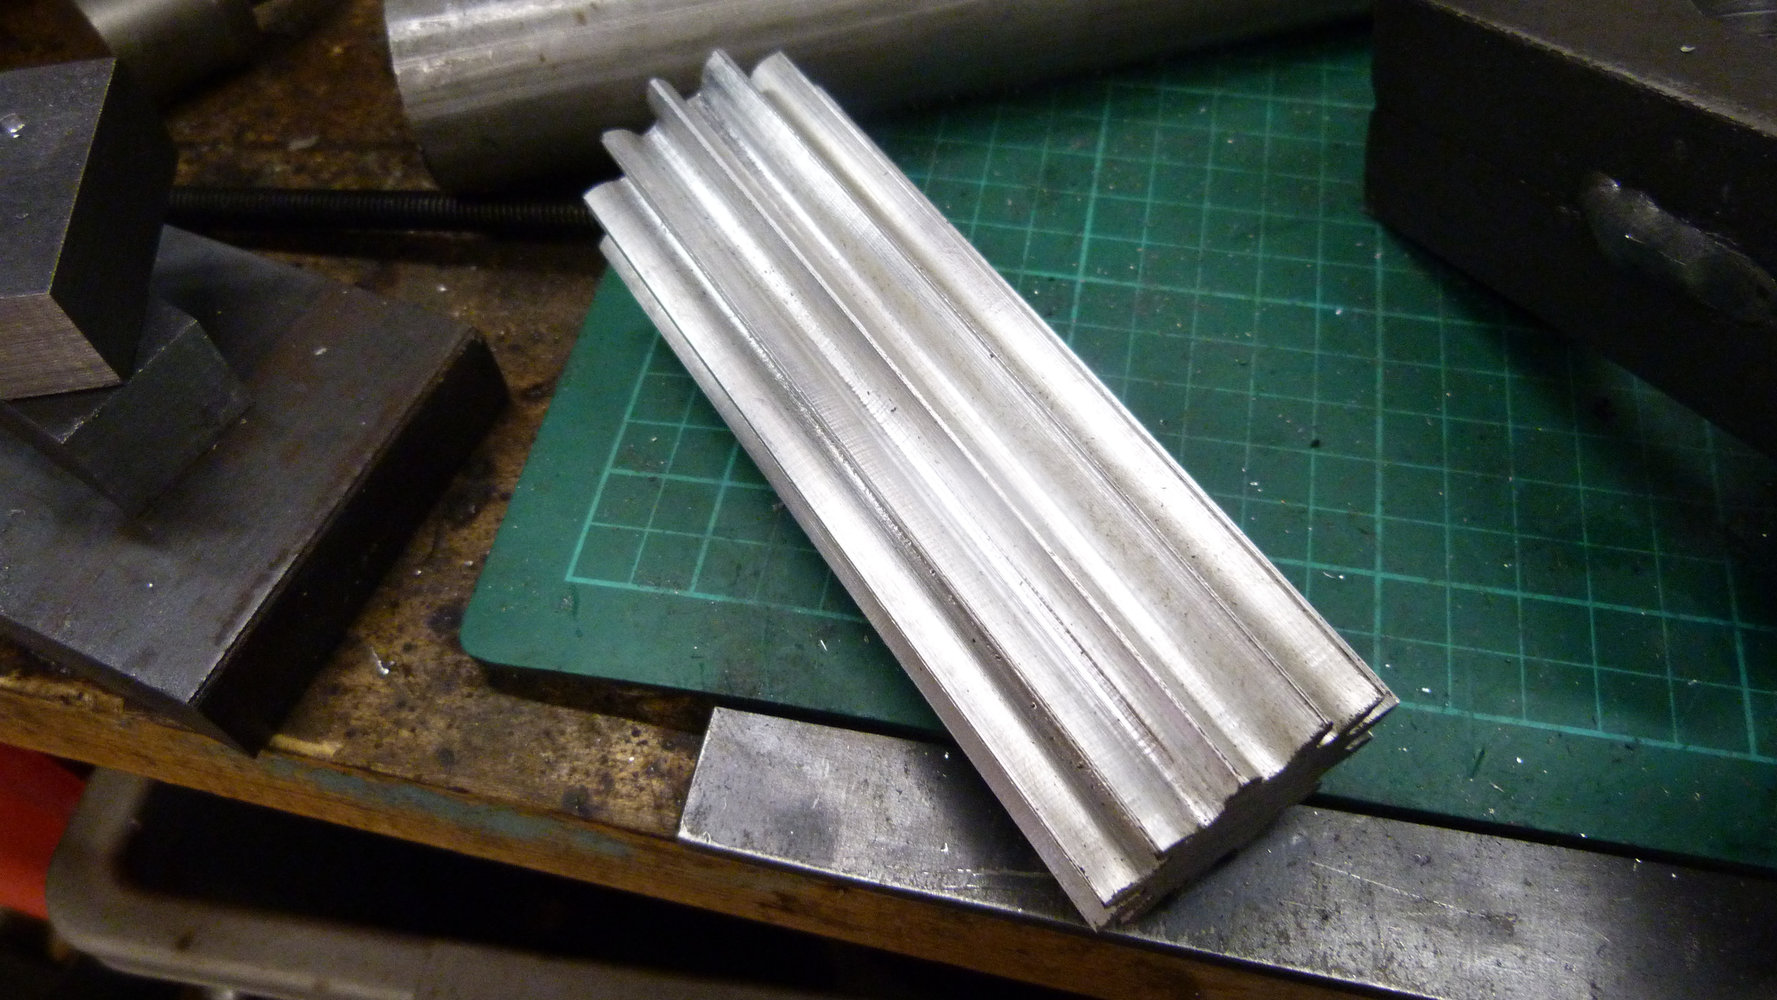
Chopped up into three pieces to give a pair and a spare. It will be interesting to see how long they last. I expect I will have to remake them out of steel again quite quickly. I hope to get the rollers to roll very thin sheet with them. Just to prove the machine works before the teeth start snapping off.
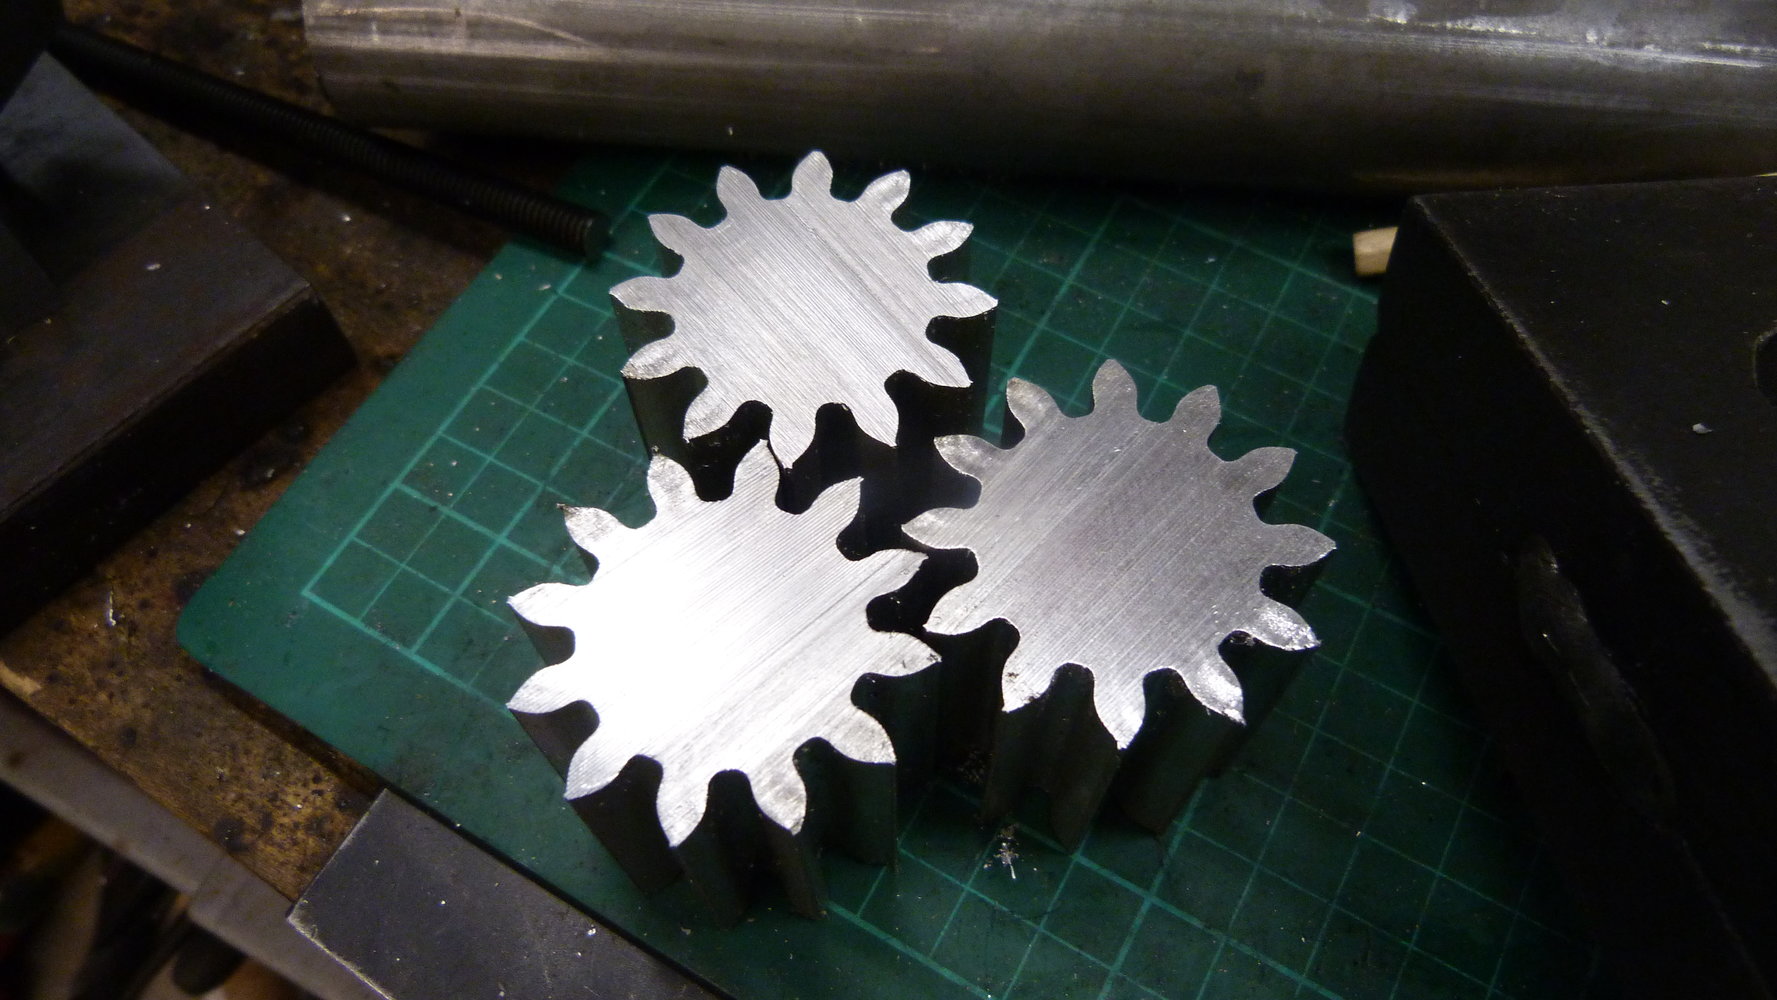
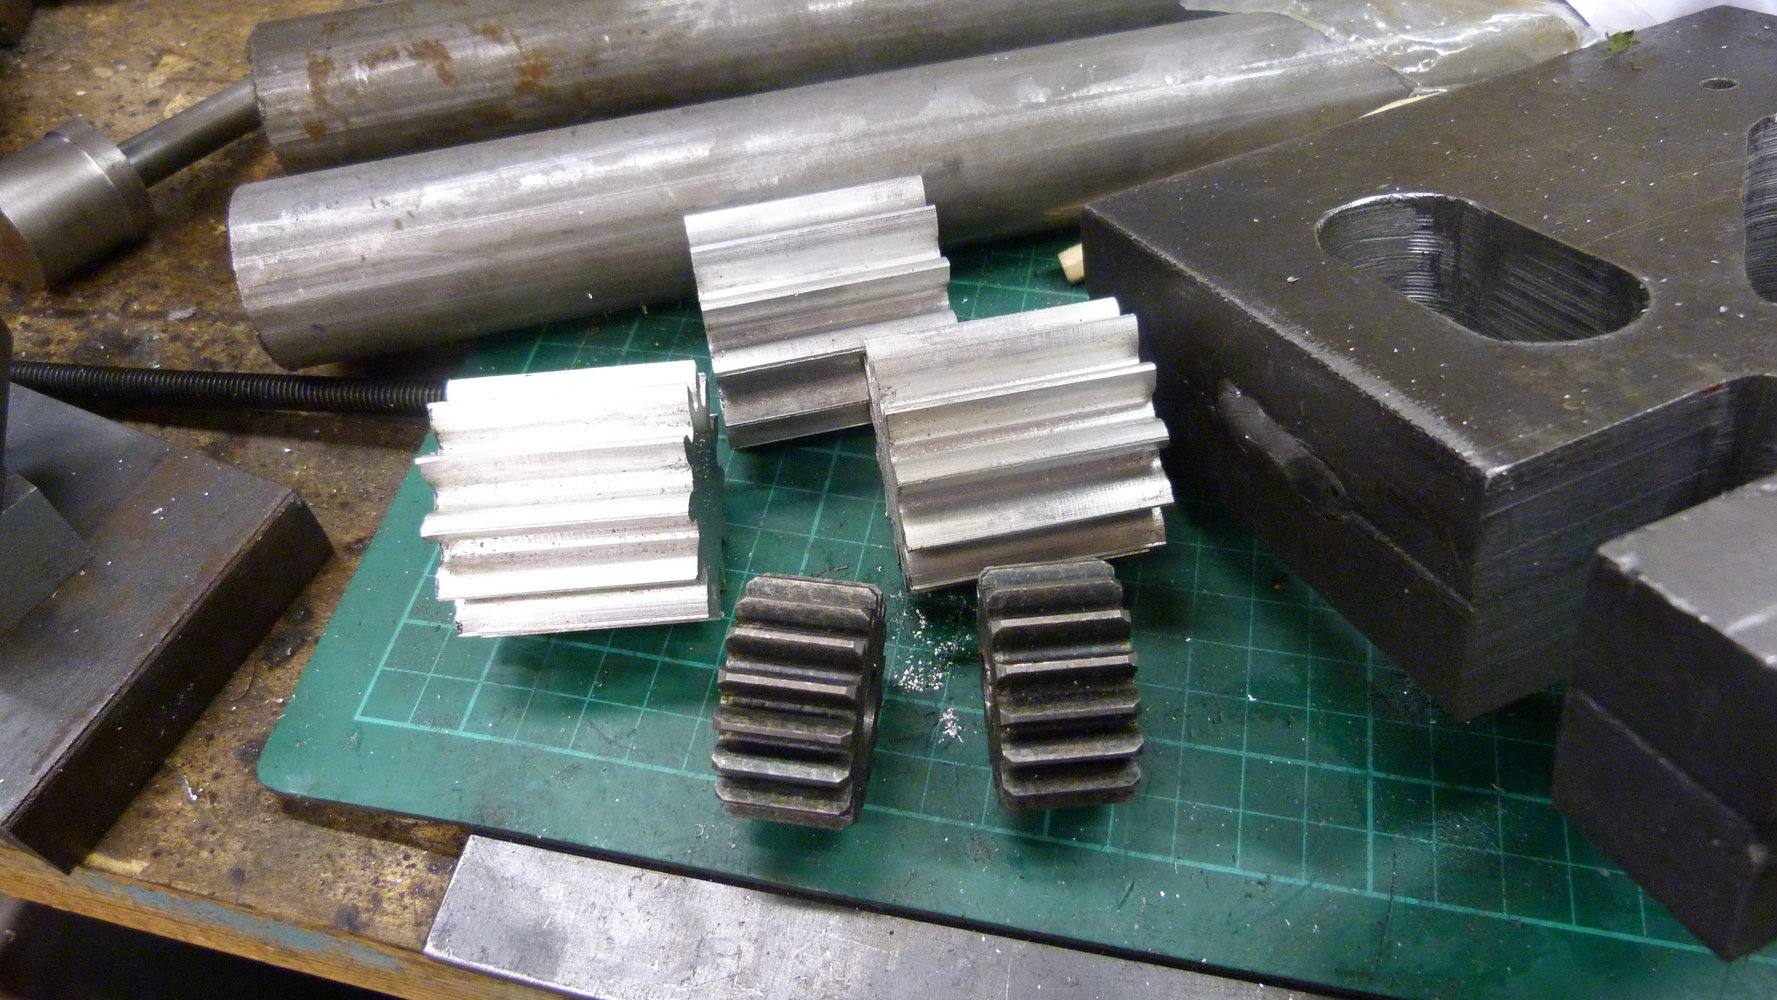
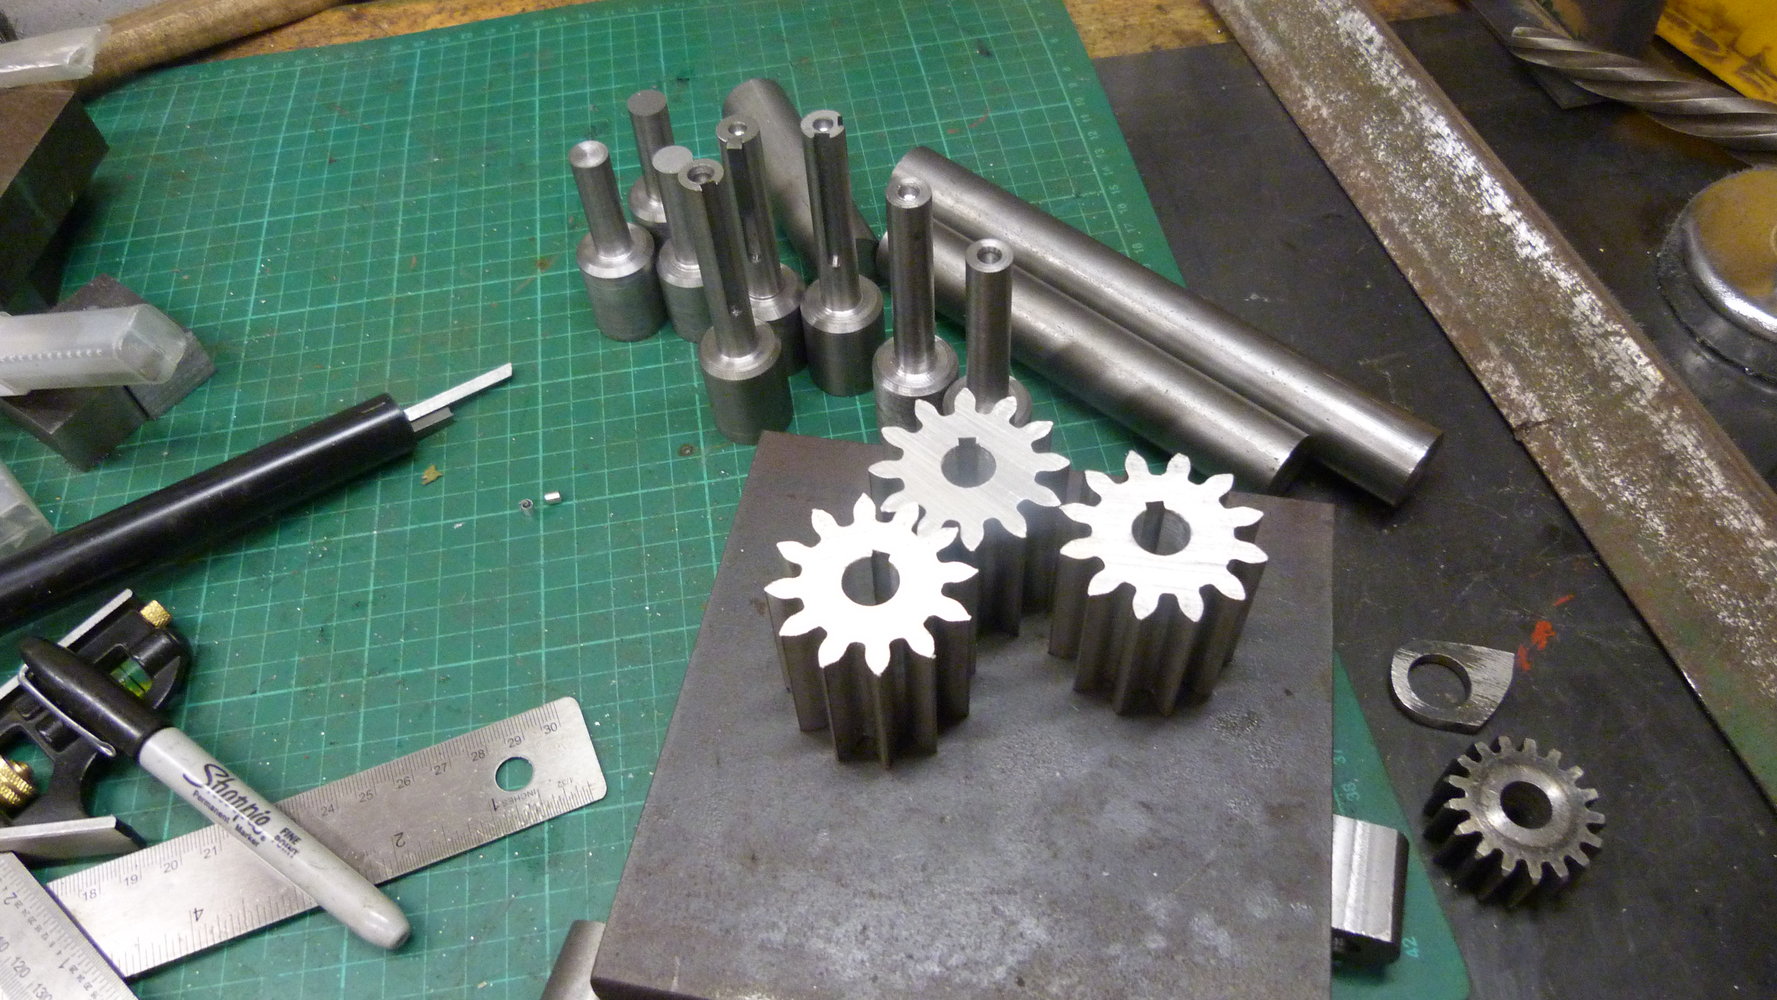
I've made them proportionally wider to make them slightly more robust. They are roughly 42mm wide. The steel gears in the foreground are 38mm in diameter compared the the ally gears of 44.5mm 1.75"
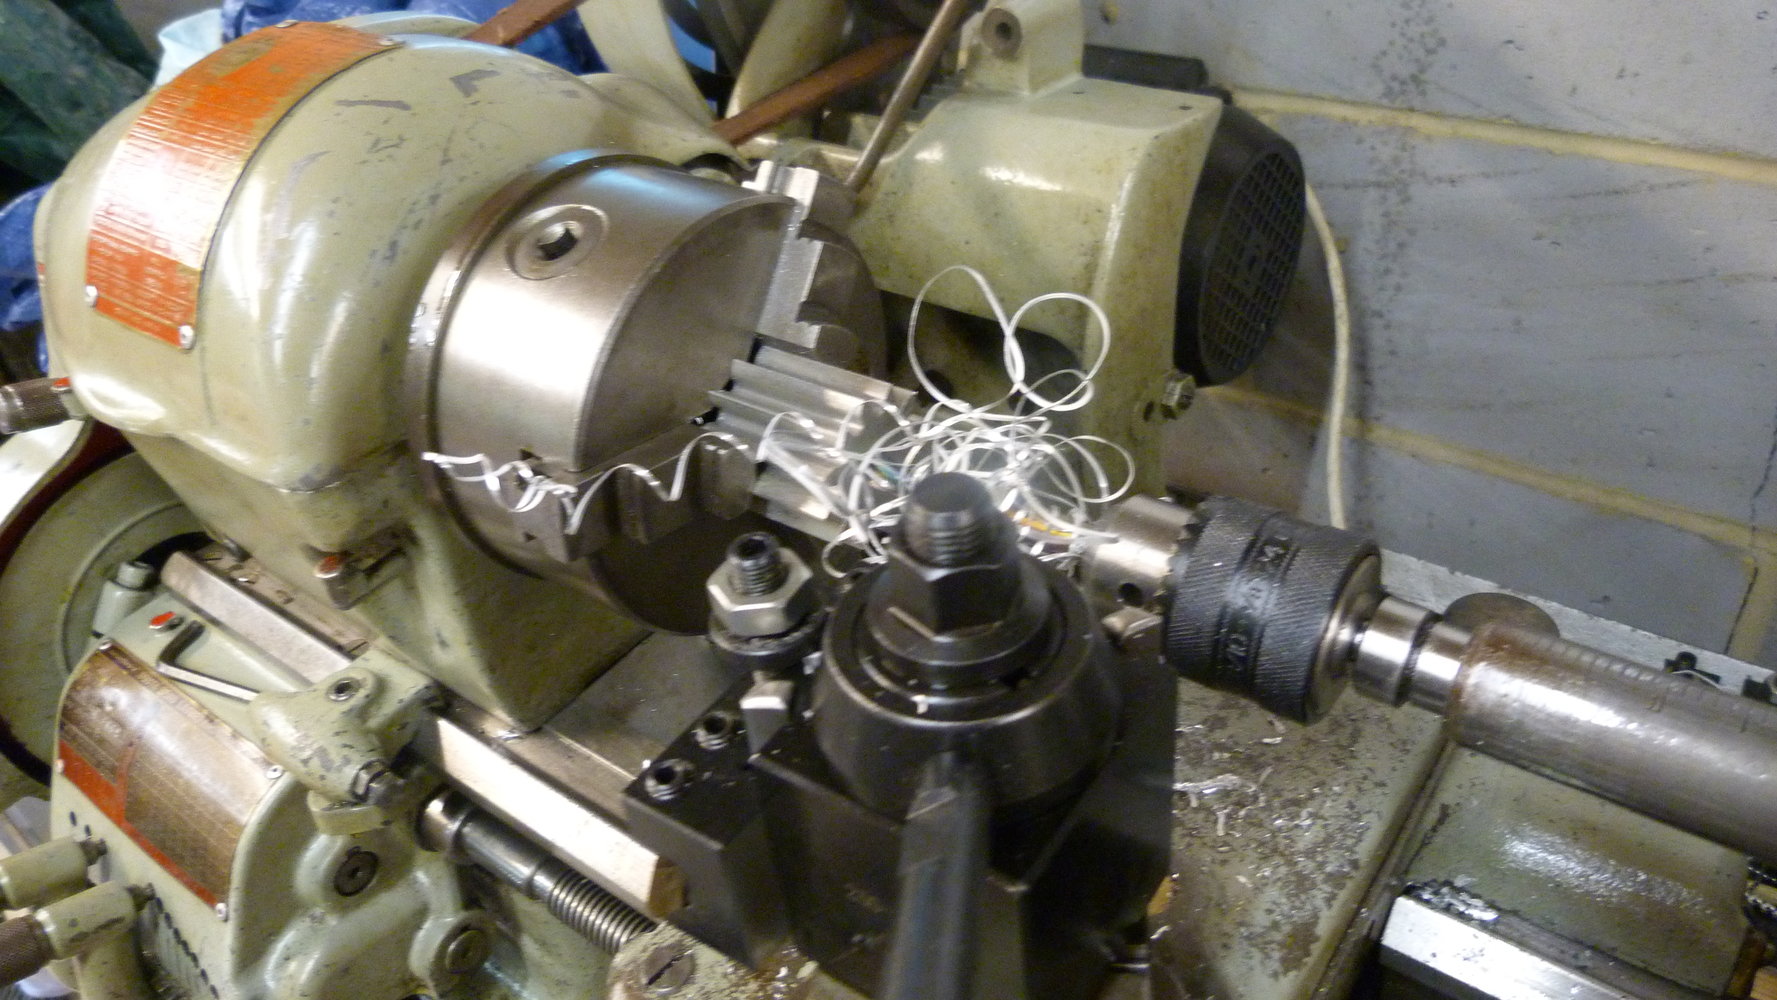
Centre drilled on the lathe. The teeth felt remarkably strong in the chuck jaws considering the material they are made from.
I'll get round to keying the shafts and gears. I still have five shafts to make again. Those are just the old ones from the 34mm tubes. They aren't quite as slack a fit as they appear in the picture below
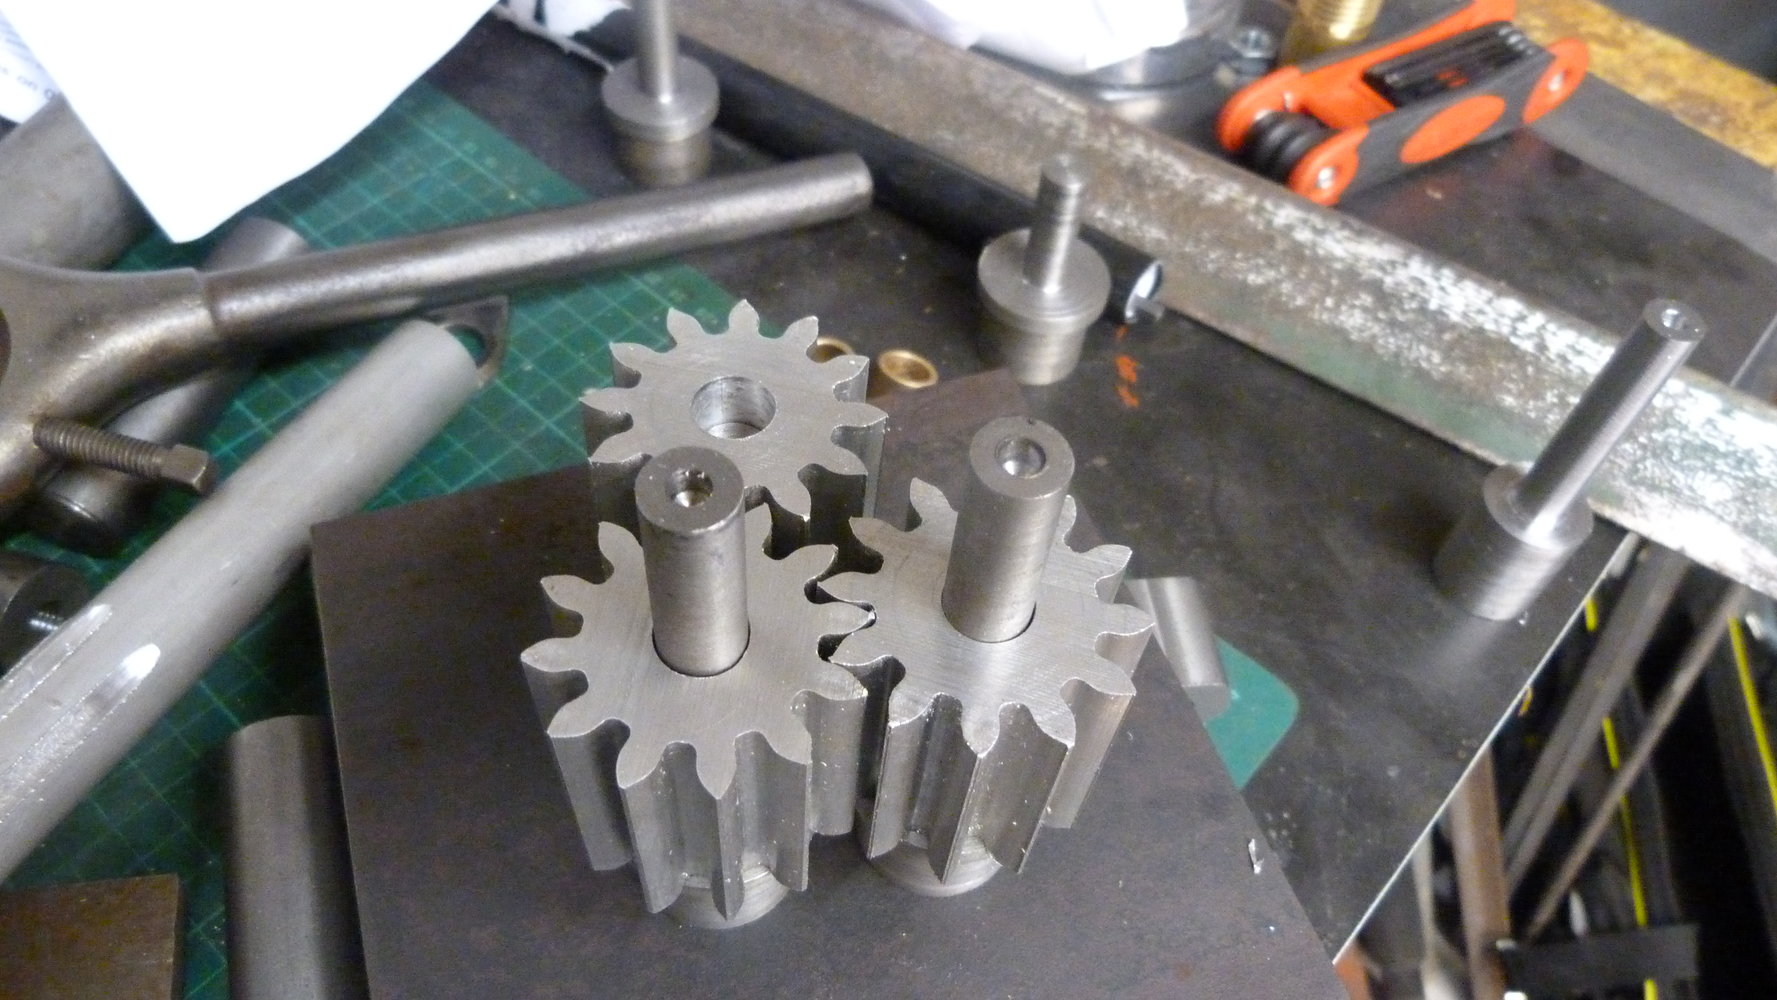
From the 190mm blank I obtained 130mm of spur gear.
Chopped up into three pieces to give a pair and a spare. It will be interesting to see how long they last. I expect I will have to remake them out of steel again quite quickly. I hope to get the rollers to roll very thin sheet with them. Just to prove the machine works before the teeth start snapping off.
I've made them proportionally wider to make them slightly more robust. They are roughly 42mm wide. The steel gears in the foreground are 38mm in diameter compared the the ally gears of 44.5mm 1.75"
Centre drilled on the lathe. The teeth felt remarkably strong in the chuck jaws considering the material they are made from.
I'll get round to keying the shafts and gears. I still have five shafts to make again. Those are just the old ones from the 34mm tubes. They aren't quite as slack a fit as they appear in the picture below
My Old Landy
Engineering Mayhem
- Messages
- 3,418
- Location
- North Lincs
Nice work, they are substantial compared to the other ones!
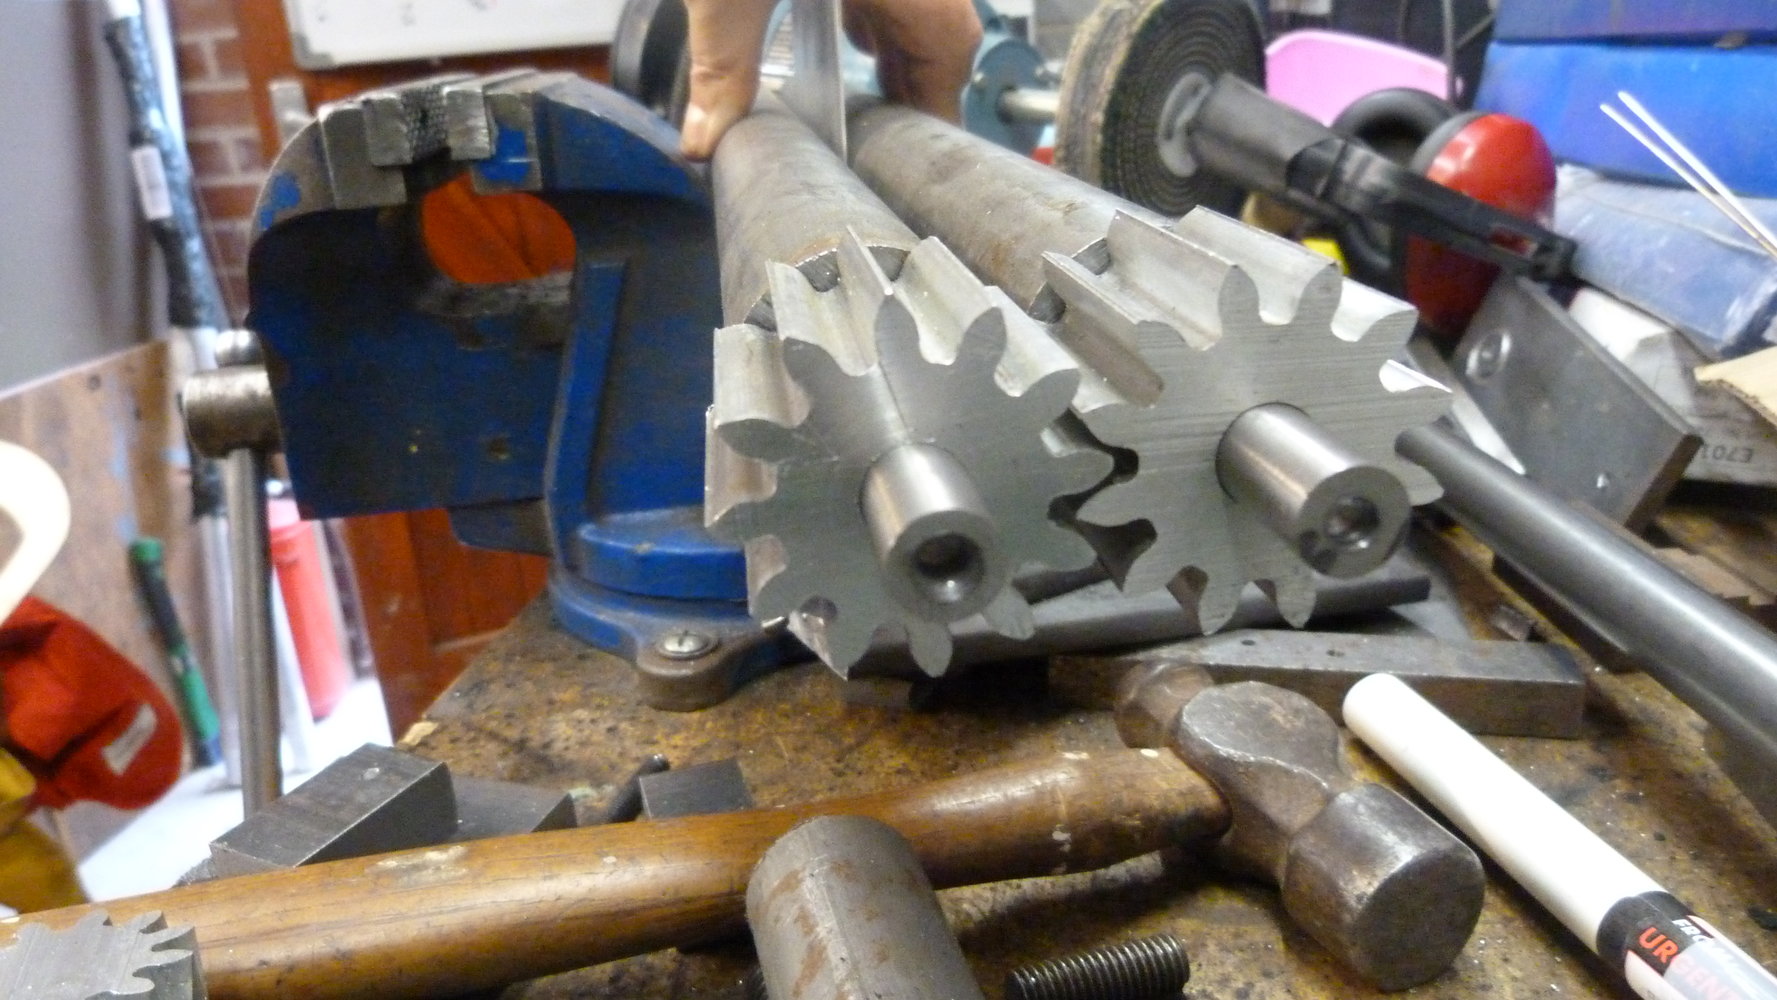
This is the tooth engagement with the rollers tight up against each other.
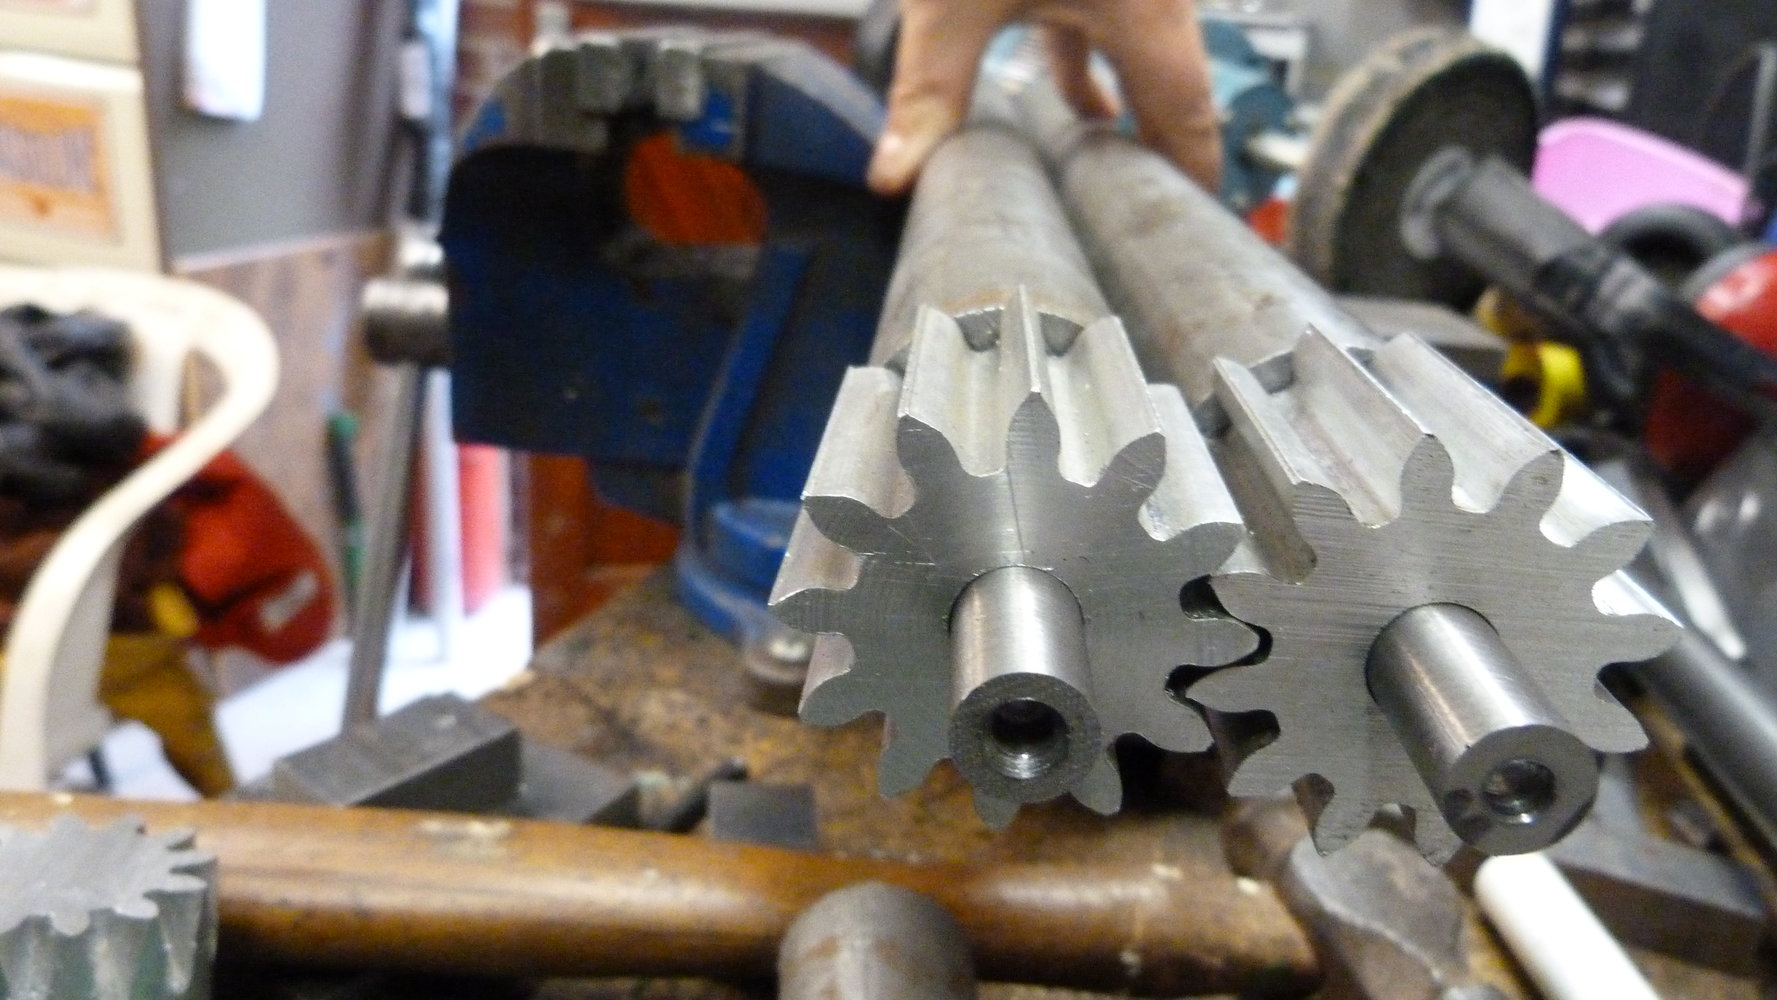
This is the tooth engagement with approximately 1.4mm of material between the rollers. There is plenty of engagement still so thank you very much @Hopefuldave .
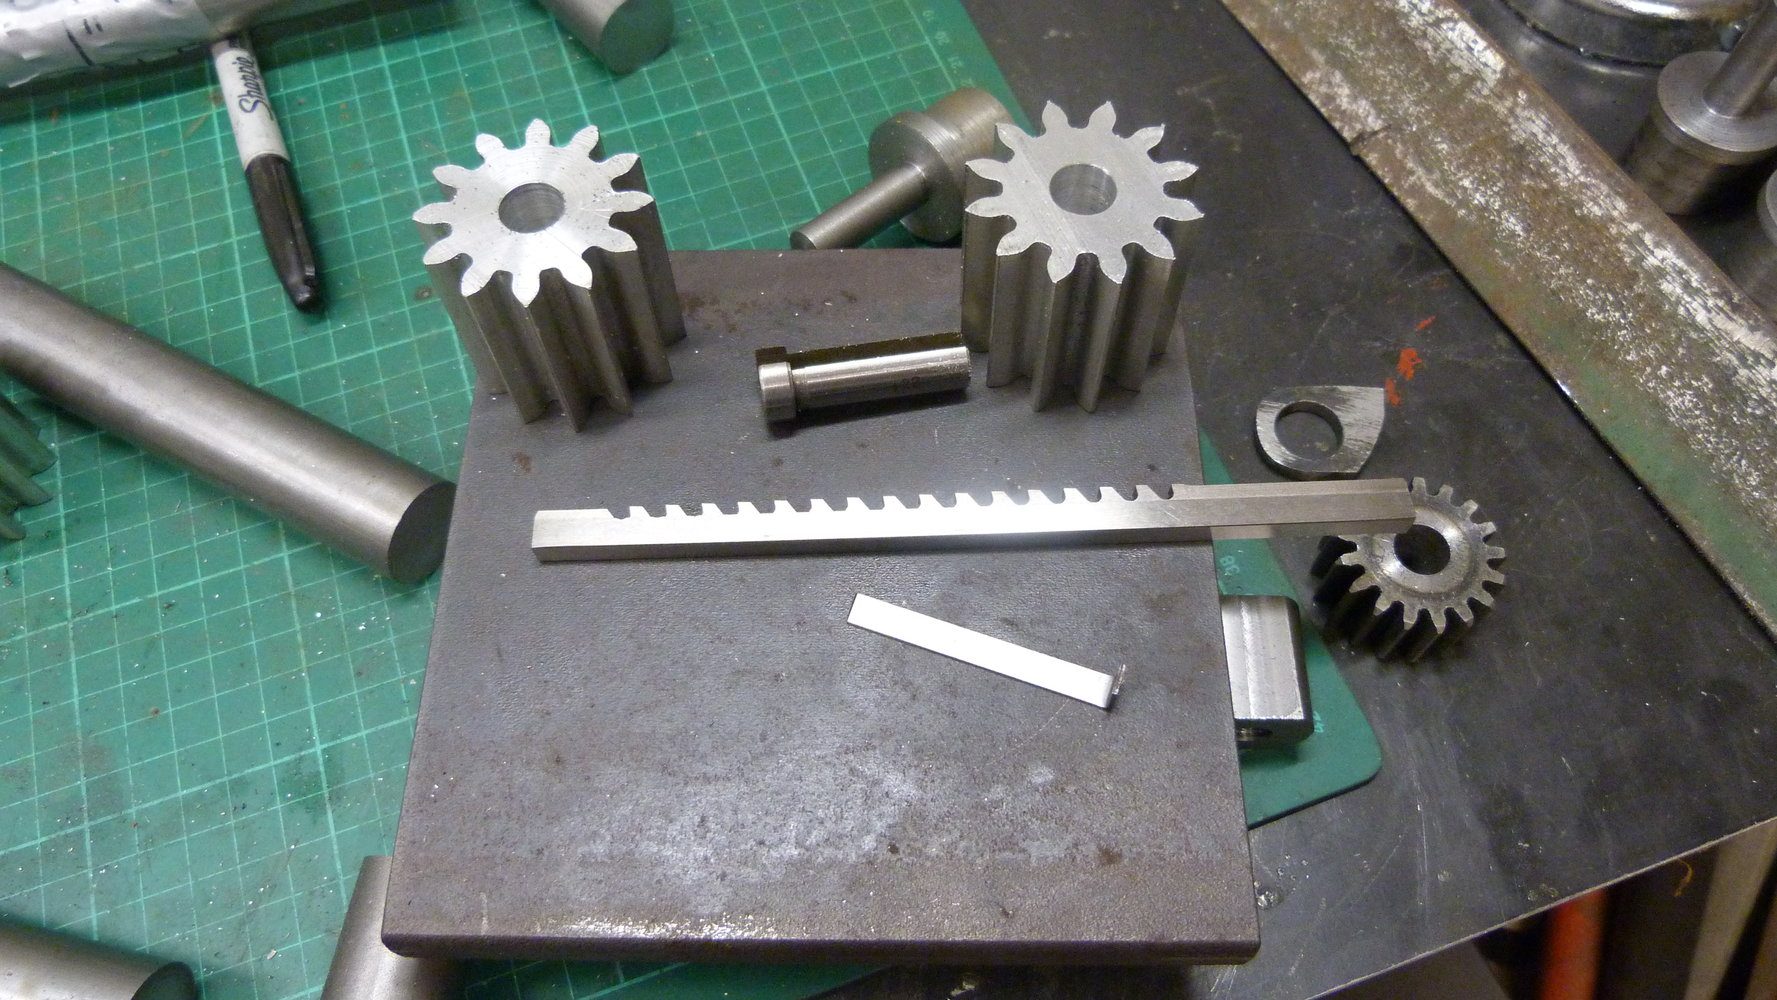
The Postman has been so there's a new thing to try. Those "overpriced" slip rolls on Ebay are looking very cheap right now. I received some 1.75" round steel bar the other day too so I am ready to cut the gears in steel as soon as the need arises.
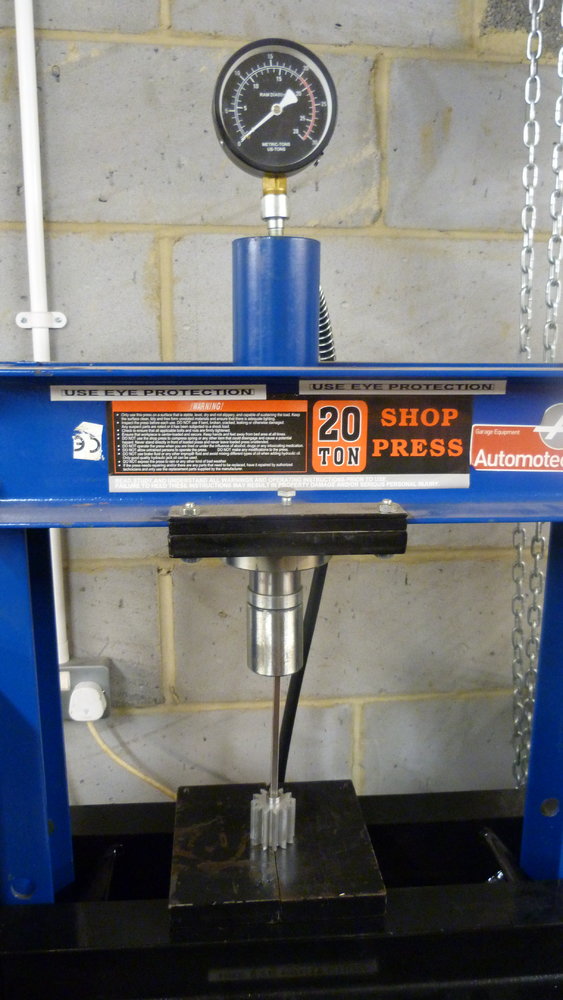
I know it is the wrong tool to use but it is all I have. The pressure needle never lifted off the back stop so I wasn't in any danger of breaking the broach. It might have been different if I was broaching steel and something bound up. Making the gears out of aluminium has been very helpful. I've been able to try all these new operations without blunting the cutting tools.
The very short stroke was a pain. An awful lot of time and energy wasted pumping the handle.
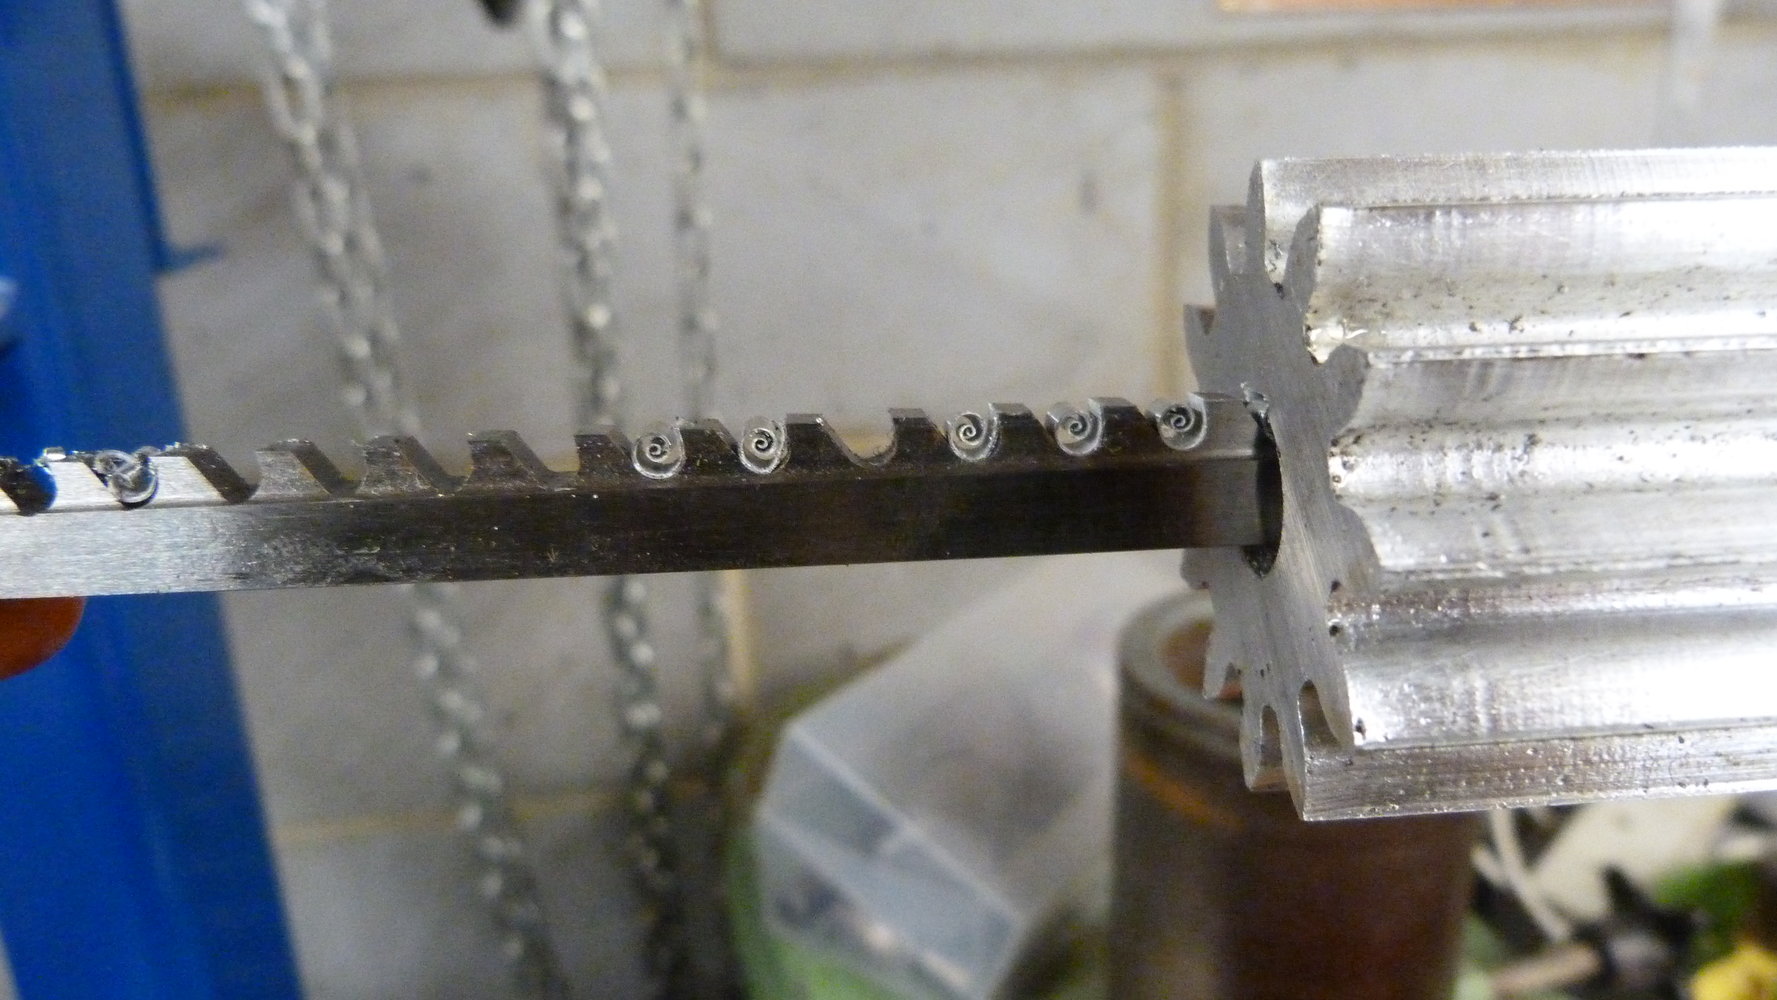
Pretty spirals.
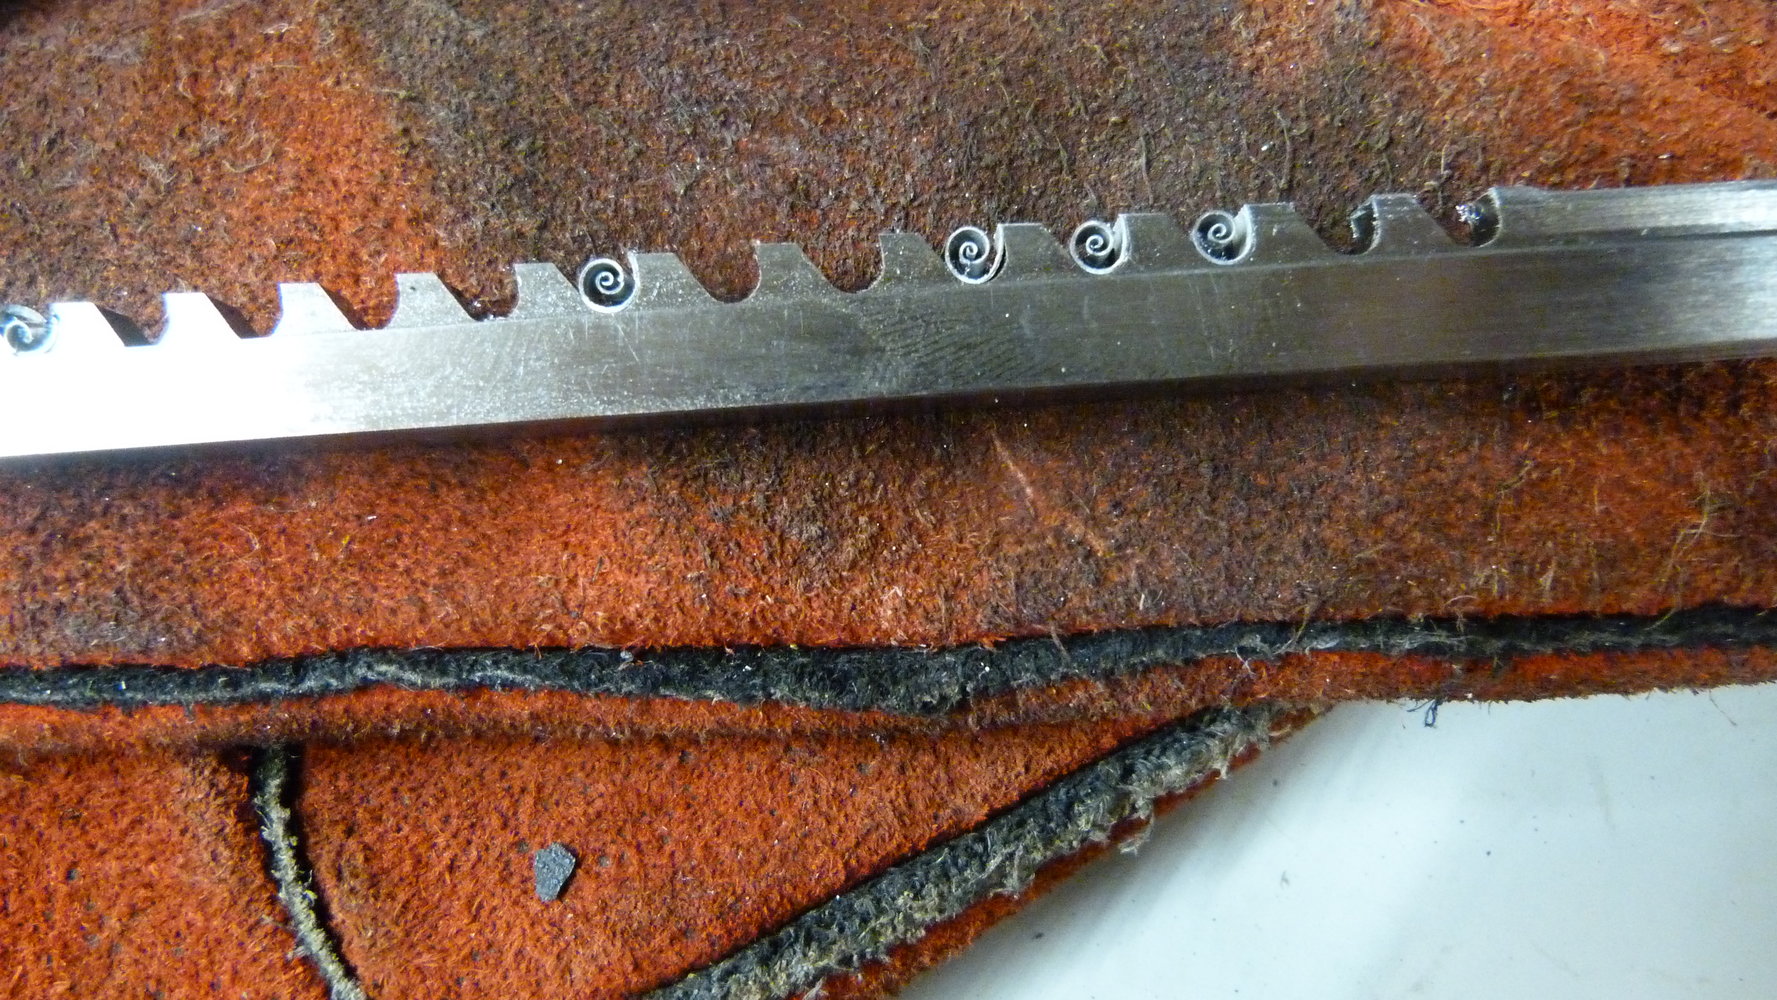
My first internal keyways using a broach.
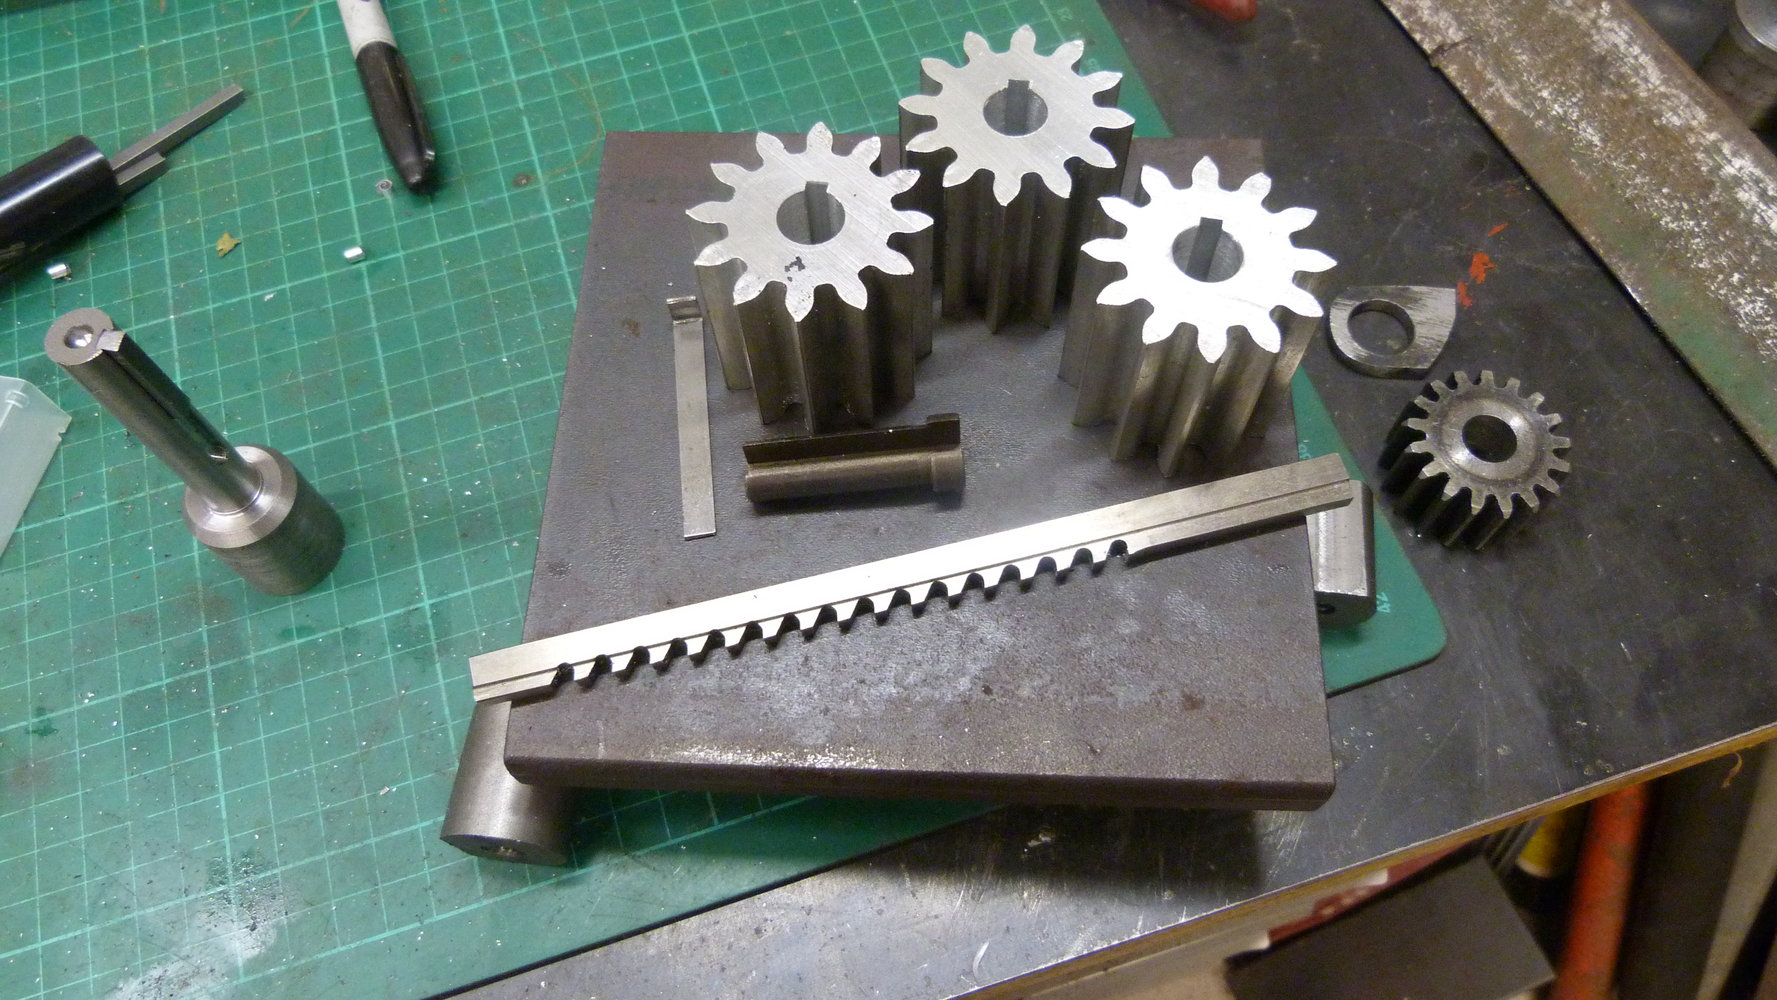
Some bungs for the rollers. I had to remake some due to some very shoddy machining on the keyways which wasn't dead centre.. I've decided to weld the bungs into the tubes. I've cut bevels on the bungs to help weld penetration and I have ground bevels on the inner circumference of the tubes to match.
I have two keyways still to cut on the mill. Will attempt to be more careful and accurate this time.
This is the tooth engagement with approximately 1.4mm of material between the rollers. There is plenty of engagement still so thank you very much @Hopefuldave .
The Postman has been so there's a new thing to try. Those "overpriced" slip rolls on Ebay are looking very cheap right now. I received some 1.75" round steel bar the other day too so I am ready to cut the gears in steel as soon as the need arises.
I know it is the wrong tool to use but it is all I have. The pressure needle never lifted off the back stop so I wasn't in any danger of breaking the broach. It might have been different if I was broaching steel and something bound up. Making the gears out of aluminium has been very helpful. I've been able to try all these new operations without blunting the cutting tools.
The very short stroke was a pain. An awful lot of time and energy wasted pumping the handle.
Pretty spirals.
My first internal keyways using a broach.
Some bungs for the rollers. I had to remake some due to some very shoddy machining on the keyways which wasn't dead centre.. I've decided to weld the bungs into the tubes. I've cut bevels on the bungs to help weld penetration and I have ground bevels on the inner circumference of the tubes to match.
I have two keyways still to cut on the mill. Will attempt to be more careful and accurate this time.
selectedgrub
Member
- Messages
- 3,346
- Location
- New Zealand
The photo of the broach with the little spirals chips - pure art as with the rest of your photos and project.
A pleasurer to see thanks for sharing.
A pleasurer to see thanks for sharing.
pressbrake1
Forum Supporter
- Messages
- 5,624
- Location
- Essex
Excellent work and commitment.
I have a lot of respect for people making stuff with limited equipment.
In my shop it’s easy but but having to perform hand fitting, using a hacksaw etc is really a true test
I have a lot of respect for people making stuff with limited equipment.
In my shop it’s easy but but having to perform hand fitting, using a hacksaw etc is really a true test
A bit more to show. I just do bits during odd evenings when I'm not too tired after work or busy with other stuff. I don't work when I'm tired as it leads to increasing sloppyness and can be a bit dangerous too. I'm in no danger of rushing this.
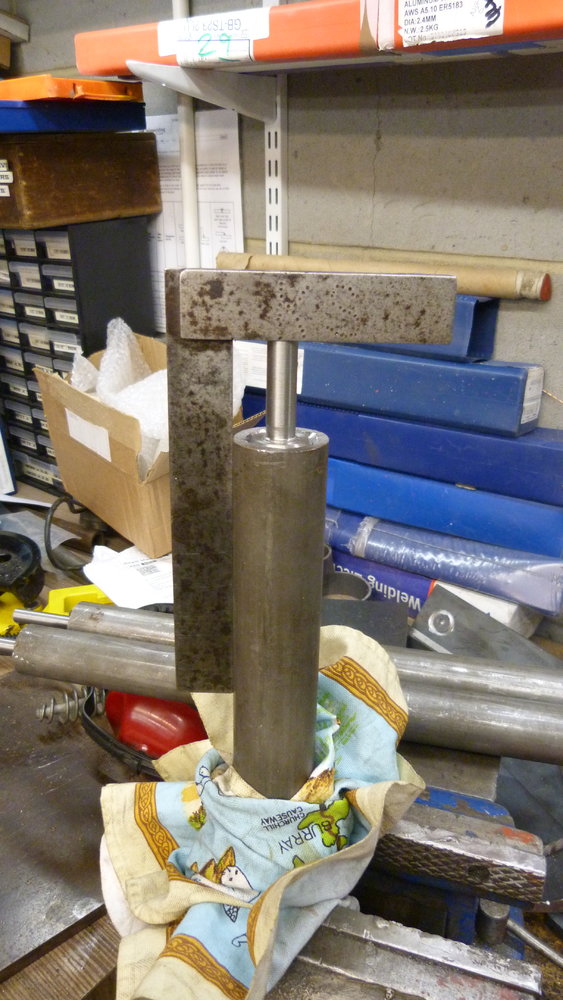
Bungs got welded into the tubes this week. Setting up the alignment as best as I could in the picture. Some bungs show more run out than others when tested with a DTI but the tubes are only so round anyway. The welds are glorified tacks and I hope that some self alignment occurs when the tubes are screwed tight up against each other under pressure and rolling in the frame. Keyways were milled into the shafts prior to welding. I should have checked the dimensions of shaft keyway. I assumed it was supposed to be 2mm deep for a 4mm key but that's not the case. Older and wiser now.
Holes are now drilled and tapped in the plates. I managed to do this fairly accurately with no broken drill bits or taps so some improvement there. The tap wrench was pretty small and it was hard on the hands even with thick gloves. I could have used a much bigger tap handle with increased leverage but that just encourages snapped taps and I wanted to have a good feel of what was going on. m10 threaded holes. Took a lot of backwards and forwards. Only a couple of worrying moments when things felt like they were binding up a bit too much.
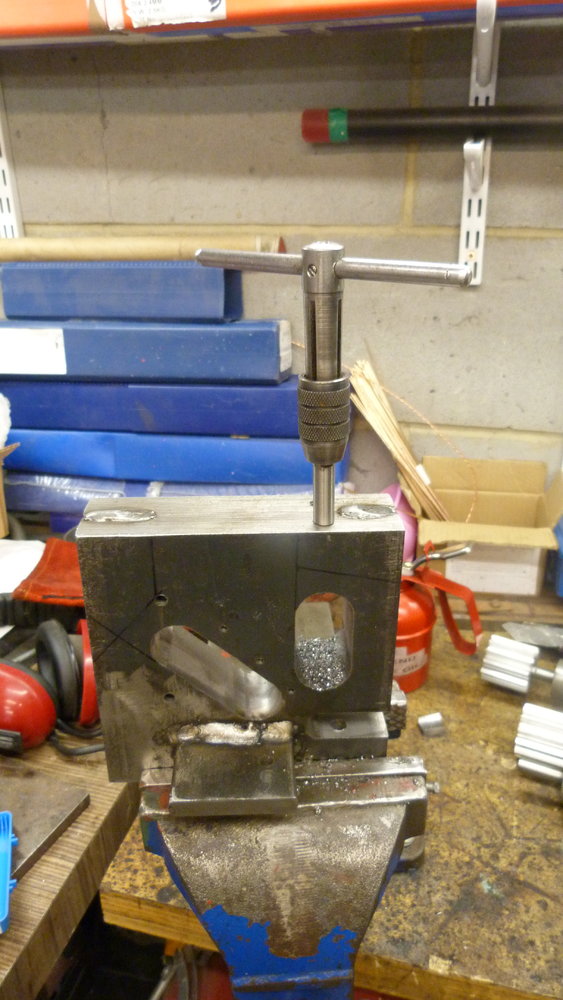
First four holes drilled and tapped.
The welded tab was removed after this so the work fitted in the bandsaw easier for the relief cuts at the bottom. The top drilled holes are a bit to close to where the bushings sit. I have got away with it just, but ideally they should be a few mm further to left in the picture. This is what I get for a total absence of planning and " That looks about right" estimation and design.
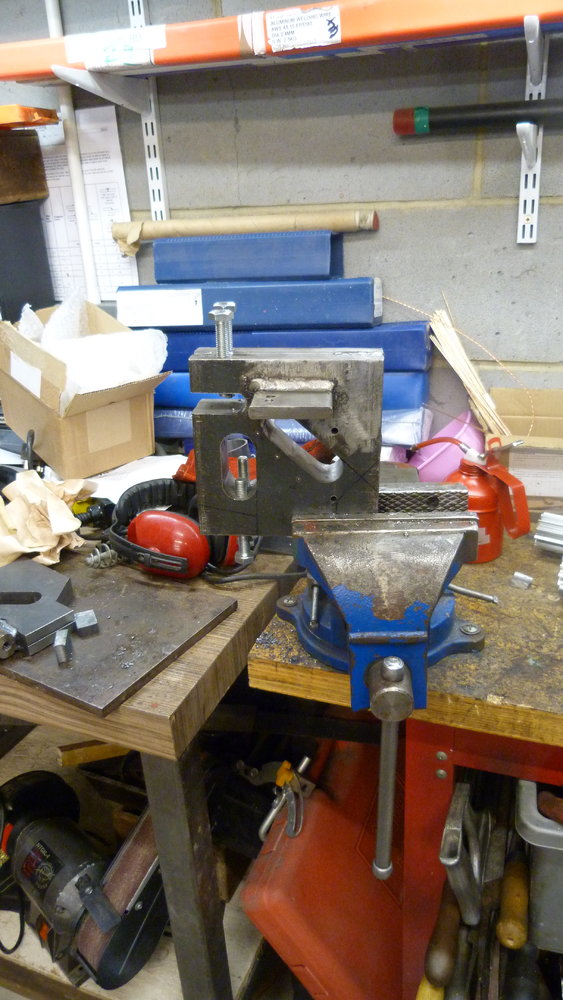
The angled cut leaves a flat surface to drill into for the final two holes. This prevents drills wandering as they are going in to the surface at 90 degrees. The relief cuts don't have to be perfect.
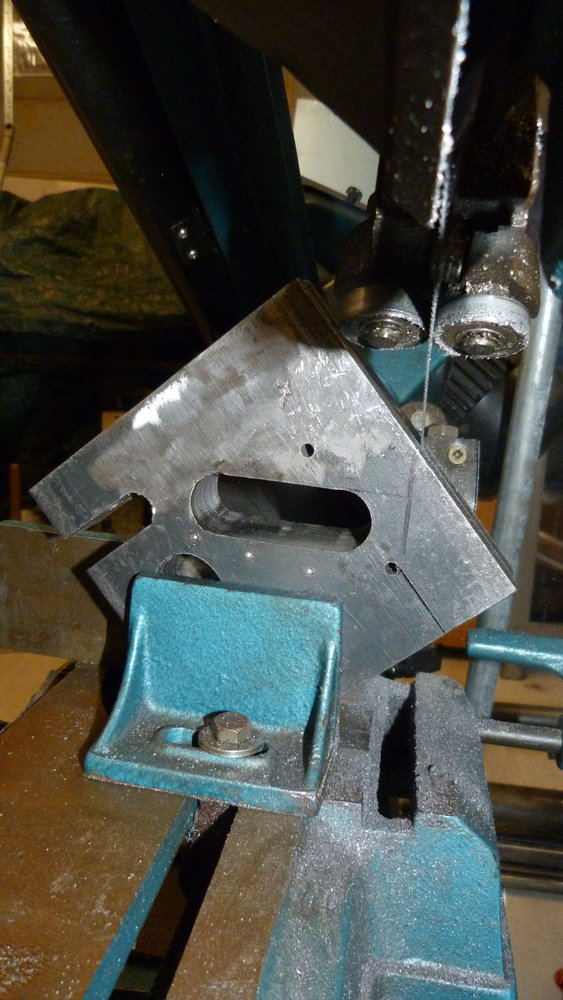
This is the plate/s post bandsaw and a bit of hacksawing too. I was a mm or so out on the cut on the right hand side. I drew two lines on the left side and hit the lower one fine. I didn't miss the remaining line that shows. Even I'm not that shoddy. The rollers show in the background. Welded up with the gears on them all ready to do some work.
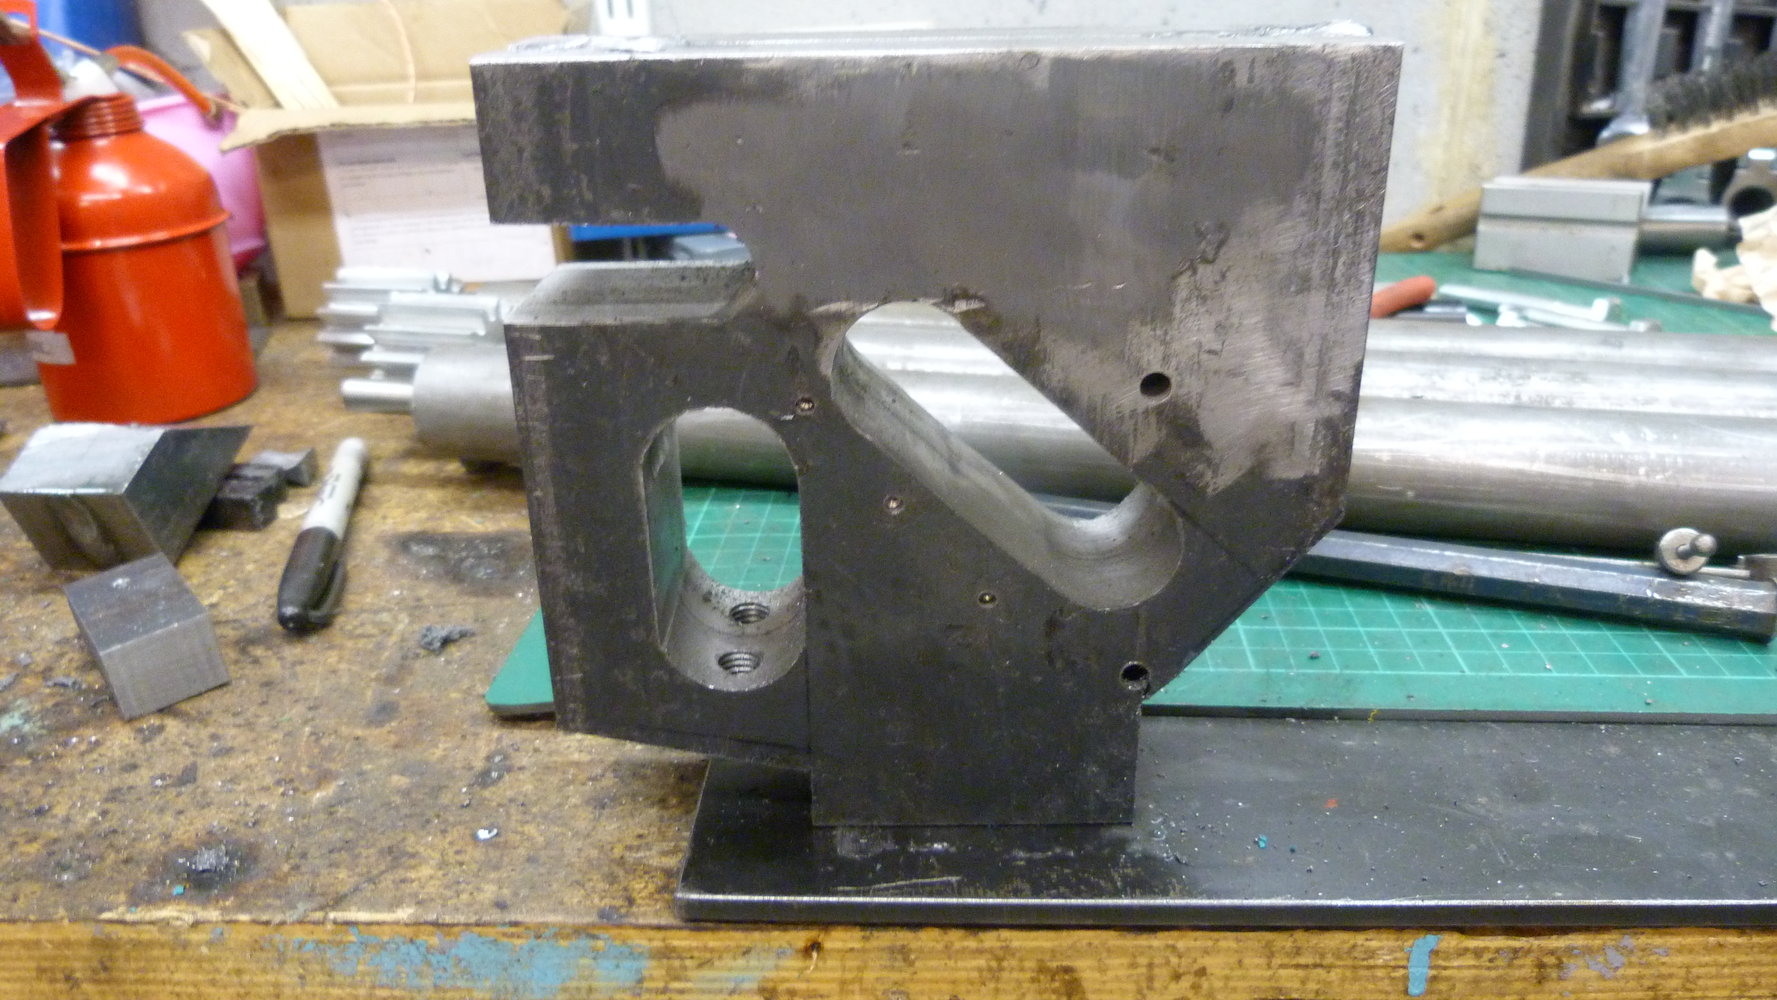
Final bit of drilling into a nice flat surface.
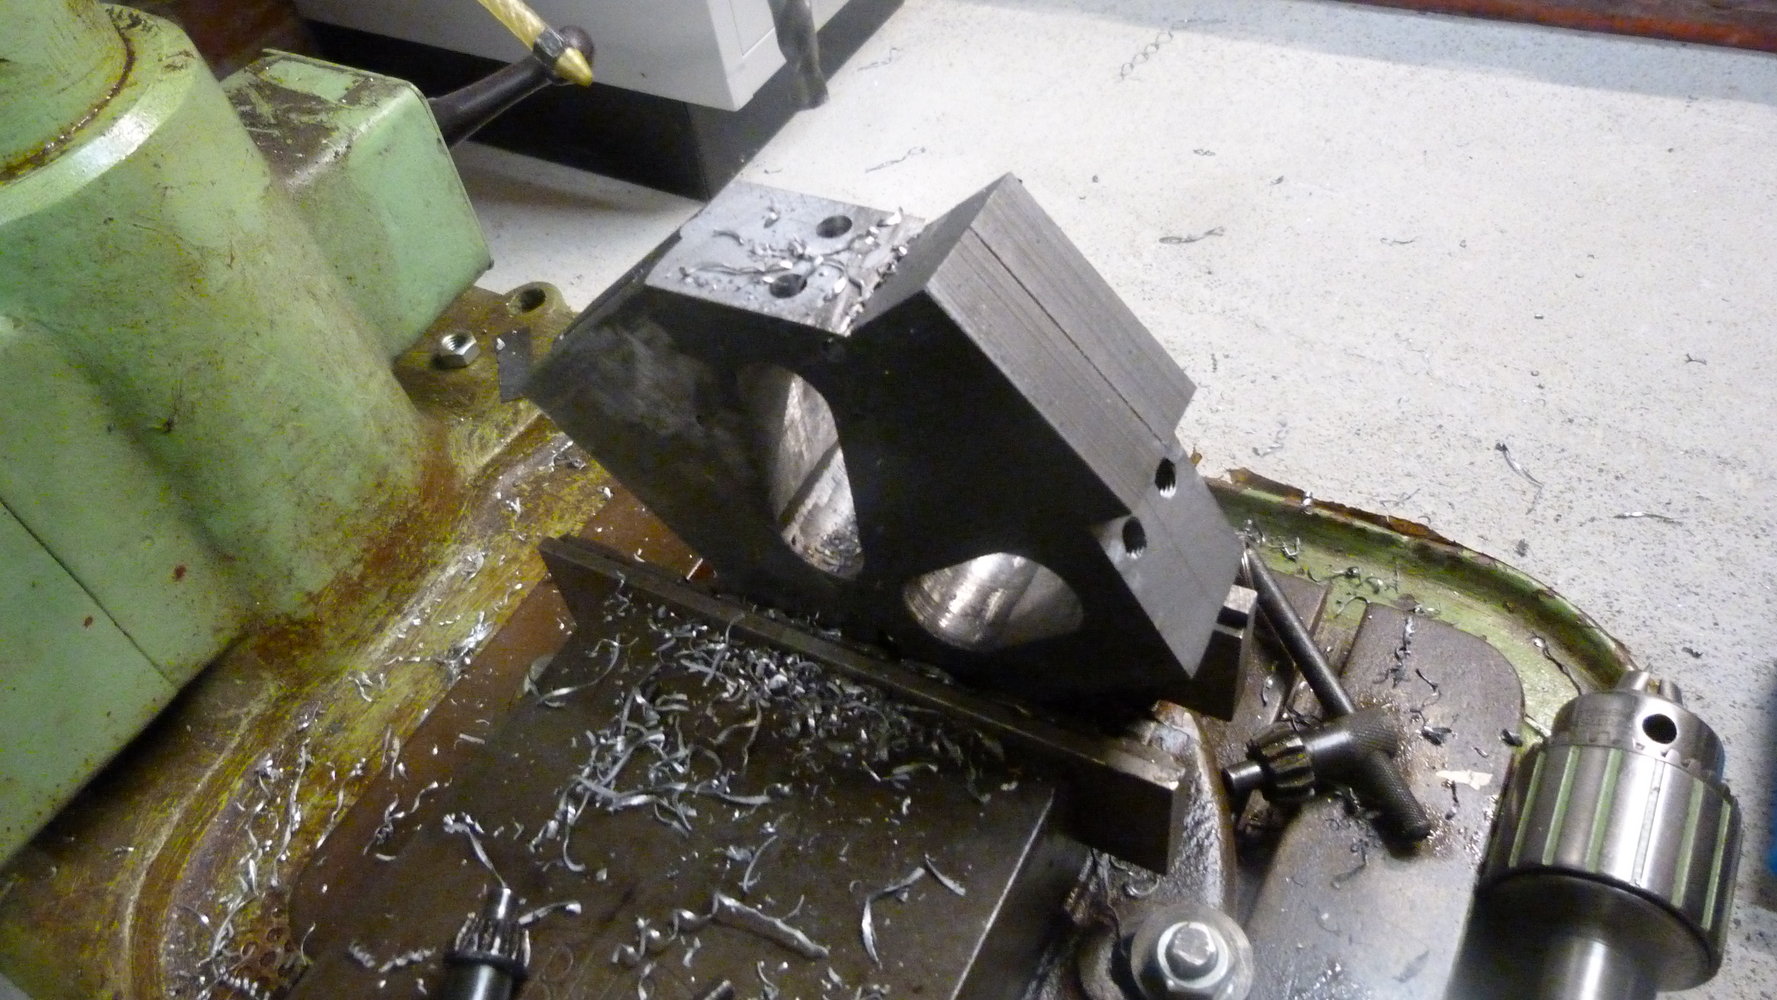
Plates finally all tapped. They need splitting next. Rough and sharp edges need tidying up and feet welding to bottom to accept some bolts.
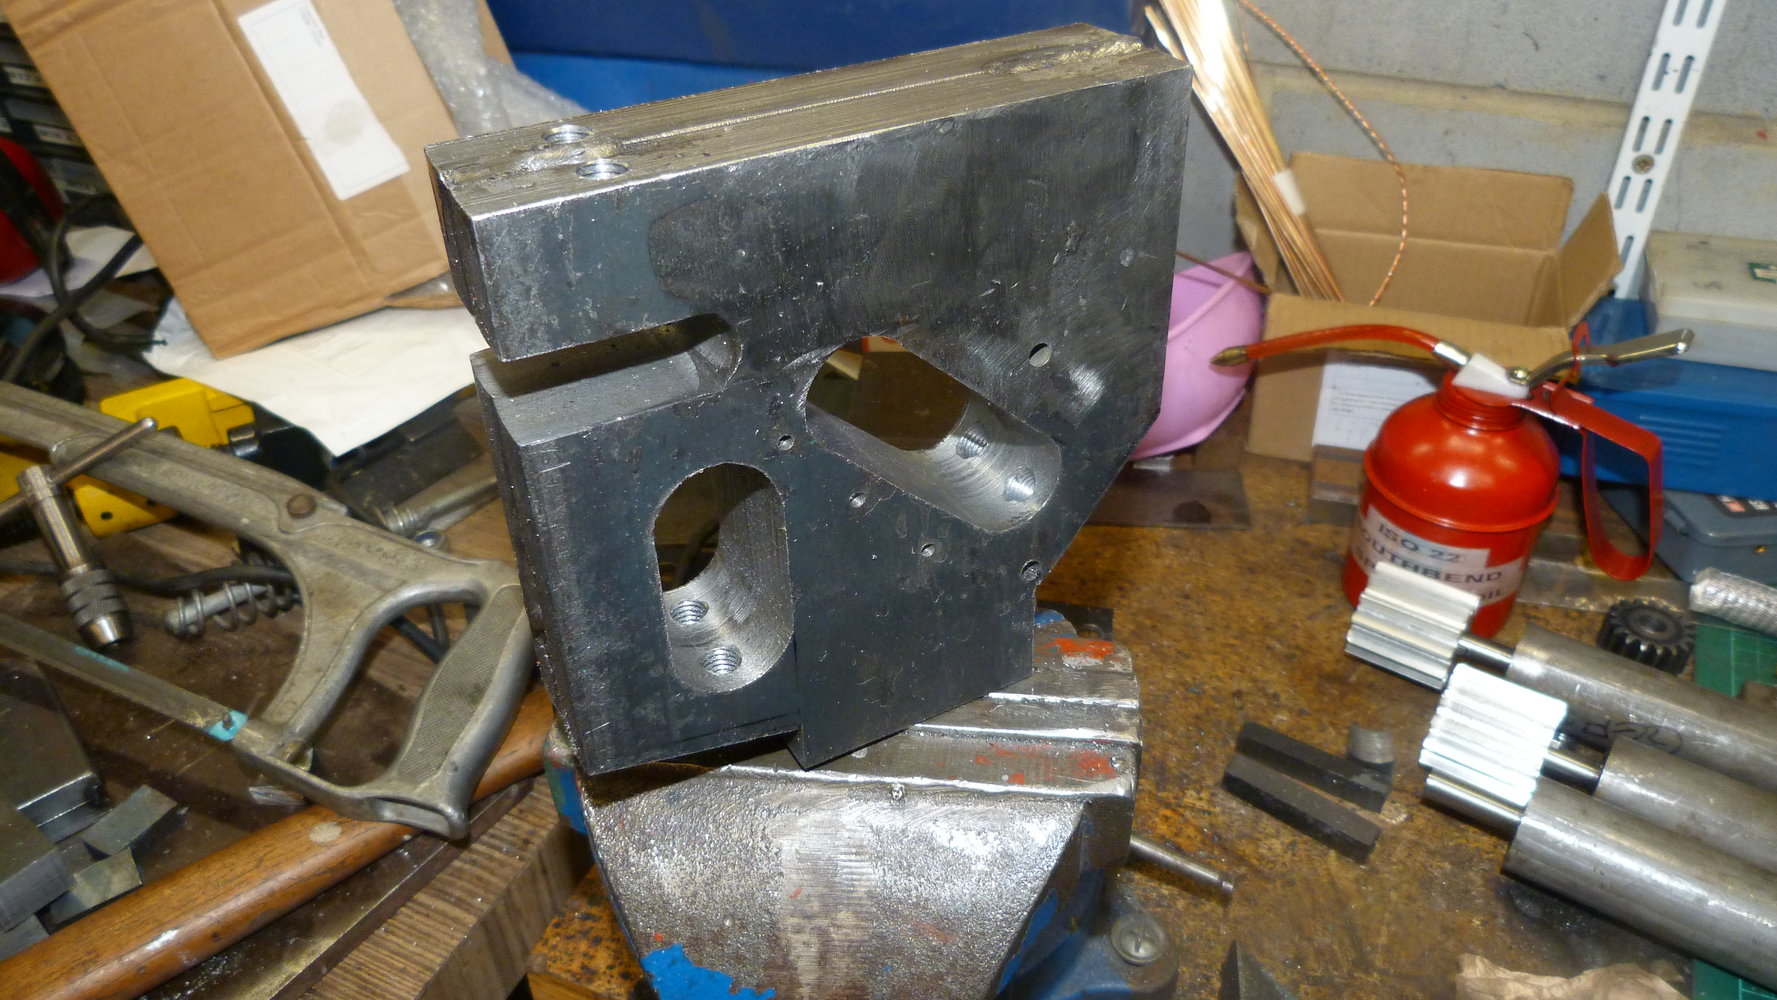
Bushing carriers need fitting and shaping next. Shame about those extraneous holes. I think I will get round to welding them up.
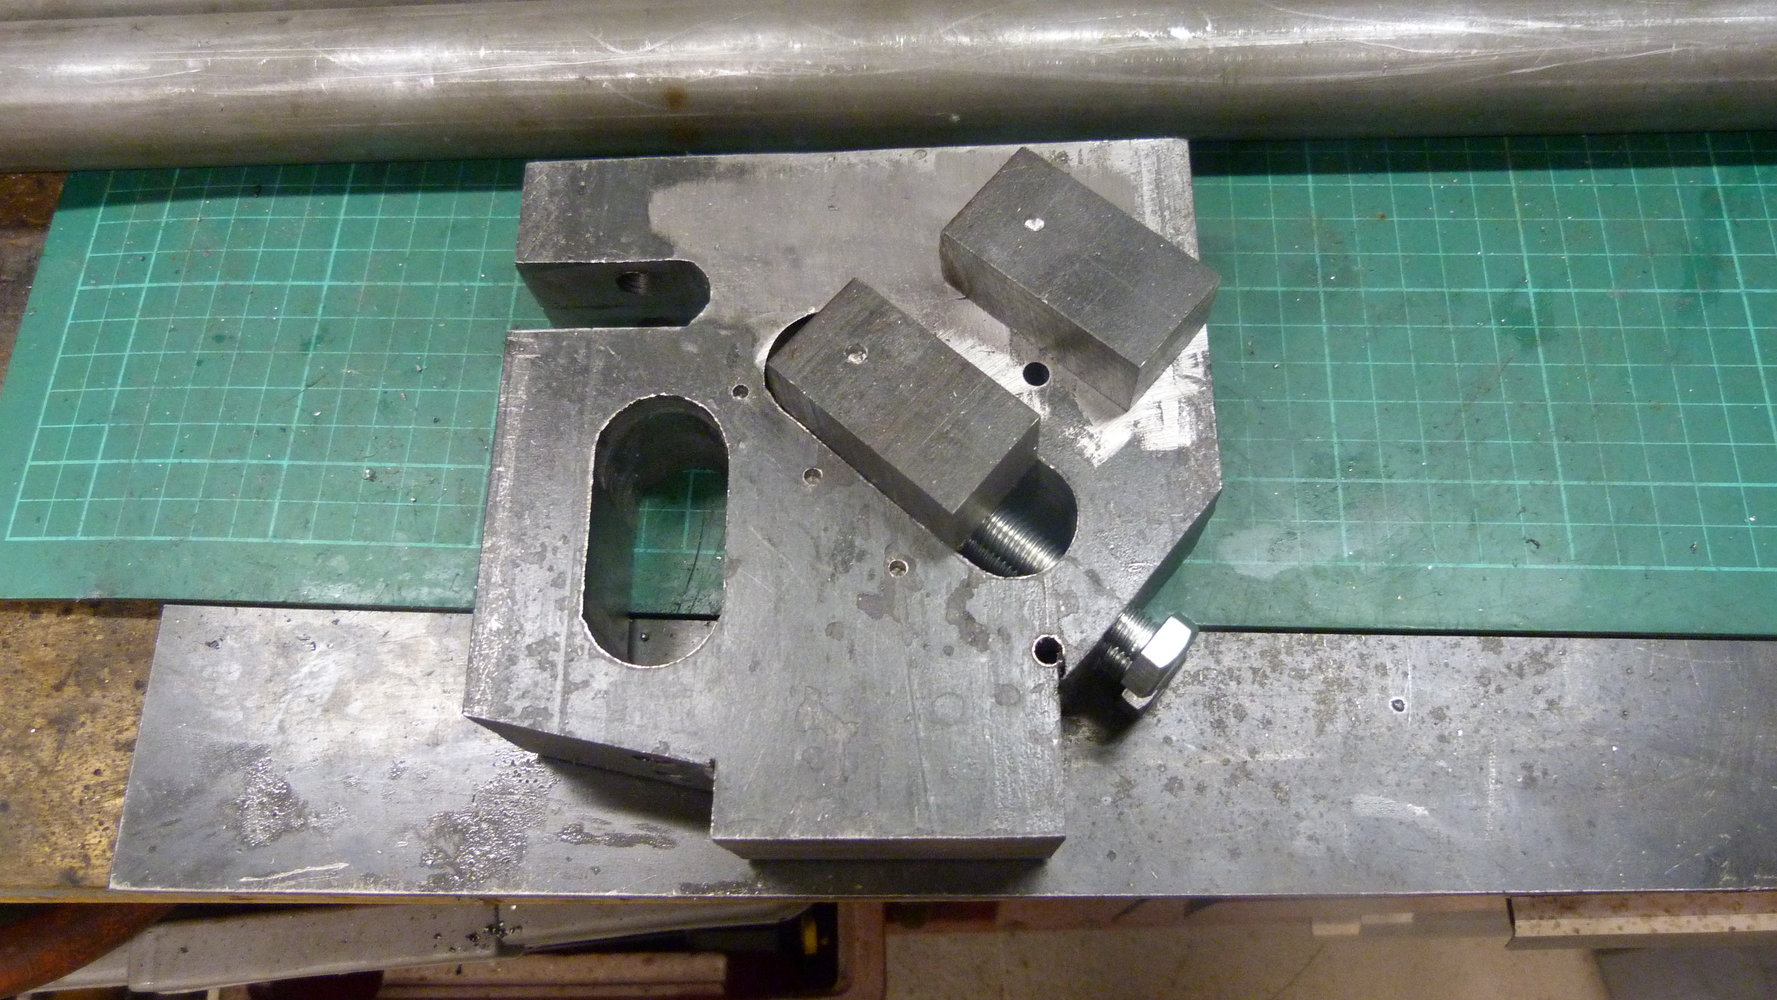
Bungs got welded into the tubes this week. Setting up the alignment as best as I could in the picture. Some bungs show more run out than others when tested with a DTI but the tubes are only so round anyway. The welds are glorified tacks and I hope that some self alignment occurs when the tubes are screwed tight up against each other under pressure and rolling in the frame. Keyways were milled into the shafts prior to welding. I should have checked the dimensions of shaft keyway. I assumed it was supposed to be 2mm deep for a 4mm key but that's not the case. Older and wiser now.
Holes are now drilled and tapped in the plates. I managed to do this fairly accurately with no broken drill bits or taps so some improvement there. The tap wrench was pretty small and it was hard on the hands even with thick gloves. I could have used a much bigger tap handle with increased leverage but that just encourages snapped taps and I wanted to have a good feel of what was going on. m10 threaded holes. Took a lot of backwards and forwards. Only a couple of worrying moments when things felt like they were binding up a bit too much.
First four holes drilled and tapped.
The welded tab was removed after this so the work fitted in the bandsaw easier for the relief cuts at the bottom. The top drilled holes are a bit to close to where the bushings sit. I have got away with it just, but ideally they should be a few mm further to left in the picture. This is what I get for a total absence of planning and " That looks about right" estimation and design.
The angled cut leaves a flat surface to drill into for the final two holes. This prevents drills wandering as they are going in to the surface at 90 degrees. The relief cuts don't have to be perfect.
This is the plate/s post bandsaw and a bit of hacksawing too. I was a mm or so out on the cut on the right hand side. I drew two lines on the left side and hit the lower one fine. I didn't miss the remaining line that shows. Even I'm not that shoddy. The rollers show in the background. Welded up with the gears on them all ready to do some work.
Final bit of drilling into a nice flat surface.
Plates finally all tapped. They need splitting next. Rough and sharp edges need tidying up and feet welding to bottom to accept some bolts.
Bushing carriers need fitting and shaping next. Shame about those extraneous holes. I think I will get round to welding them up.
JMS1972
Member
- Messages
- 1,208
- Location
- NW Leicestershire, UK
Just a thought when you make the gears in steel. On the lathe cut down to the root diameter with a parting blade to mark the width of each gear. That will reduce the amount of material to be removed with the gear cutter.
More useful if you are making gears with a shoulder for grub screws but every little helps.
This idea occurred to me after I'd made a few dozen gears
More useful if you are making gears with a shoulder for grub screws but every little helps.
This idea occurred to me after I'd made a few dozen gears

Plenty more faffing about in the last couple of weeks.
Weight reduction in the bandsaw.
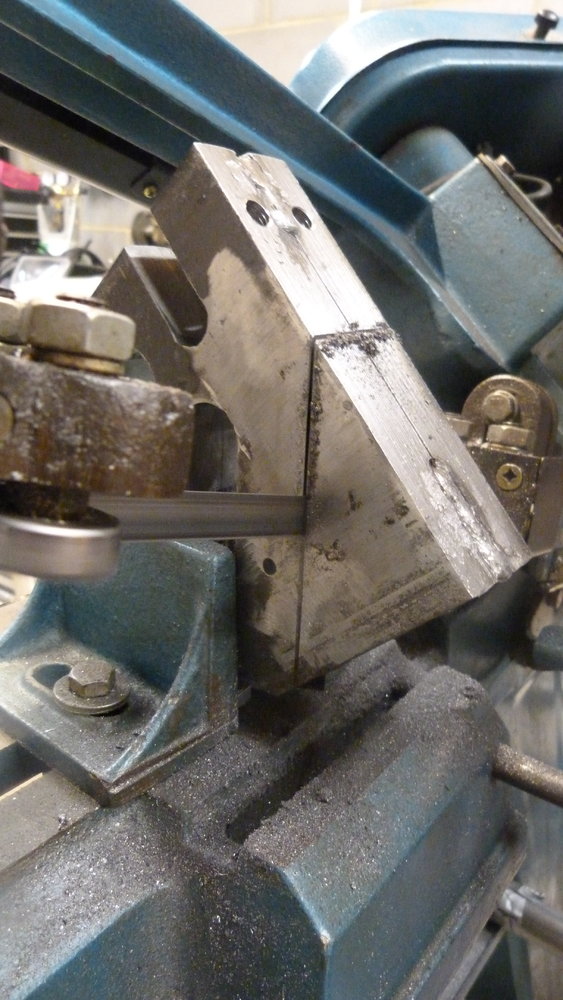
Finished the cut with the hacksaw as there wasn't enough clearance in the bandsaw.
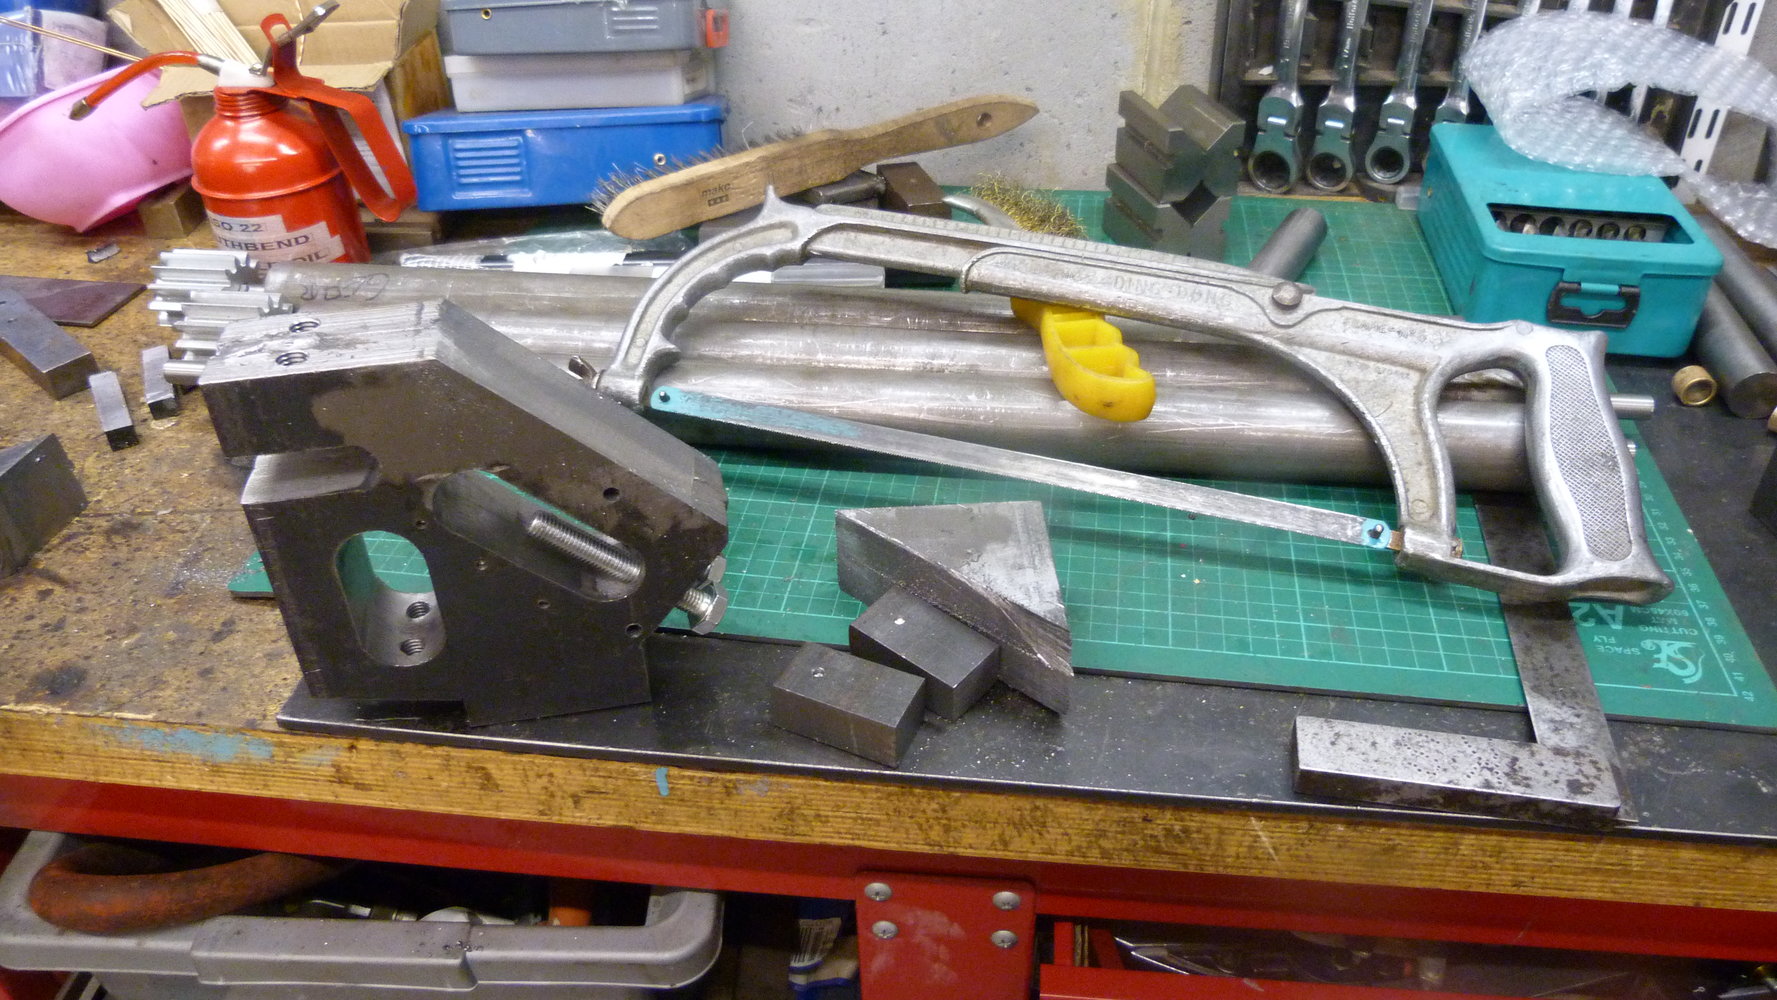
First bearing carriers. The round ends were done by eye with a flap disc and hand file. I got a little better as I went along . They aren't a close fit in the ends as the drilled ends have a slightly wider diameter than the slots as I was a bit conservative when milling the slots. Not a big deal really as the parallel sides locate the bearing and the carriers don't go to the end as there will be material between the rollers giving a gap. The holes could be a little more central on some of them. They might get remade.
"Shock and surprise!"
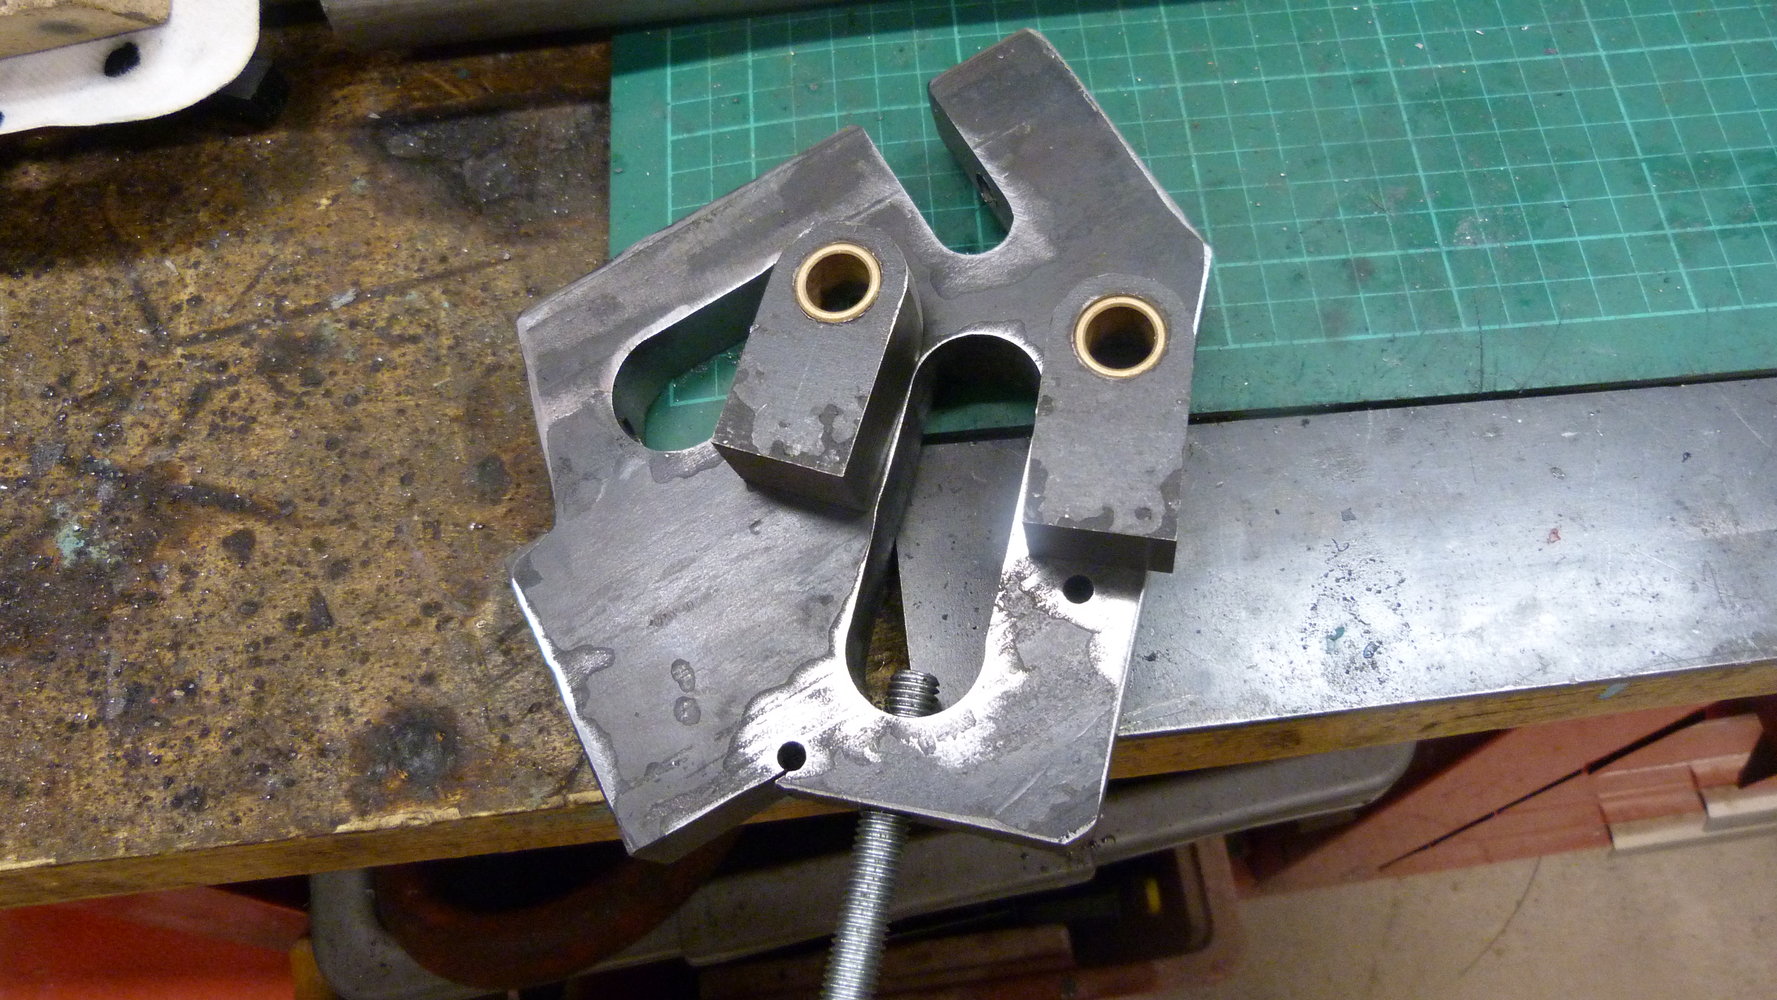
"Space invader"
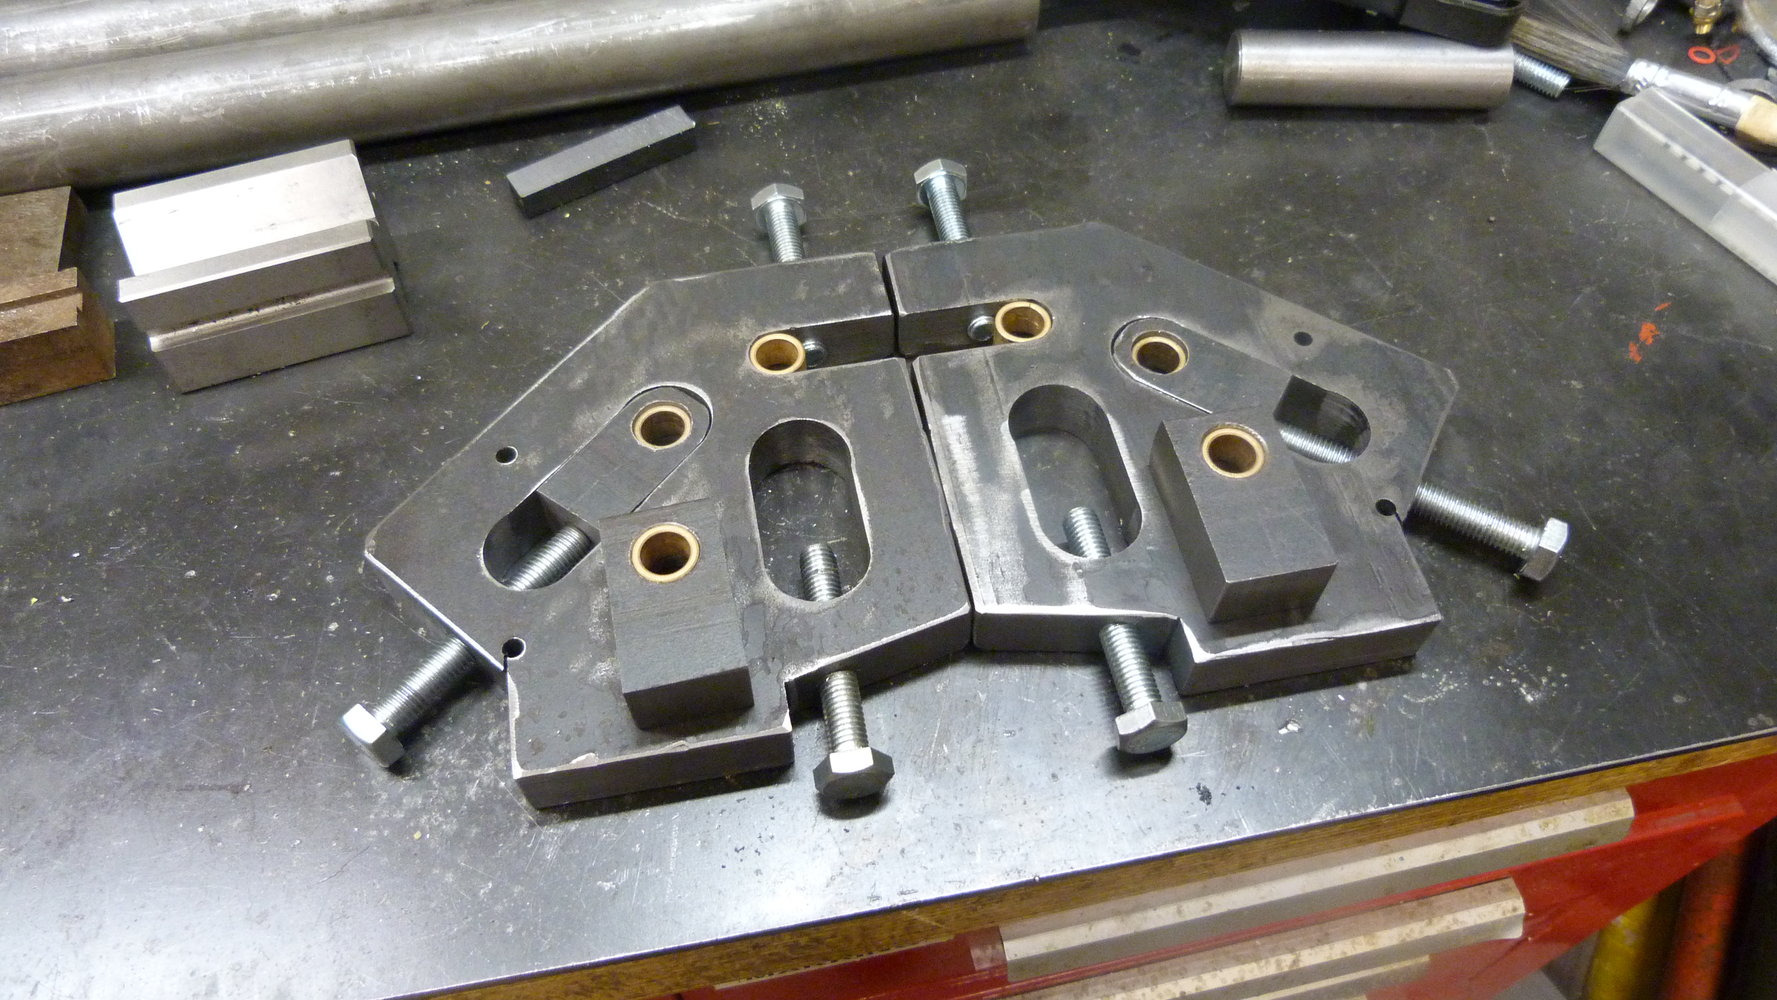
I was quite pleased with the bit below.
I needed the two retaining pieces to fill the slots keeping the top oilite bearings in place. I thought about cutting more 20mm thick plate in the bandsaw and drilling 16mm diameter holes for a radius end but I didn't really want to go there. Anything to do with 20mm plate is a lot of effort.
Instead I used a facemill to mill two flats on 19mm round bar to bring the height down to 16mm-ish and then cut a notch with an end mill. So much quicker.
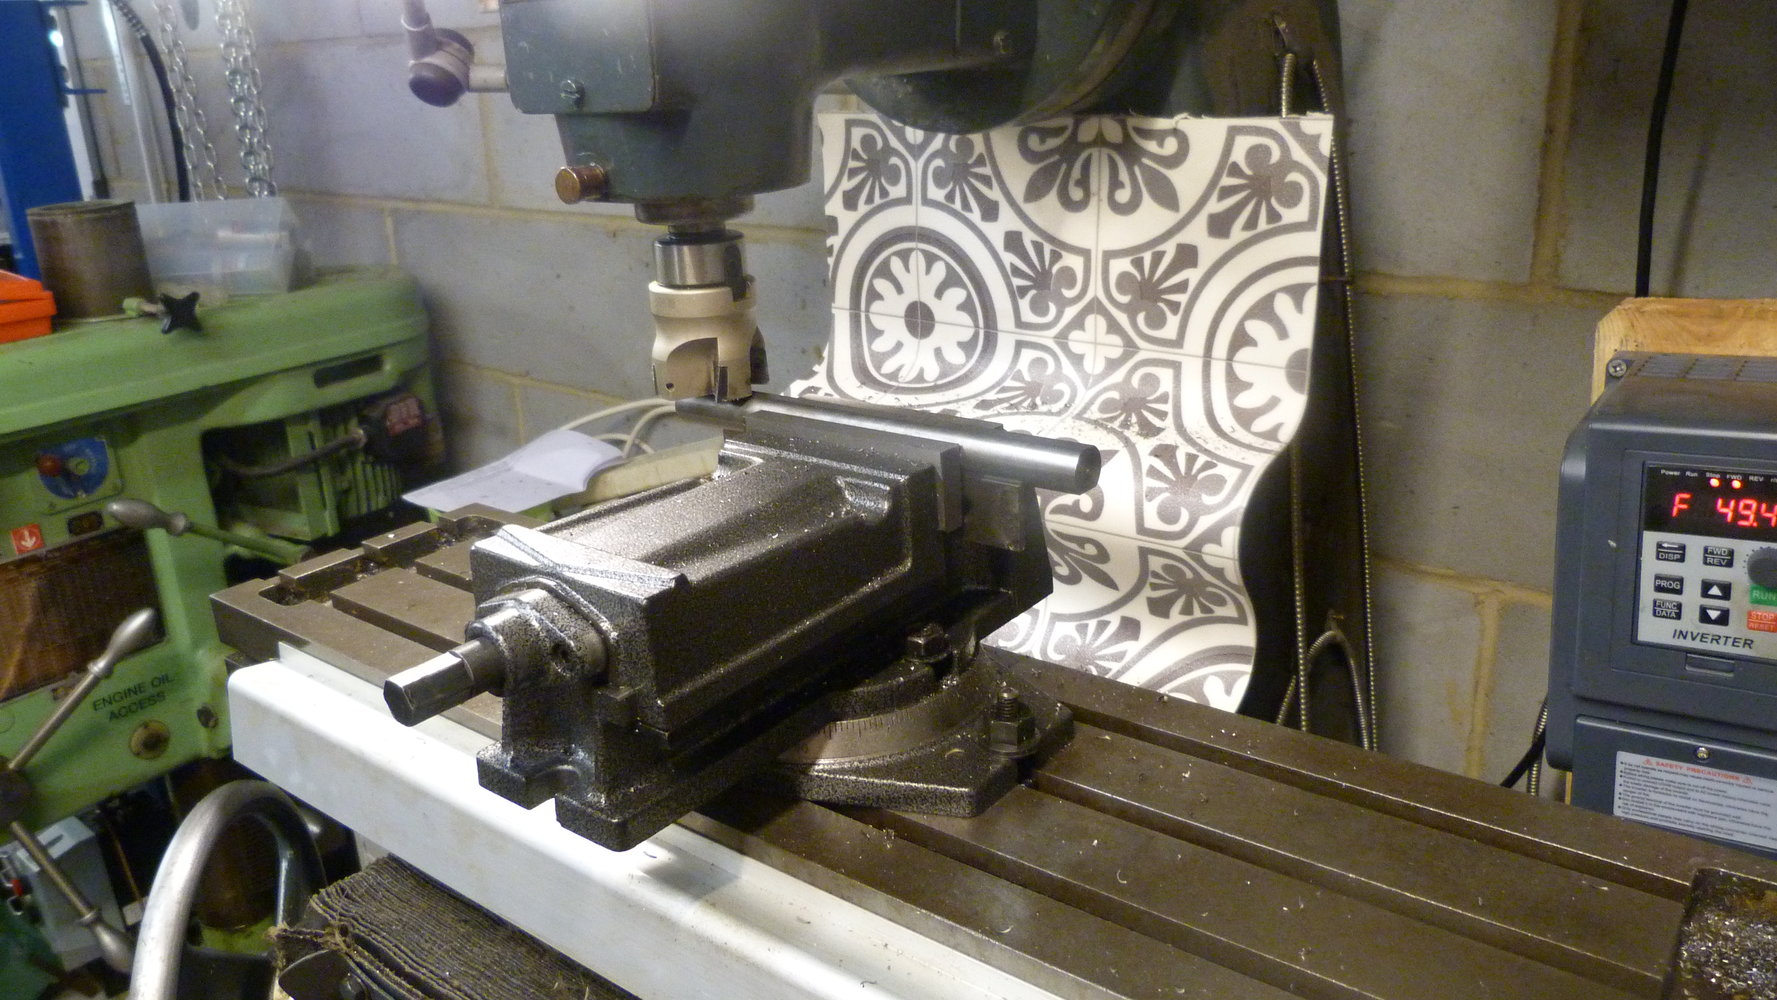
Improvised way cover. Makes Hoovering up easier.
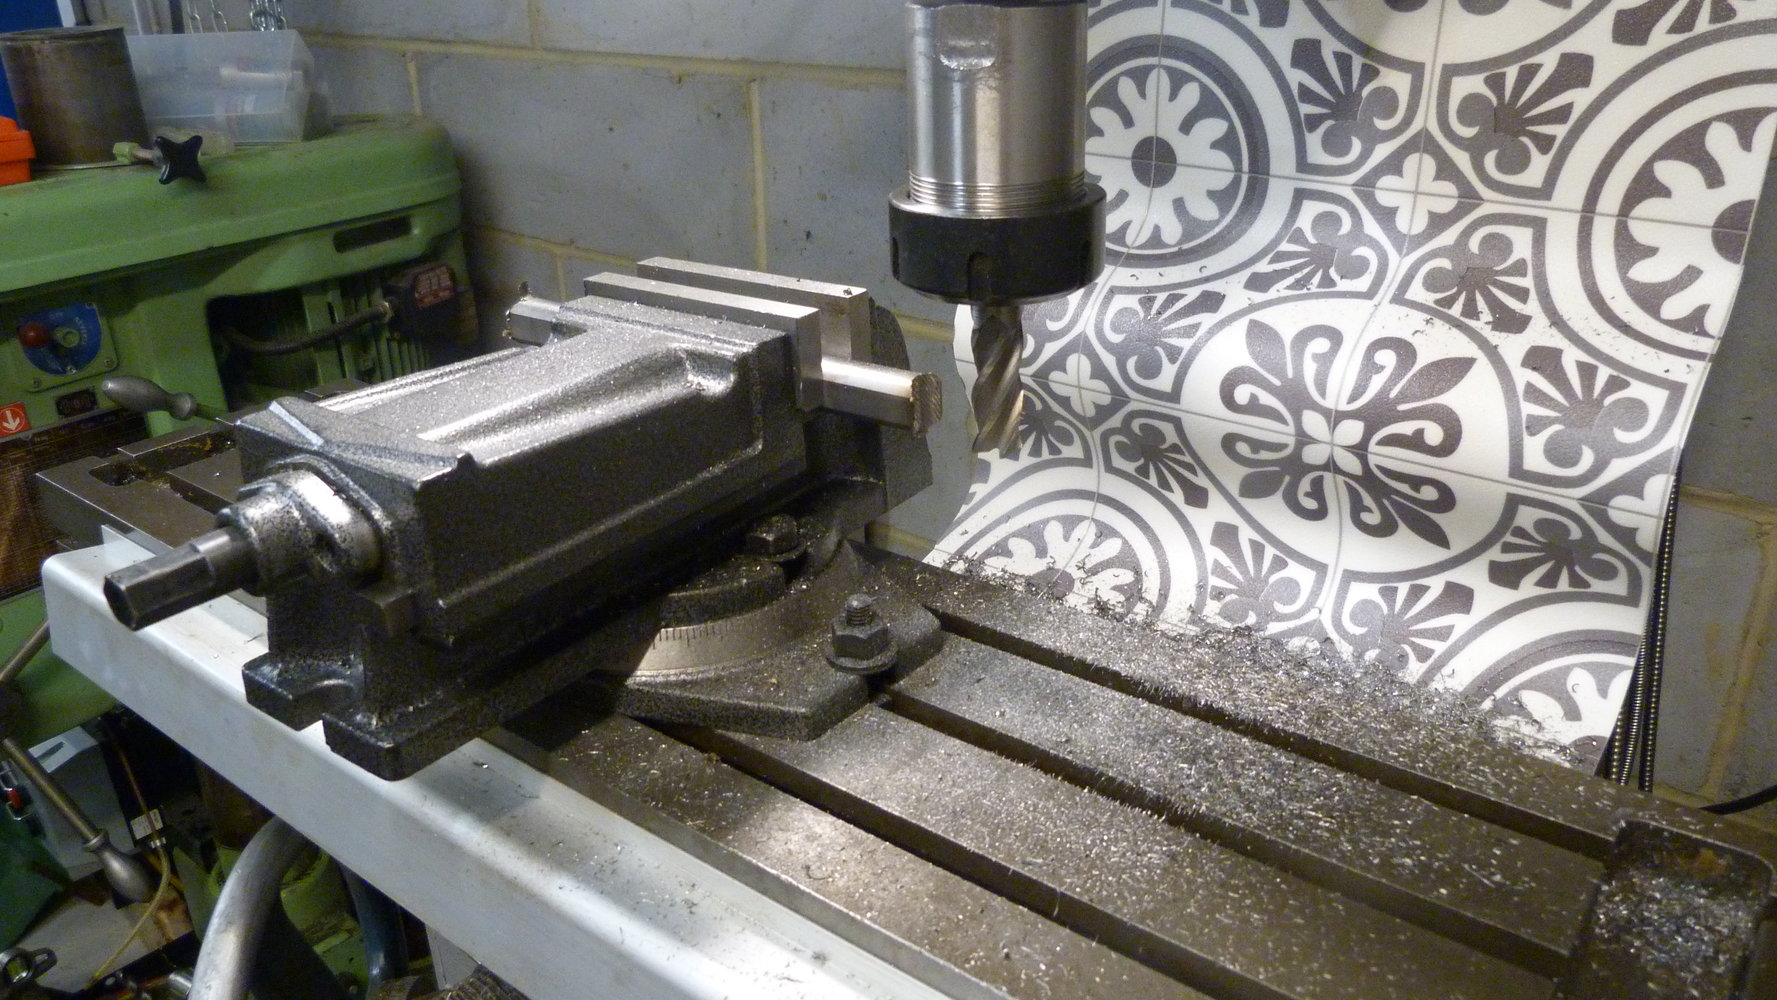
Pretty pattern left by the milling cutter. The pattern isn't sharp in the slightest. Might help grip the bush. Possibly an indicator of shoddy milling?
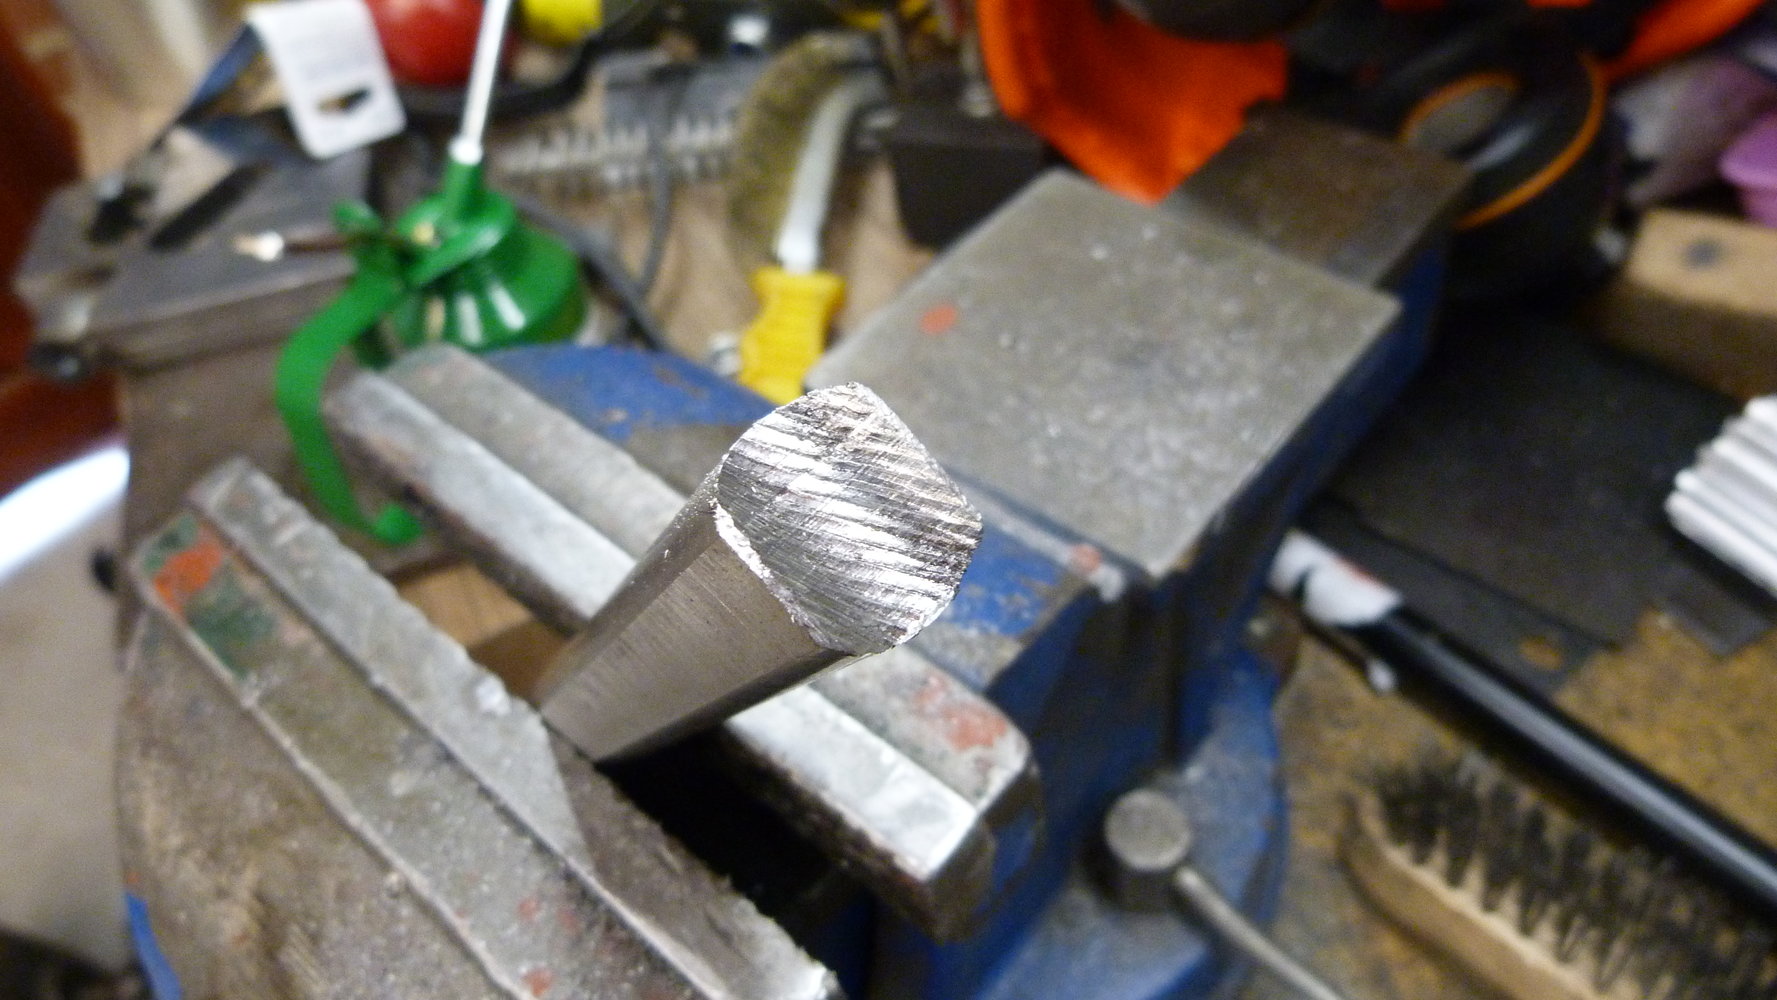
I've also drilled and tapped two further holes in the top, you can see the one on the right peeking out. As it turned out the original holes were ok. The top screws don't crush the top bushes with the retainers in place. The bolts should get replaced with something more appropriate later. I'll drill locating holes in the retainers and put the screws in the lathe to remove the bottom threads so they don't get squashed and jam in the frames.
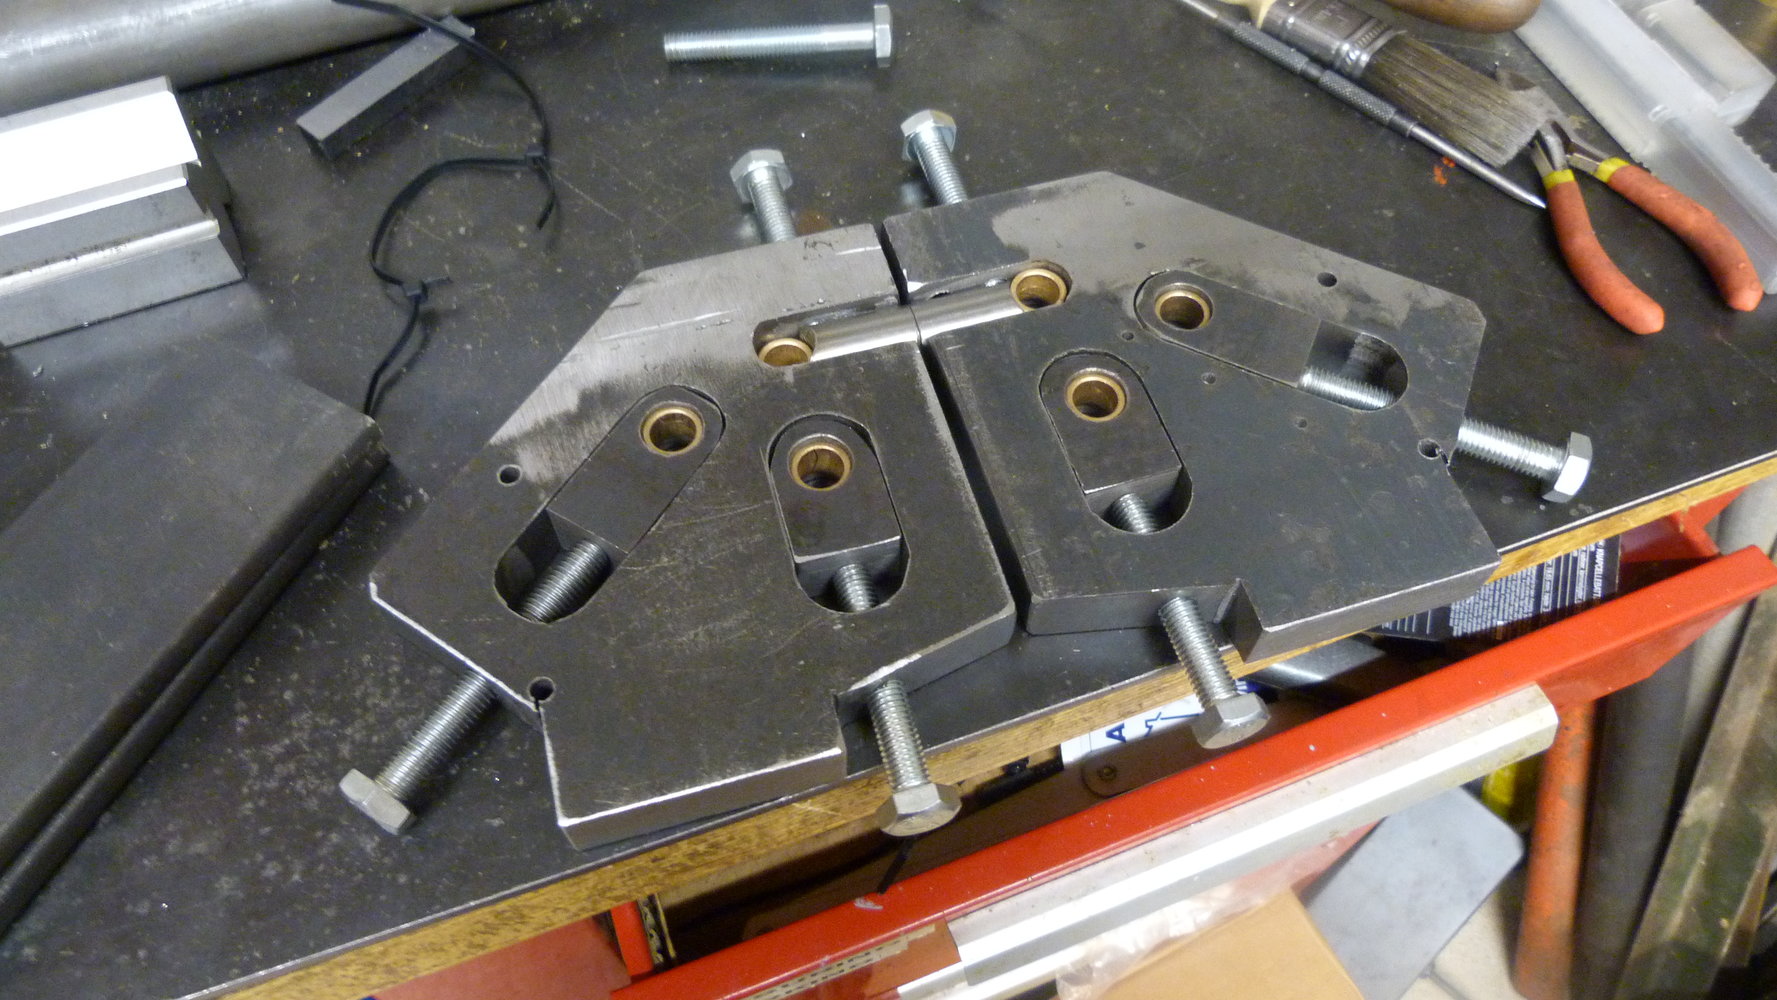
Weight reduction in the bandsaw.
Finished the cut with the hacksaw as there wasn't enough clearance in the bandsaw.
First bearing carriers. The round ends were done by eye with a flap disc and hand file. I got a little better as I went along . They aren't a close fit in the ends as the drilled ends have a slightly wider diameter than the slots as I was a bit conservative when milling the slots. Not a big deal really as the parallel sides locate the bearing and the carriers don't go to the end as there will be material between the rollers giving a gap. The holes could be a little more central on some of them. They might get remade.
"Shock and surprise!"
"Space invader"
I was quite pleased with the bit below.
I needed the two retaining pieces to fill the slots keeping the top oilite bearings in place. I thought about cutting more 20mm thick plate in the bandsaw and drilling 16mm diameter holes for a radius end but I didn't really want to go there. Anything to do with 20mm plate is a lot of effort.
Instead I used a facemill to mill two flats on 19mm round bar to bring the height down to 16mm-ish and then cut a notch with an end mill. So much quicker.
Improvised way cover. Makes Hoovering up easier.
Pretty pattern left by the milling cutter. The pattern isn't sharp in the slightest. Might help grip the bush. Possibly an indicator of shoddy milling?
I've also drilled and tapped two further holes in the top, you can see the one on the right peeking out. As it turned out the original holes were ok. The top screws don't crush the top bushes with the retainers in place. The bolts should get replaced with something more appropriate later. I'll drill locating holes in the retainers and put the screws in the lathe to remove the bottom threads so they don't get squashed and jam in the frames.
Last edited:
Drilled holes have been welded up. I also tried filling the shallow holes with brazing wire but unfortunately they didn't "pop".
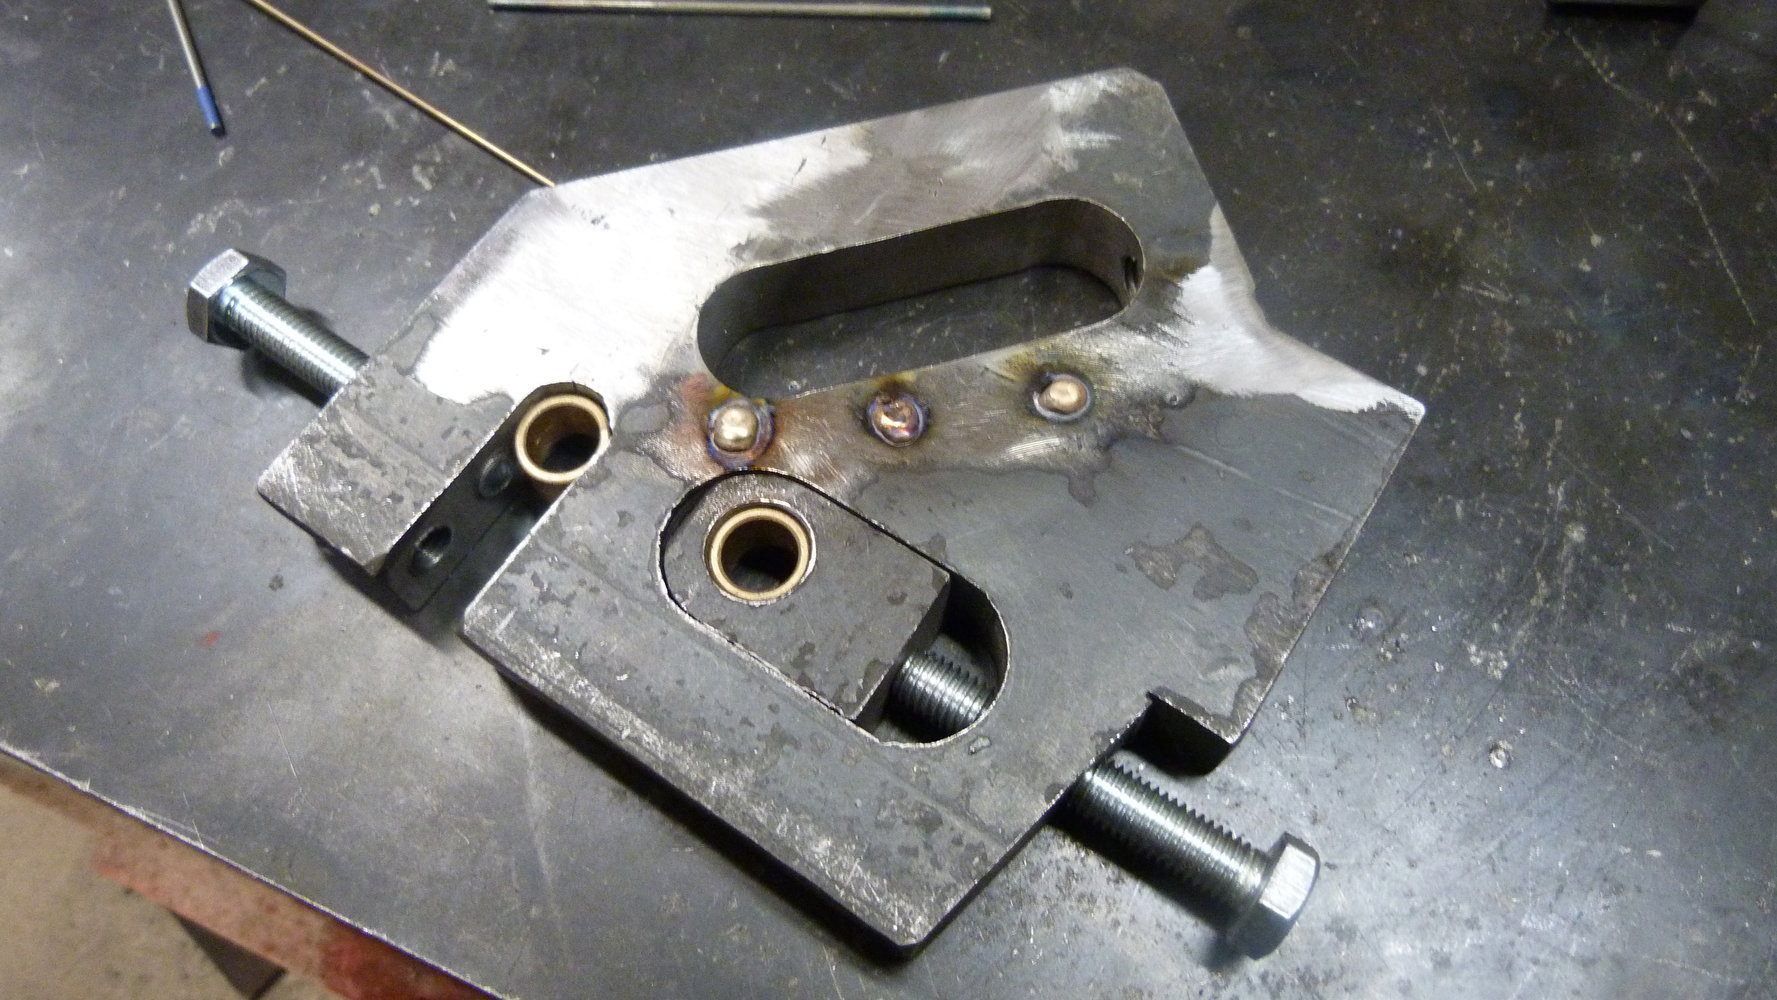
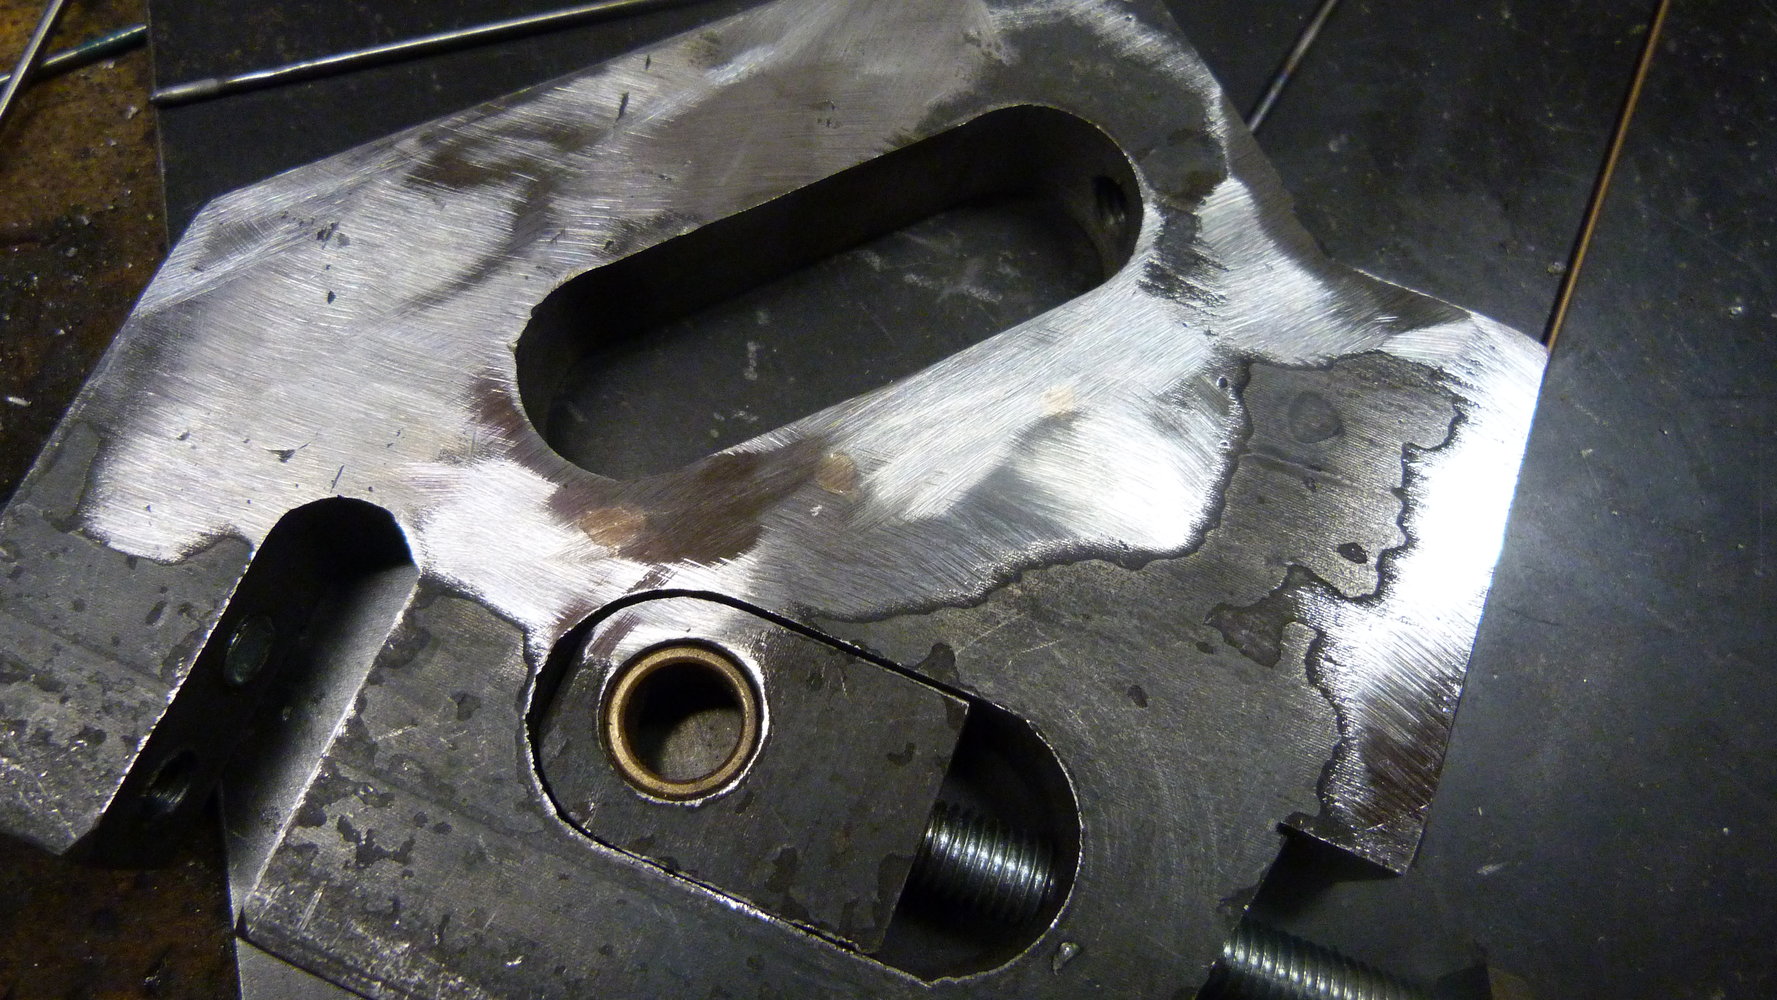
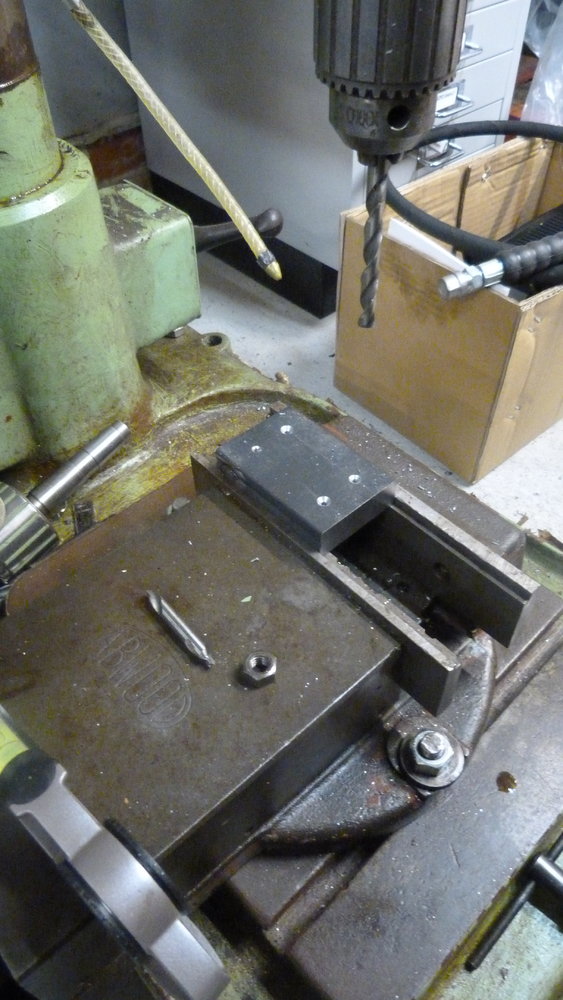
Two more plates welded on top of each other and marked out for feet.
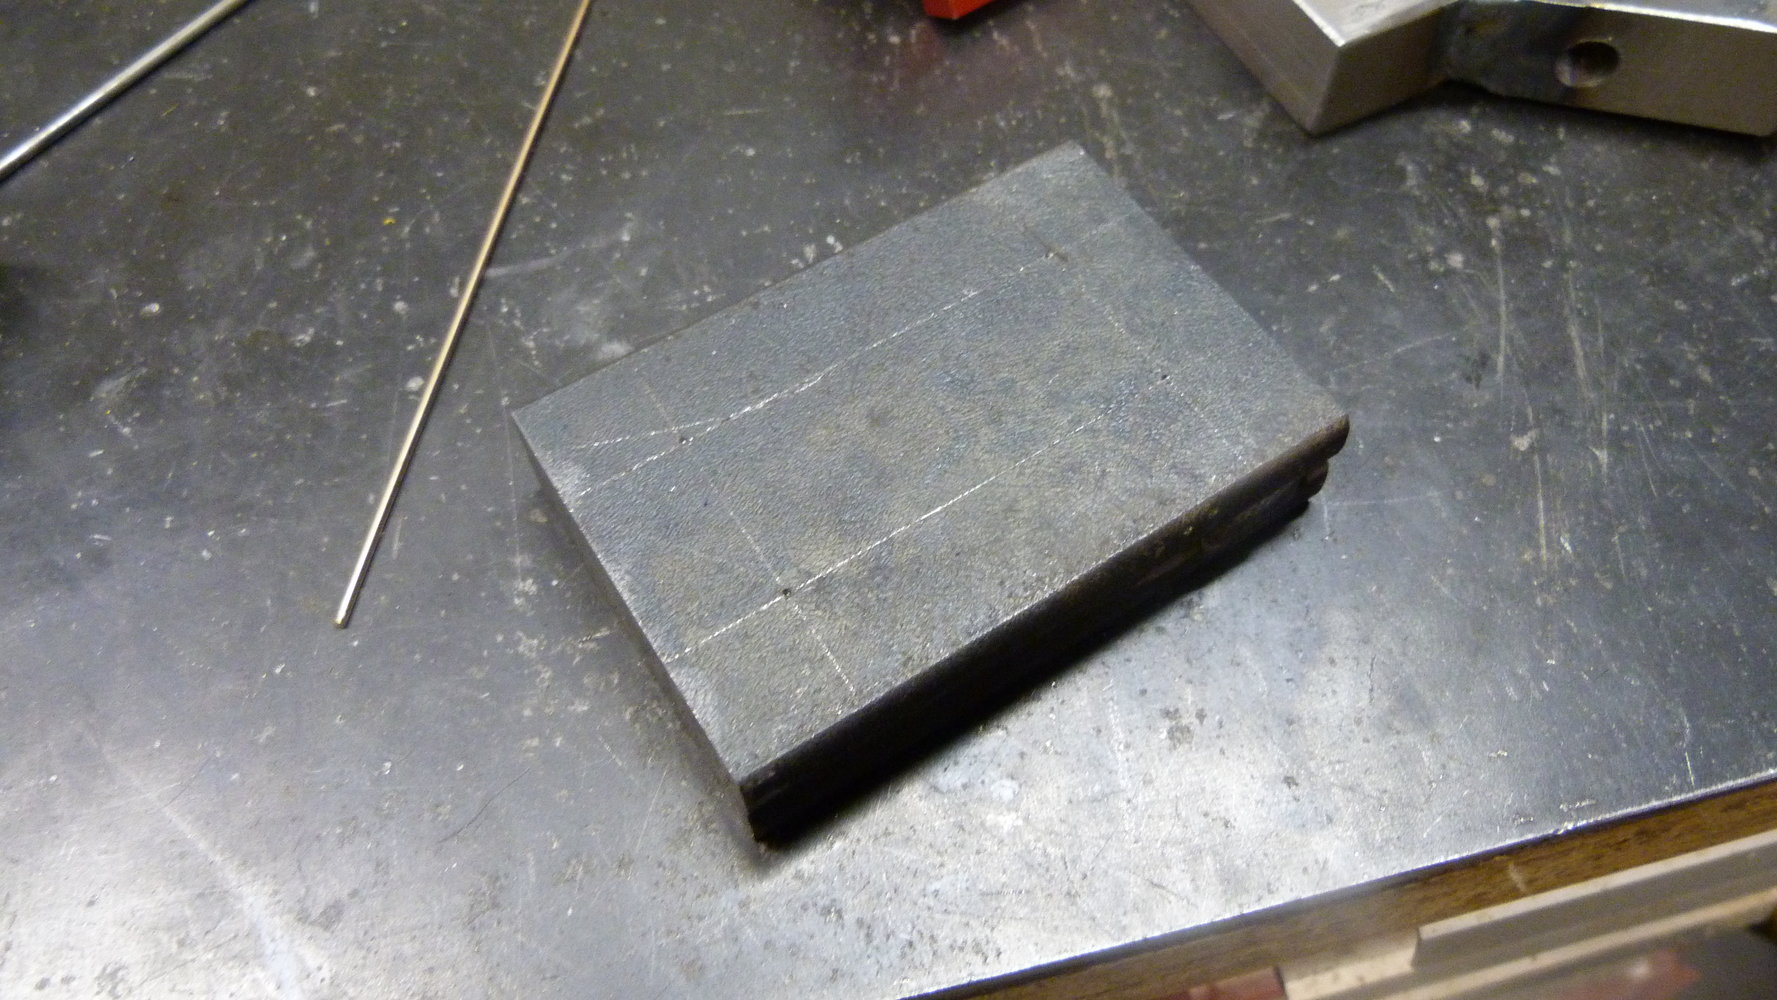
Everything was sufficiently parallel and symmetrical that I could just flip the workpiece in the vice without losing my X axis.
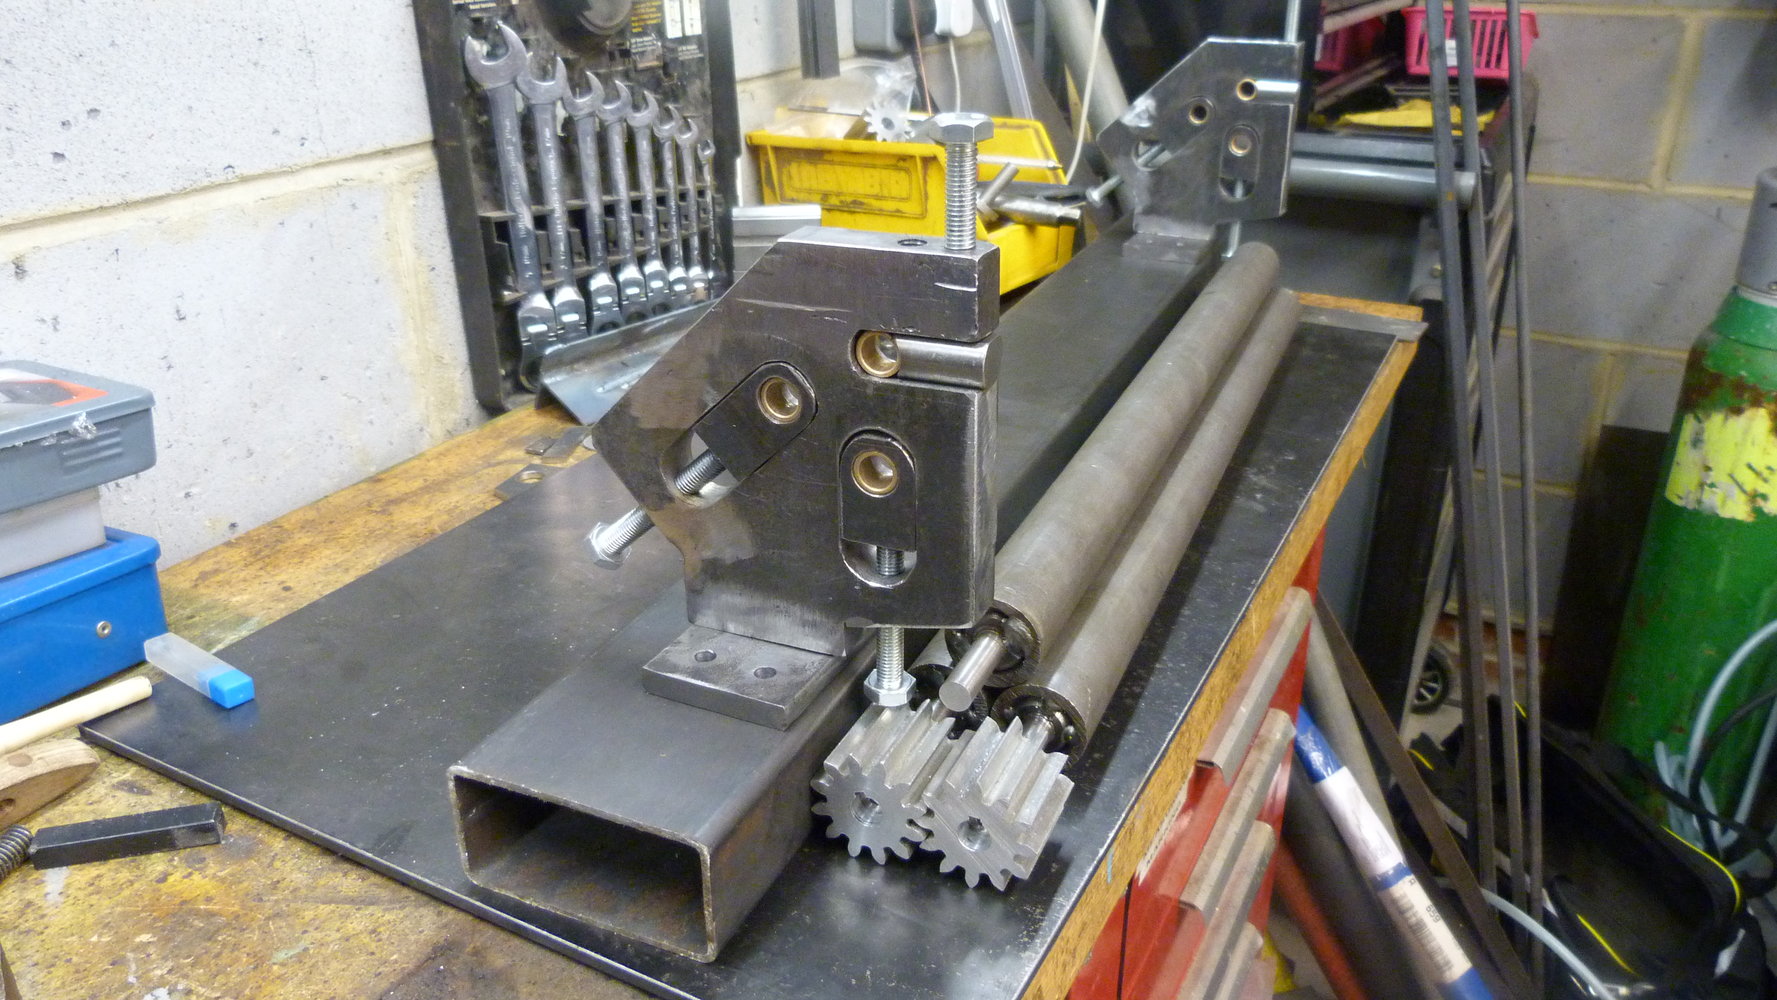
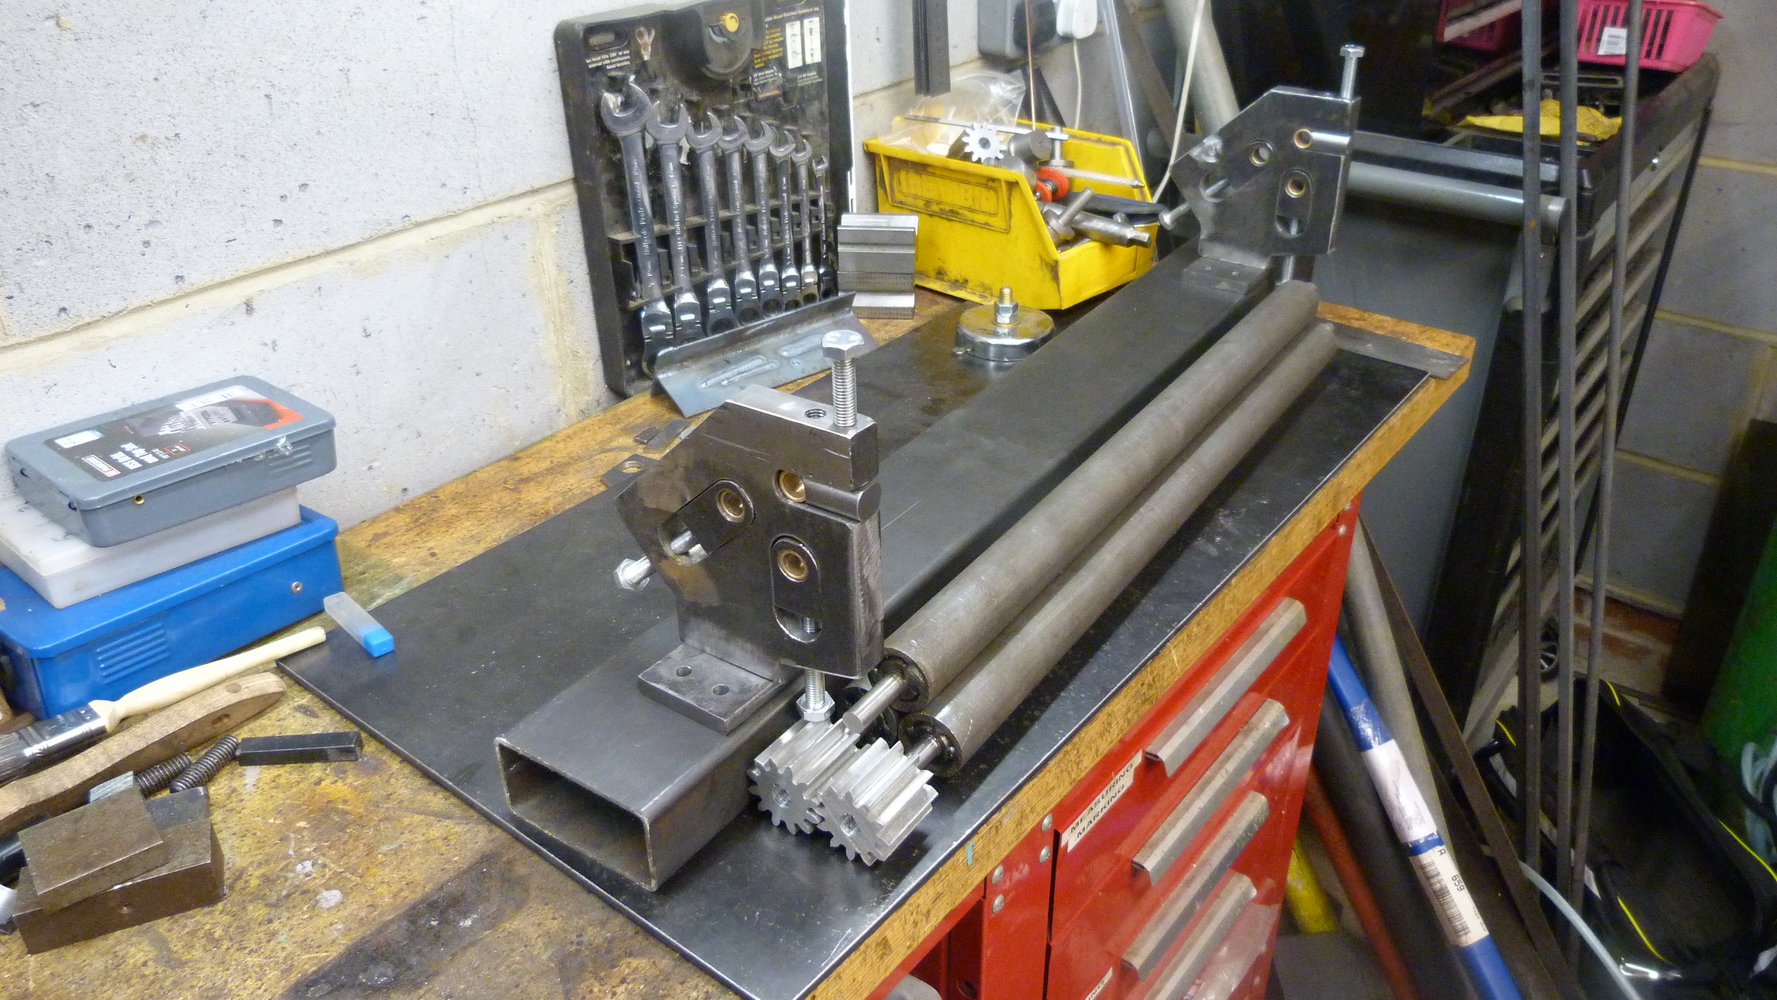
I've had a couple of offcuts of 100mm by 50mm box knocking around the garage for a while so it will be good to make some use from it. A slight clearance issue discovered with the bottom front screws but my bolt holes in the plates are far enough back that it should be fine, if a little forward heavy. I still need to make a handle and ensure it clears. Also a bit of marking out, drilling and welding to do. The rollers need welding up properly but I need to see how concentric everything is and check for run out issues first before I do that.
Two more plates welded on top of each other and marked out for feet.
Everything was sufficiently parallel and symmetrical that I could just flip the workpiece in the vice without losing my X axis.
I've had a couple of offcuts of 100mm by 50mm box knocking around the garage for a while so it will be good to make some use from it. A slight clearance issue discovered with the bottom front screws but my bolt holes in the plates are far enough back that it should be fine, if a little forward heavy. I still need to make a handle and ensure it clears. Also a bit of marking out, drilling and welding to do. The rollers need welding up properly but I need to see how concentric everything is and check for run out issues first before I do that.
Last edited:


