RaceDiagnostics
Forum Supporter
- Messages
- 3,278
Some measurements today.
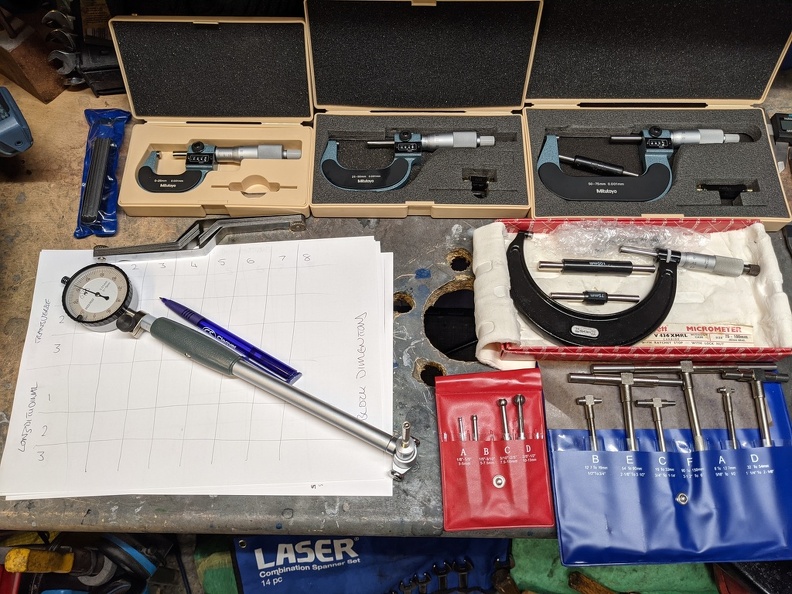
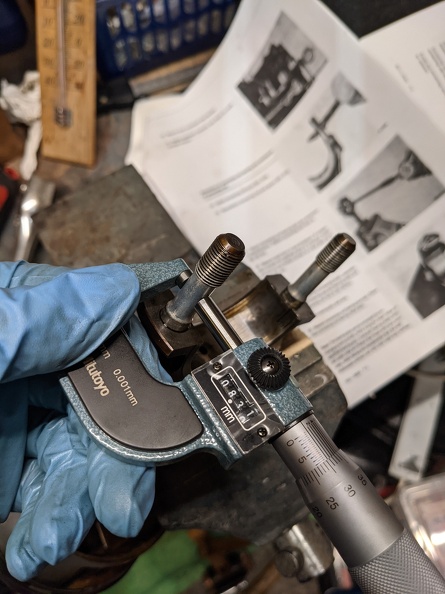
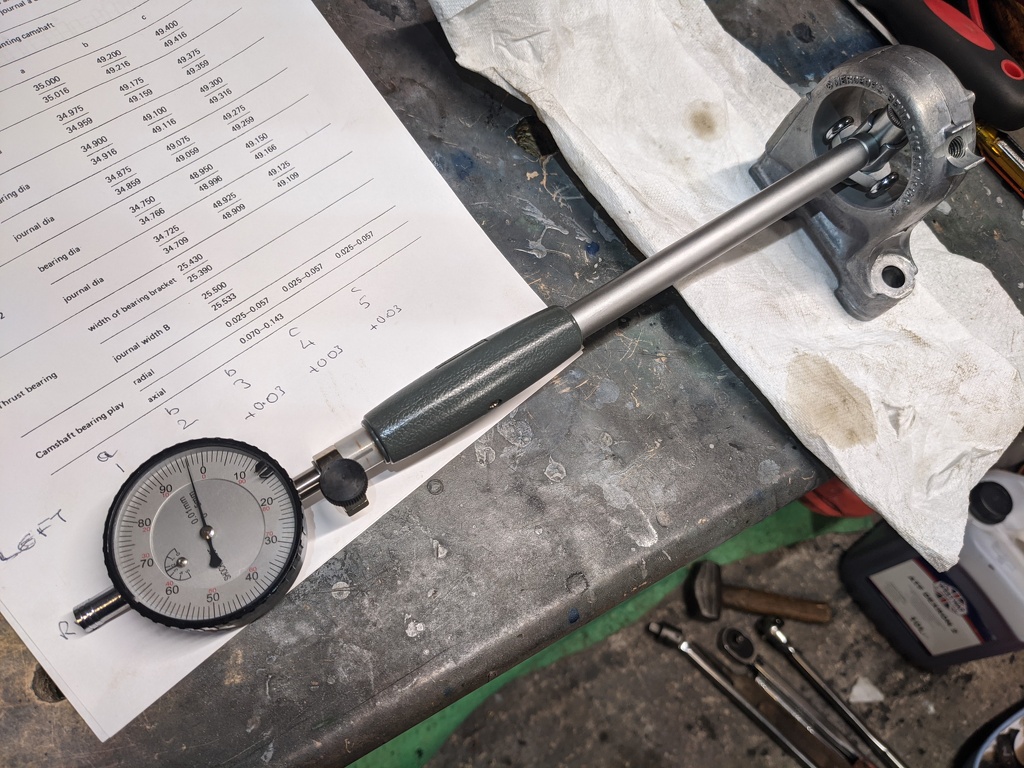
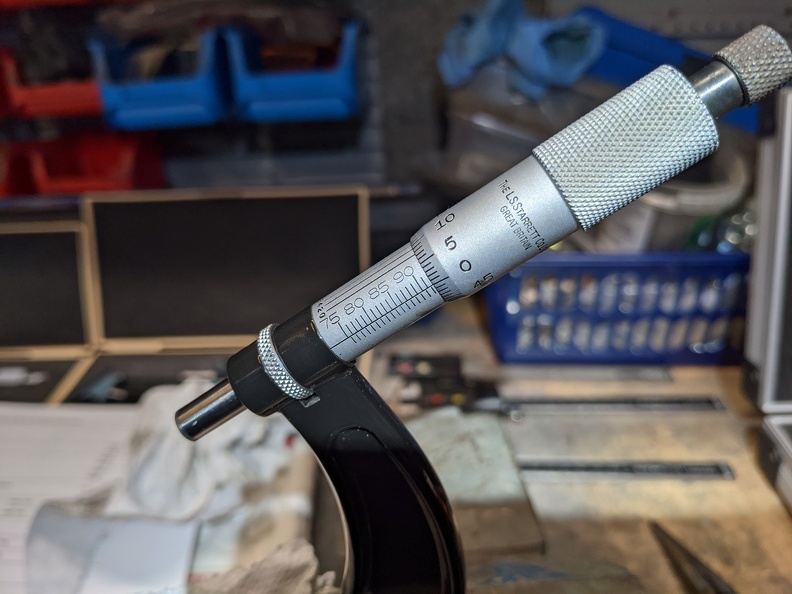
Micrometer set to 92mm.
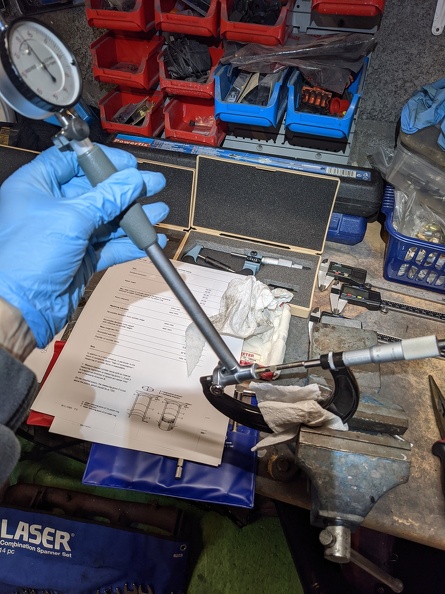
Bore gauge set to zero in the micrometer.
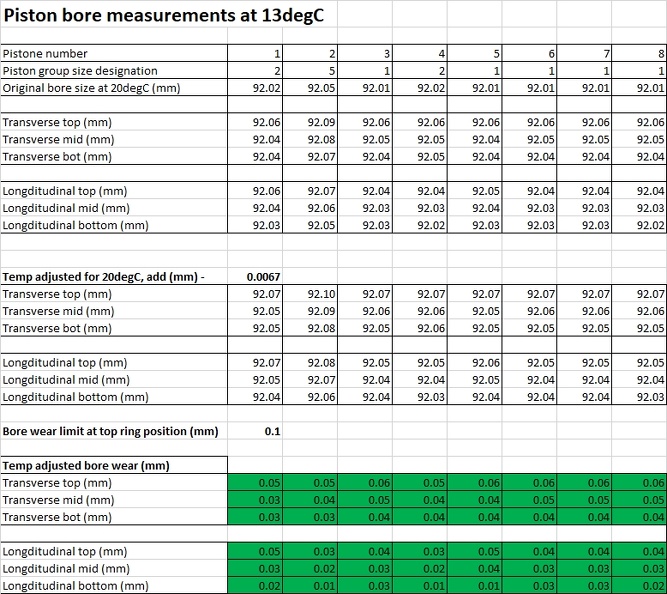
These are the measured values at the top, middle and bottom of the bores in both the transverse and longitudinal directions. The measurements were taken at 13degC rather than the specifications which are probably taken at 20degC.
I have made an estimate of the for the likely values at 20degC but am not sure how accurate this is given the micrometre is also calibrated for 20degC.
Let me know if you think I should use a different value for cast iron.
The bore wear limit is 0.1mm just below the top ring, so it looks like I am well below this limit across all cylinders.
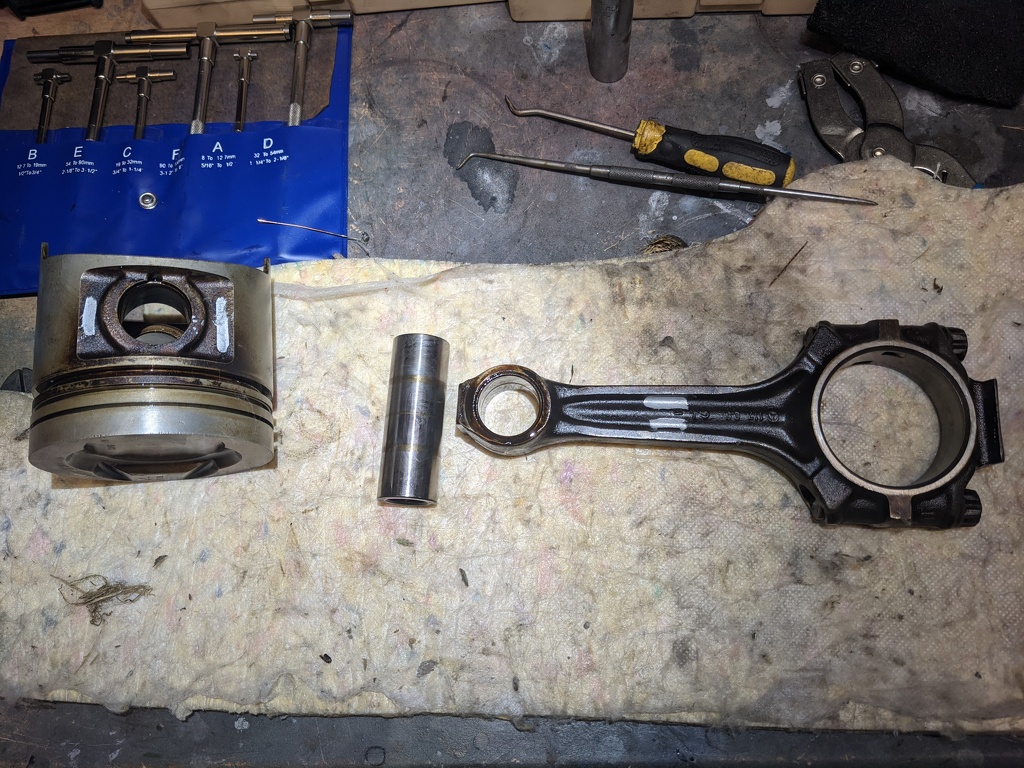
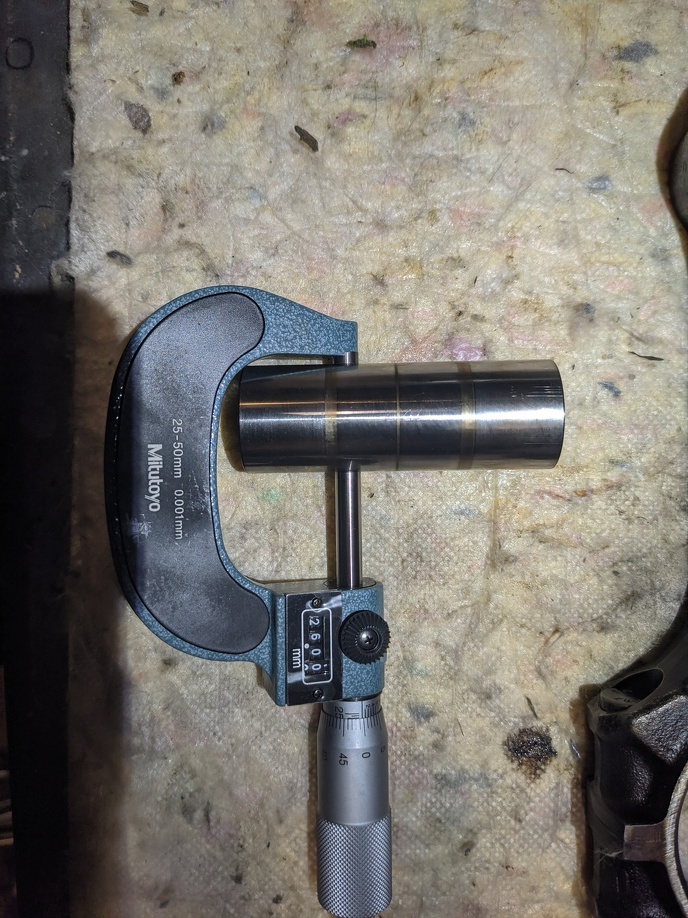
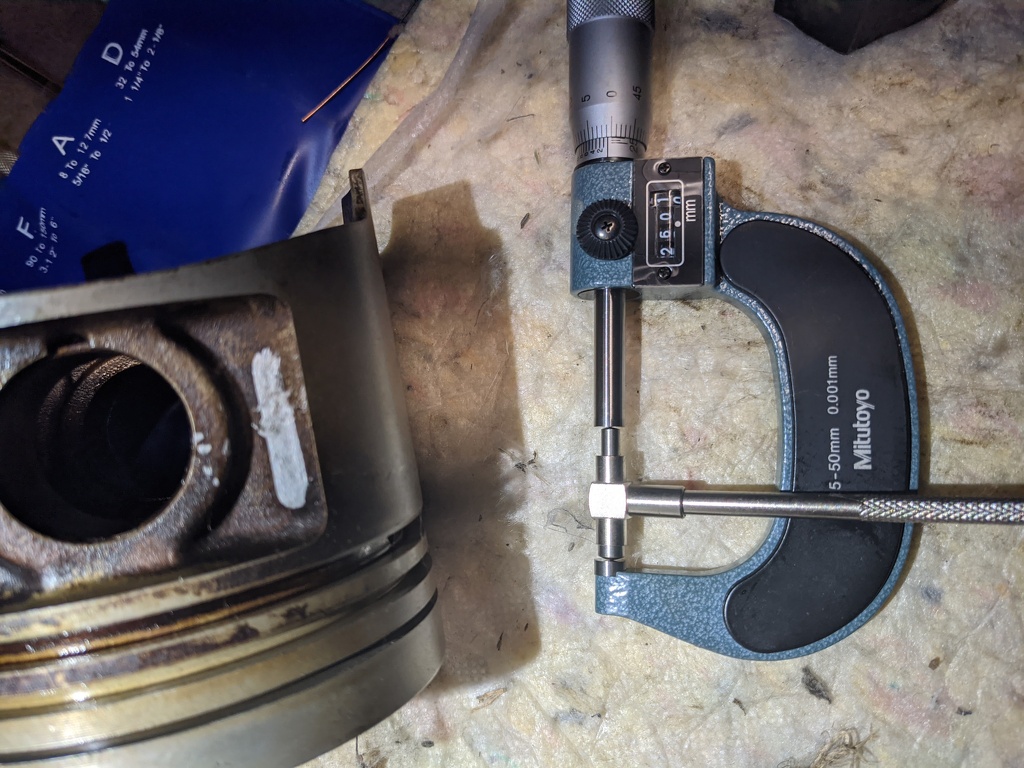
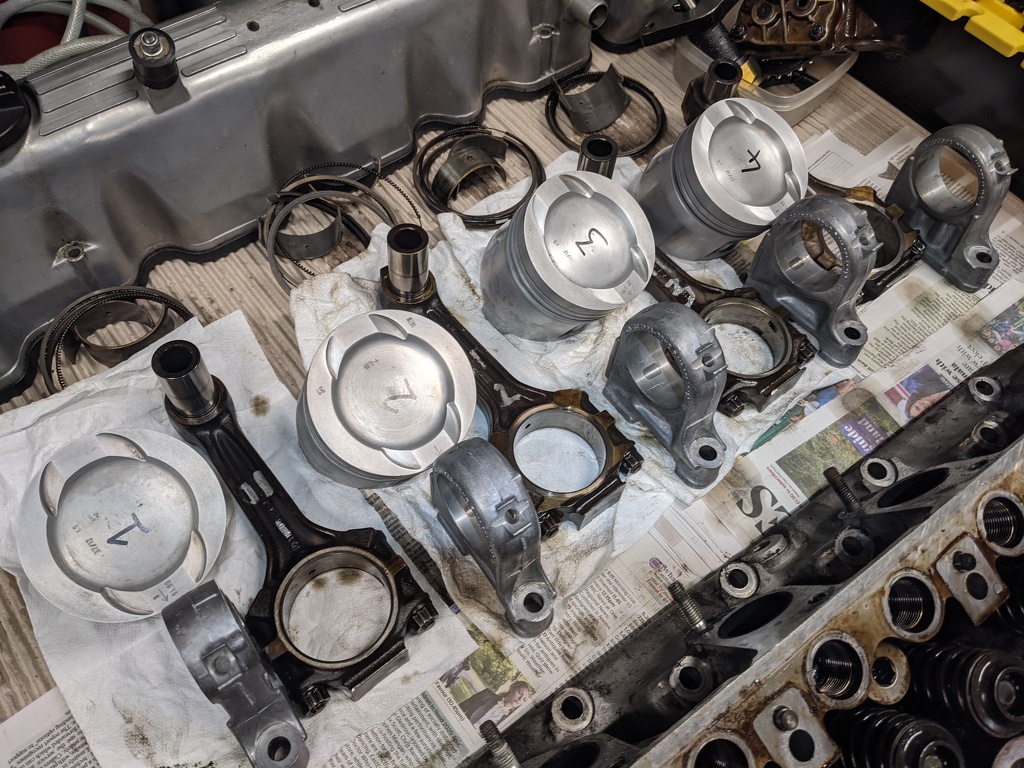
As for the pistons, the measurements are below. I was really surprised how much under the spec value they were, so I brought one into the house tonight to make a comparative measurement at 20degC and found the piston skirt on piston 1 was 0.025mm larger than at 13degC so used that value to adjust all the values. As the pistons are tapered, the bottom of the skirt measurements are the only ones that really make any sense.
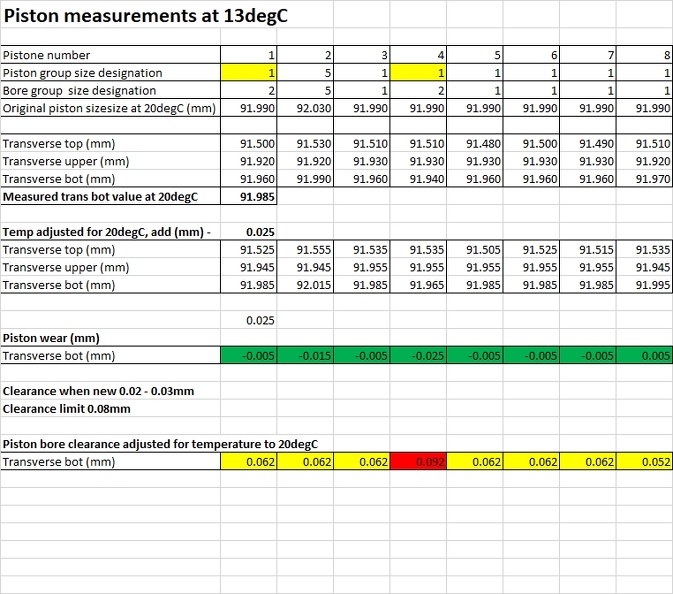
So the bottom line of what I was wanting to check was the piston-bore clearance which has a spec limit of 0.08mm. From the table above you can see that piston 4 is the only one out of spec. However I am not really convinced that my measuring methodology is good enough.
It is also a PITA that the factory fitted the wrong pistons in positions 1 and 4, the marking on the block calls for piston code "2" and piston code "1" was actually fitted, that adds to the excess clearance.
Given standard size pistons in any group size are no longer available, fitting a larger group size piston is not an option.
Boring out the block to use the first repair stage pistons (92.5mm) would cost at least £1200 for the aftermarket pistons and machine work, for me I don't think it's worth it for one marginal cylinder.
What are your thoughts, please also offer any advice on my calculations.

Micrometer set to 92mm.

Bore gauge set to zero in the micrometer.

These are the measured values at the top, middle and bottom of the bores in both the transverse and longitudinal directions. The measurements were taken at 13degC rather than the specifications which are probably taken at 20degC.
I have made an estimate of the for the likely values at 20degC but am not sure how accurate this is given the micrometre is also calibrated for 20degC.
Let me know if you think I should use a different value for cast iron.
The bore wear limit is 0.1mm just below the top ring, so it looks like I am well below this limit across all cylinders.

As for the pistons, the measurements are below. I was really surprised how much under the spec value they were, so I brought one into the house tonight to make a comparative measurement at 20degC and found the piston skirt on piston 1 was 0.025mm larger than at 13degC so used that value to adjust all the values. As the pistons are tapered, the bottom of the skirt measurements are the only ones that really make any sense.

So the bottom line of what I was wanting to check was the piston-bore clearance which has a spec limit of 0.08mm. From the table above you can see that piston 4 is the only one out of spec. However I am not really convinced that my measuring methodology is good enough.
It is also a PITA that the factory fitted the wrong pistons in positions 1 and 4, the marking on the block calls for piston code "2" and piston code "1" was actually fitted, that adds to the excess clearance.
Given standard size pistons in any group size are no longer available, fitting a larger group size piston is not an option.
Boring out the block to use the first repair stage pistons (92.5mm) would cost at least £1200 for the aftermarket pistons and machine work, for me I don't think it's worth it for one marginal cylinder.
What are your thoughts, please also offer any advice on my calculations.


 Fantastic job

