slim_boy_fat
Member
- Messages
- 29,540
- Location
- Scottish Highlands
Bet you still get it wrong.
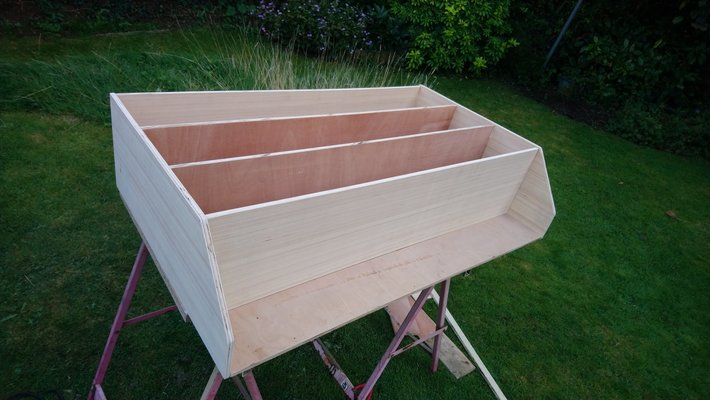
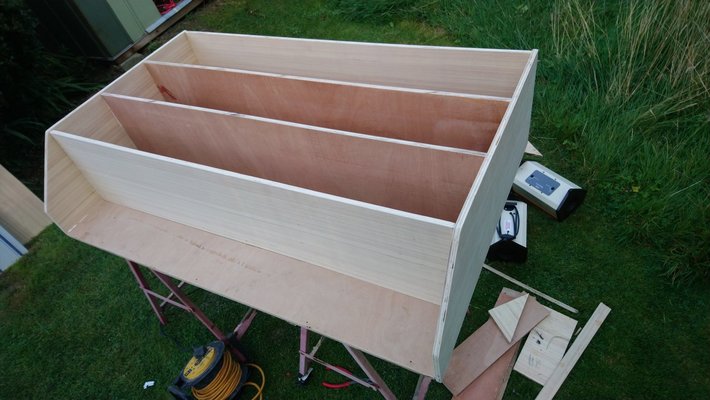
 Doors will be panel doors, and drawers will be solid, a variation on shaker style I guess, all quarter sawn oak, but I need to make up a sample first to make sure the kitchen isn't "too brown"


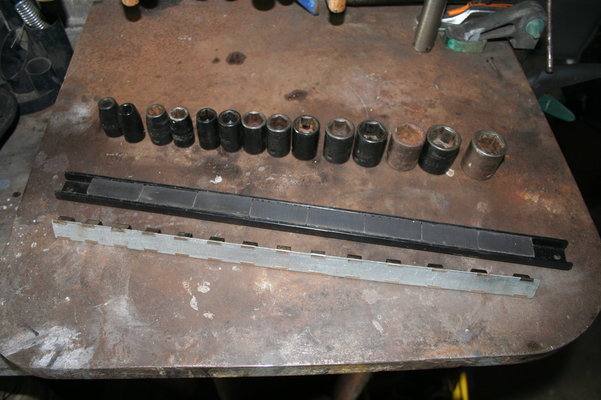
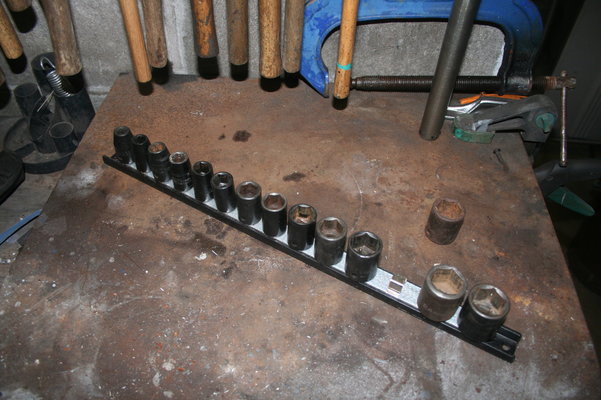
A good few tool companies now offer tools colour coded for size,
View attachment 190699
No I don't think they're standardised, each manufacturer uses their own colours. Two colours would be enough, all the odd numbers one colour and all the even numbers a different colour.I haven't noticed, but is the colour coding standardised between makers?
In the case of Wera, they're not even standard across their own tools.I haven't noticed, but is the colour coding standardised between makers?
 Looks pretty though.
Dunno about everyone else but I can look at a spanner and tell what size it is with a very high success rate.
Dunno about everyone else but I can look at a spanner and tell what size it is with a very high success rate.
Another few days of passing my knowledge onto others.
I don't have a lesson plan, we do stuff as I acquire them and how the others feel.
View attachment 190616
As it arrived.
Leaking, semi seized. Made from alloy and brass. Plus a disgusting modern hose fitting.
View attachment 190618
How we finished it.
The advice I passed on was:
How to free off sized items.
How to polish brass.
How to use rattle cans.
How to re seal with new seals and not miles of PTFE.
So.
View attachment 190617
A mix of metals, and paint.
So, using the information from the last one.
View attachment 190619
Lessons learned.
Bad paint prep leads to a bad finish. The body was painted 3 times.
Sometimes, you have to admit you will do more damaged trying to remove a part. The hose tail is at this time stuck in place.
Plus, it may look complete, but it way not be. So a lesson on sourcing parts. This was an eye opener to one member that a certain orange fronted Diy.com store can be a lot Jabberwocky.
View attachment 190623
So, we moved on, well it was going on at the same time, something what can be used. SIF 1942 Egg Beater drill.
View attachment 190621
Lessons.
not all finishes have to be paint. The body and chuck have been chemically blackened. H&S lesson. my Shed my rules.
Masking tape, not all are the same. Even in the same pack of 3.
Just because it was repaired using nails. You can replace them with the correct pins and in the case of the handle, glue.
View attachment 190620
There was an introduction to thread locking compounds.
My Fun.
View attachment 190629
A german Storm Lantern.
Easy to strip down, Hot citric acid bath.
View attachment 190624
Replacement wick, again new old stock. Then dipped into plating tank, it looks good.
This is the biggest item I have pated. I wanted to see if the finish will last and that I got the method right.
View attachment 190622
The last image is to point out, as I was accused off, recycling old jobs or using someone else's work.
My 2 storm lanterns.
If the member wants to question me again I will post an image he wants, if not he can go and......
What did you use to blacken the drill? Been investigating this recently, have a part to do.
Dunno about everyone else but I can look at a spanner and tell what size it is with a very high success rate.


Forgot to post the in situ picsView attachment 190469
Eek. Looks massive now it's inside.
Not looking forward to negotiating the stairs tomorrow.
Made a deal with my 7yo.
He's helping to clear all the nasty new Star wars toys and the vintage micro machine sets and there all going on eBay.
Funds raised will be spent on Lego Technics. He's been building gears and linkages all week and chomping at the bit for a decent set.


