You are using an out of date browser. It may not display this or other websites correctly.
You should upgrade or use an alternative browser.
You should upgrade or use an alternative browser.
Stuff you have made today
- Thread starter God mode restorations
- Start date
Very nice job. One of my first "keep myself busy" jobs when I took early retirement was a couple of handy sized anvils from railway line. I did the bulk of the work in the 6x4 saw and after blunting my end mills I rigged up a flycutter with indexable inserts that worked really well. I made some videos too. Mart.Just started doing the bodywork on a vintage Austin of mine that needs a fair bit of panel repair. With this in mind I've just finished making a small Anvil out of a chunk of railway line. I have a full size anvil, but it's weight isn't necessary for panel work, and it's not particularly near where I'll be working on the car.
This piece of rail was my 'share' for using my Donkey saw to chop a fair length of this line into useful lengths for a mate of a mate. I milled the top flat ages ago, Used a couple of edges of decent carbide inserts doing that; I should have realised that the rail was tough material as 5 or 6 cuts of the rail shagged a near new HSS blade in my donkey saw.
Roughed out the shape of a 'beak' with a 9" angle grinder. then used a holesaw to create the radius of the cutaway under the beak.
View attachment 271692
Then created the cutaway and finish machined the beak. Oddly, it was easier to machine this really tough material with a positive rake cutter, although the finish wasn't as good as I got with negative rake tooling.
View attachment 271693
Did a bit of polishing on the working faces once I'd done with the machining.
View attachment 271694
View attachment 271695
The polishing isn't just there to make it look nice. Some years ago, when I commented on the mirror like faces on the otherwise really well used hammers and dollies that an elderly panel beater was using, he said to me "you'll never get a better finish on a panel than you have on the tools you're using" all I need now is his 30 something years of experience and the job will be good 'un...
brightspark
Member
- Messages
- 40,389
- Location
- yarm stockton on tees
Just started doing the bodywork on a vintage Austin of mine that needs a fair bit of panel repair. With this in mind I've just finished making a small Anvil out of a chunk of railway line. I have a full size anvil, but it's weight isn't necessary for panel work, and it's not particularly near where I'll be working on the car.
This piece of rail was my 'share' for using my Donkey saw to chop a fair length of this line into useful lengths for a mate of a mate. I milled the top flat ages ago, Used a couple of edges of decent carbide inserts doing that; I should have realised that the rail was tough material as 5 or 6 cuts of the rail shagged a near new HSS blade in my donkey saw.
Roughed out the shape of a 'beak' with a 9" angle grinder. then used a holesaw to create the radius of the cutaway under the beak.
View attachment 271692
Then created the cutaway and finish machined the beak. Oddly, it was easier to machine this really tough material with a positive rake cutter, although the finish wasn't as good as I got with negative rake tooling.
View attachment 271693
Did a bit of polishing on the working faces once I'd done with the machining.
View attachment 271694
View attachment 271695
The polishing isn't just there to make it look nice. Some years ago, when I commented on the mirror like faces on the otherwise really well used hammers and dollies that an elderly panel beater was using, he said to me "you'll never get a better finish on a panel than you have on the tools you're using" all I need now is his 30 something years of experience and the job will be good 'un...you knacked a hss blade on the donkeysaw but drilled a hole with a holesaw
probably didnt use cutting compound on the donkey saw

Stueeee
Old git
- Messages
- 1,051
- Location
- N W Kent
Brightspark said: "you knacked a hss blade on the donkeysaw but drilled a hole with a holesaw  probably didnt use cutting compound on the donkey saw
  "
"
@brightspark No nit unpicked! that is the second holesaw in the photo, despite flood coolant, the first one went dull and is in the bin, The second one (in the photo) claimed to be M42 HSS, and didn't lose its edge cutting the other half depth.
 probably didnt use cutting compound on the donkey saw
  "
" @brightspark No nit unpicked! that is the second holesaw in the photo, despite flood coolant, the first one went dull and is in the bin, The second one (in the photo) claimed to be M42 HSS, and didn't lose its edge cutting the other half depth.
brightspark
Member
- Messages
- 40,389
- Location
- yarm stockton on tees
on hard going i use rocol cutting compound on the hole saws and on the mechanical hacksaw. its far superior than white water i slightly thin it down with white spirit so i can use a squeegee bottle to apply itBrightspark said: "you knacked a hss blade on the donkeysaw but drilled a hole with a holesawprobably didnt use cutting compound on the donkey saw
"
@brightspark No nit unpicked! that is the second holesaw in the photo, despite flood coolant, the first one went dull and is in the bin, The second one (in the photo) claimed to be M42 HSS, and didn't lose its edge cutting the other half depth.
Munkul
Jack of some trades, Master of none
- Messages
- 7,635
- Location
- Cumbria
I'd also hazard a guess that the web of the track piece would be softer than the hard rail top, so the cutters would have an easier time of it than the saw. Could this be the case?Brightspark said: "you knacked a hss blade on the donkeysaw but drilled a hole with a holesawprobably didnt use cutting compound on the donkey saw
"
@brightspark No nit unpicked! that is the second holesaw in the photo, despite flood coolant, the first one went dull and is in the bin, The second one (in the photo) claimed to be M42 HSS, and didn't lose its edge cutting the other half depth.
I would use thick rocol cutting fluid on those holesaws... it seems to work really well for me.
Shox Dr
Chief Engineer to Carlos Fandango
- Messages
- 17,995
- Location
- East Yorkshire
That beats a little RCBS hand lathe
Stueeee
Old git
- Messages
- 1,051
- Location
- N W Kent
I'd also hazard a guess that the web of the track piece would be softer than the hard rail top, so the cutters would have an easier time of it than the saw. Could this be the case?
I would use thick rocol cutting fluid on those holesaws... it seems to work really well for me.
Would imagine that the rail would have been induction hardened so it could be that the web wasn't quite as hard as the rail top. But from tidying up the cutaway with a file, I can confirm that it certainly was nothing like filing a lump of mild steel.
The holesaw I knackered was a Starrett one, started cutting OK, but about halfway through the web it was clearly skating rather than cutting - I was going to put up a photo showing the wiped teeth but the dustman has been since. As luck would have it, I had another the same size in my big box of holesaws. It was/is Brand X but proclaiming M42 in the now disappeared paint, it just cut through the rest of the web really quickly; something I'll be keeping in mind the next time I'm buying.
I do use Rocol type stuff on my pillar drill which doesn't have flood coolant, but the tool tip temperatures get a lot higher for any given speed than when using the Cooledge emulsion on my other machines.
brightspark
Member
- Messages
- 40,389
- Location
- yarm stockton on tees
i use starret arbours and pilot drills but only use cheap erbouer bi metal hole saws. there just as good as the starret ones and a lot cheaper
Hood
I am obsessed.
- Messages
- 17,401
- Location
- Carnoustie, Scotland
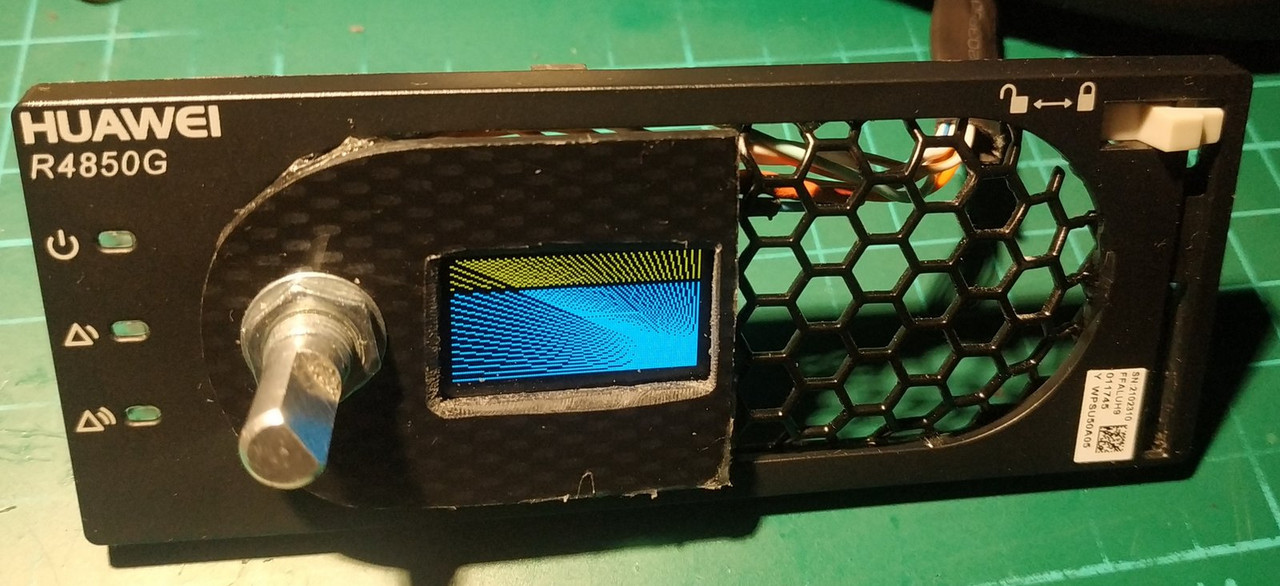
Just done this whilst eating my dinner (Lunch if you are down South  ) It is for the pendant I am making for my CNC Lathe.
I found an old aluminium lid from a PC case and thought it would work well, I am quite happy with the results, not anywhere near the standard of stuff @julianf does but...
To give an ides of scale the top letters are 5mm high for the capitals and the lower letters are 3mm for capitals, lower case obviously a bit smaller.

 ) It is for the pendant I am making for my CNC Lathe.
I found an old aluminium lid from a PC case and thought it would work well, I am quite happy with the results, not anywhere near the standard of stuff @julianf does but...
To give an ides of scale the top letters are 5mm high for the capitals and the lower letters are 3mm for capitals, lower case obviously a bit smaller.
julianf
Member
- Messages
- 8,327
- Location
- devon, uk
Just done the disc for the centre of the MPG, better go and get on with some real work now
View attachment 271863
Are you doing that with an end mill, or a v cutter?
Standard practice with engraving is to make two identical passes. You would think it would make no difference, and i wont argue the logic, but it works. Its said that the first pass does the cutting, and the second does the cleaning.
Again, identical passes, no change in anything.
Hood
I am obsessed.
- Messages
- 17,401
- Location
- Carnoustie, Scotland
It was a v cutter, the nine9 one I use for some stuff. Just did the one pass so that is a good tip for futureAre you doing that with an end mill, or a v cutter?
Standard practice with engraving is to make two identical passes. You would think it would make no difference, and i wont argue the logic, but it works. Its said that the first pass does the cutting, and the second does the cleaning.
Again, identical passes, no change in anything.
 Not that I do much engraving but on the odd occasion I do I will give it a go.
123hotchef
Member
- Messages
- 14,236
- Location
- Kent
MattF
Forum Supporter
- Messages
- 16,836
- Location
- South Yorkshire


